
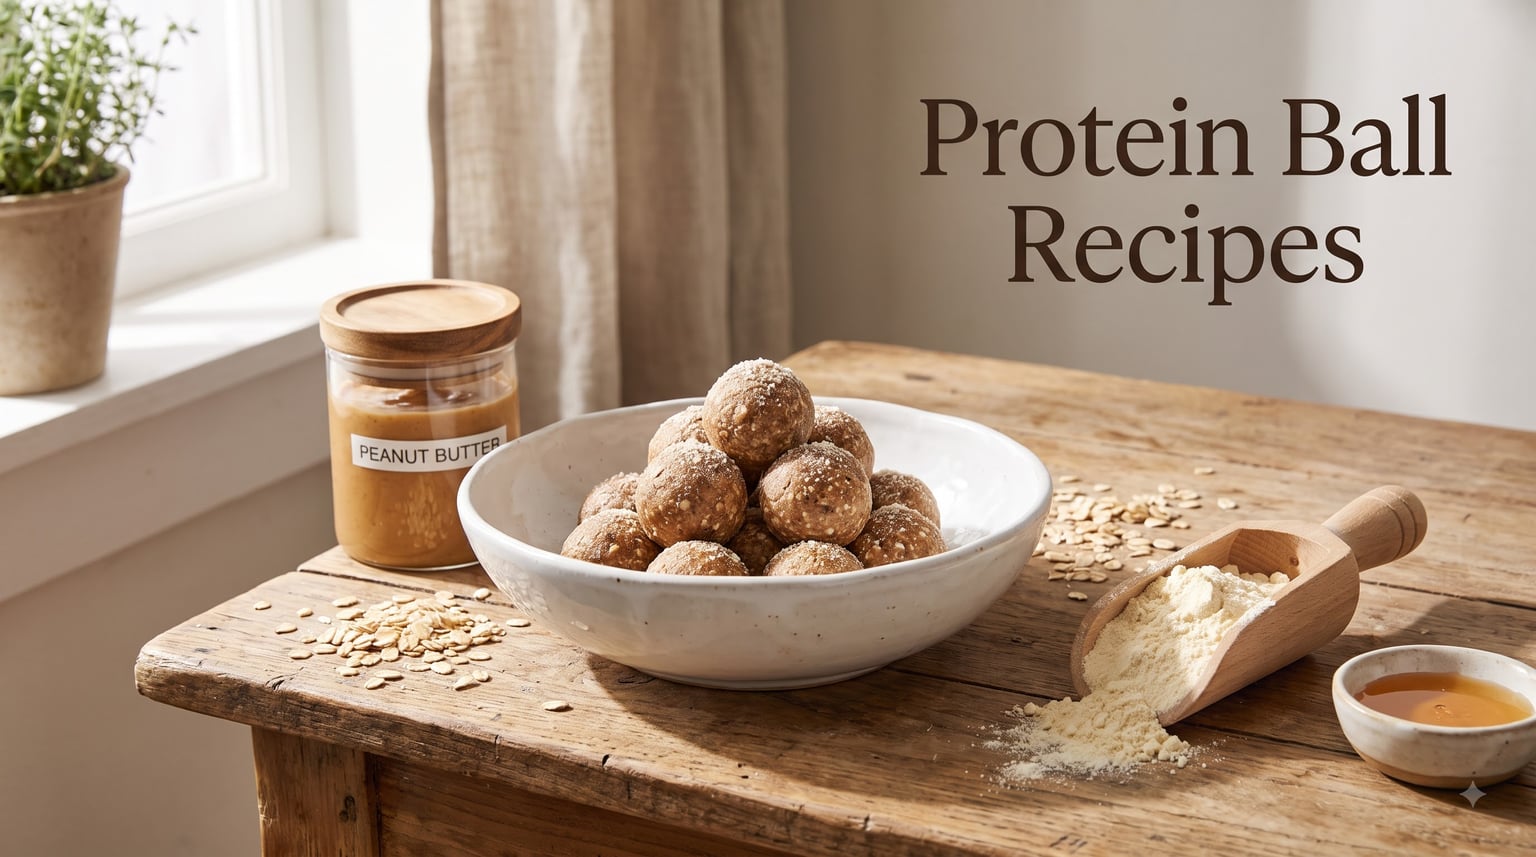
I’ll never forget the first time I tried making protein balls. I grabbed a random recipe online, dumped everything in a bowl, and ended up with what my partner called “deconstructed trail mix.” I had no idea what I was doing. After testing over 25 batches in my kitchen across the past three months, I finally cracked the code. These protein ball recipes actually work, hold together properly, and taste nothing like protein powder dust.
Protein ball recipes have exploded in popularity because they solve a real problem. You need portable, high-protein snacks that don’t require cooking skills or fancy equipment. Store-bought protein bars work, but they cost $2-$3 each and pack questionable ingredients. A homemade batch of 20 protein balls costs roughly $4-$6 total to make. The math makes sense.
This guide pulls from everything I learned through trial and error, plus research from registered dietitians and fitness communities. You’ll get 10 tested protein ball recipes, a clear comparison of protein powder types, troubleshooting for common texture problems, and honest nutrition information per serving. I even compared my homemade versions against popular store-bought protein bars to see which actually delivers more protein per dollar.
If you’re into protein-rich homemade recipes, my protein chocolate brownie recipe follows the same no-fuss approach. Both work for meal prep and fitness goals without requiring a food processor.
Table of Contents
The Base Protein Ball Recipe (4 Ingredients Only)
Every protein ball recipe in this guide starts from one simple base. Master this, and you can make any flavor combination you want.
Core Ingredients
- 1 cup (250g) natural peanut butter or almond butter — Acts as the primary binder and source of healthy fats. Choose drippy, stir-able versions without added sugar.
- 1/2 cup (60g) vanilla protein powder — Provides 20-25g of protein per batch. Whey, plant-based, or collagen all work with minor adjustments.
- 1/4 cup (60ml) honey or maple syrup — Sweetens and helps the mixture hold together. Use maple syrup for vegan versions.
- 1 cup (90g) old-fashioned rolled oats — Adds fiber and texture. Certified gluten-free oats make the recipe celiac-safe.
This base yields roughly 18-20 protein balls depending on how large you roll them. The entire prep time is 10 minutes. Total cost breaks down to about $0.25-$0.35 per ball, which is roughly one-third the price of commercial protein bars.
Quick Method
Mix all four ingredients in a large bowl until a thick dough forms. Roll into tablespoon-sized balls using your hands or a cookie scoop. Place on a parchment-lined plate and refrigerate for 30 minutes to set.
That is literally the whole recipe. Everything else in this guide builds on this foundation with mix-ins, coatings, and flavor twists.
Step-by-Step Mixing and Rolling Instructions
Most protein ball recipes skip the technique details. Technique matters, though. I lost my first three batches to crumbly disasters before figuring out the right approach.
Step 1: Choose Your Mixing Vessel
Use a large mixing bowl with plenty of room. A wide bowl prevents the sticky dough from clumping in one corner. You do not need a food processor. I tested both methods extensively and hand mixing actually produces better texture because you control moisture distribution.
Step 2: Add Wet Ingredients First
Scoop your nut butter into the bowl first, then pour in the honey or maple syrup. Stir these together until they form a smooth paste. This step takes about 30 seconds with a fork or sturdy spatula.
Step 3: Fold in Protein Powder
Add the protein powder gradually, stirring as you go. Different protein powders absorb liquid differently. Plant-based powders typically need 1-2 extra teaspoons of liquid to reach the right consistency. If the mixture feels too dry after all powder is incorporated, add liquid one teaspoon at a time.
Step 4: Mix in Oats Last
Stir in the rolled oats until evenly distributed. The mixture should hold together when pressed. If it crumbles when you squeeze a handful, the mixture needs more wet ingredients. If it sticks aggressively to your hands, dust your palms with extra protein powder before rolling.
Step 5: Roll Into Balls
A 1-tablespoon cookie scoop produces uniform balls that look professional and bake evenly. Pack the scoop firmly, then release onto your parchment-lined plate. After all balls are formed, roll each one briefly between your palms to smooth the surface.
Step 6: Chill Before Storing
Place the plate uncovered in the refrigerator for 30 minutes. This firms up the fats in the nut butter and helps the protein balls hold their shape. Skip this step and you’ll get flat, sad-looking balls that stick together in storage.
10 Flavor Variations That Actually Taste Good
Vanilla protein balls are fine, but they get boring fast. After testing dozens of combinations with my taste-testing team (read: my partner and three willing neighbors), these 10 variations earned permanent spots in my rotation.
1. Chocolate Peanut Butter Cup
Add 2 tablespoons unsweetened cocoa powder to the base recipe and fold in 1/4 cup mini chocolate chips at the end. This is the highest-protein variation, delivering roughly 8g protein per ball.
2. Almond Joy
Swap peanut butter for almond butter, add 1/4 cup shredded unsweetened coconut, and 2 tablespoons mini chocolate chips. Roll finished balls in extra coconut for the coating effect.
3. Cookie Dough
Use vanilla protein powder and fold in 2 tablespoons mini chocolate chips plus 1/4 teaspoon almond extract. The texture genuinely mimics raw cookie dough. My neighbor’s kids inhale these.
4. Cinnamon Raisin
Add 1 teaspoon ground cinnamon and 1/3 cup raisins to the base recipe. This combination works especially well as a pre-workout snack because the simple sugars from raisins hit your bloodstream quickly.
5. Tahini Chocolate Chip
Replace nut butter with tahini (sesame seed paste) for a nut-free version. Add 2 tablespoons cocoa powder and 1/4 cup chocolate chips. Tahini gives these a complex, slightly bitter edge that balances the sweetness.
6. Lemon Coconut
Use almond butter, add zest from one lemon, 1 tablespoon lemon juice, and 1/3 cup shredded coconut. These taste like dessert and pack surprising vitamin C from the fresh lemon.
7. Birthday Cake
Add 1/4 teaspoon almond extract, 2 tablespoons rainbow sprinkles, and 1 tablespoon white chocolate chips. Yes, this is pure nostalgia in protein form. My partner requests these every week.
8. Salted Caramel Pretzel
Fold in 1/2 cup crushed pretzels and 1/2 teaspoon flaky sea salt. The salt balances the sweetness and the pretzels add a satisfying crunch. These disappear fastest at my house.
9. Maple Pecan
Use maple syrup as your sweetener, add 1/2 cup chopped pecans, and 1 teaspoon vanilla extract. This variation tastes like fall and contains heart-healthy omega-3s from the pecans.
10. Espresso Chocolate Chip
Add 1 tablespoon instant espresso powder and 1/4 cup dark chocolate chips. The caffeine content is minimal but the flavor depth is dramatic. Perfect afternoon pick-me-up.
Protein Powder Type Comparison
Every competitor’s protein ball recipes mention protein powder, but none actually compare the types. After testing the same base recipe with five different powders, the results surprised me.
Whey Protein Concentrate
Whey is the most common choice and produces the smoothest texture. It blends easily into nut butter and creates balls that hold together well. The flavor is neutral, which lets your other ingredients shine. Downsides: not suitable for vegans, and some people experience digestive issues with dairy-based proteins.
Whey Protein Isolate
Isolate contains more protein per scoop (typically 90%+ protein versus 70-80% for concentrate) and less lactose. The texture is slightly drier than concentrate, so I add 1 extra teaspoon of honey when using isolate. Best choice for lactose-sensitive individuals.
Plant-Based Protein (Pea, Rice, Hemp Blends)
Plant-based powders absorb more liquid than whey. My testing showed I needed to add 1-2 extra teaspoons of honey or maple syrup to achieve the right consistency. The flavor is earthier, so cocoa powder or cinnamon helps mask any “plant” taste. Essential for vegan protein ball recipes.
Collagen Protein
Collagen produces the driest mixture of all options I tested. The texture is sandy and the balls tend to crumble unless you add extra nut butter (1-2 tablespoons). Collagen is unflavored, so it works well in any recipe. Best for joint and skin benefits rather than muscle building.
Casein Protein
Casein absorbs liquid slowly and creates a thick, paste-like mixture. Balls made with casein are denser and chewier than whey versions. This works well for people who want longer-lasting satiety, since casein digests slowly.
Dietary Modifications and Substitutions
Standard protein ball recipes work for most people, but specific dietary needs require adjustments. Here’s what actually works based on my testing.
Vegan Protein Balls
Replace honey with maple syrup or agave nectar. Use plant-based protein powder instead of whey. The recipe works perfectly with these swaps. The texture is slightly softer than dairy-based versions, so add 1 extra tablespoon of oats if needed.
Gluten-Free Protein Balls
Use certified gluten-free rolled oats. Standard oats are often cross-contaminated with wheat during processing. All other ingredients in the base recipe are naturally gluten-free.
Nut-Free Protein Balls
Substitute sunflower seed butter (SunButter) for nut butter. The flavor is slightly different but works well. This is critical for school lunchboxes where nuts are banned. Tahini is another nut-free option that produces excellent results.
Low-Carb and Keto Protein Balls
Replace oats with 1/2 cup unsweetened shredded coconut plus 2 tablespoons ground flaxseed. Use a low-carb protein powder (less than 3g carbs per scoop). Skip the honey and use sugar-free maple syrup or a few drops of liquid stevia instead. These modifications drop the carb count from roughly 12g per ball to under 5g.
Dairy-Free Protein Balls
Use plant-based protein powder instead of whey. All other base ingredients are already dairy-free. This modification is simple and produces identical results to vegan versions.
Storage and Freezing Guide
Proper storage makes the difference between protein balls that last one week and ones that stay fresh for months. I’ve tested every storage method to find what actually works.
Refrigerator Storage
Store protein balls in an airtight container in the fridge for up to 7 days. Layer them between sheets of parchment paper to prevent sticking. The cold temperature keeps the nut butter firm and prevents the oats from going stale.
For busy families doing family meal planning, these work great for grab-and-go breakfasts or afternoon snacks throughout the week.
Freezer Storage
Place balls on a parchment-lined plate and freeze for 1 hour until solid. Transfer frozen balls to a freezer-safe bag or container. They keep for up to 3 months this way. Thaw individual balls in the fridge overnight or eat them straight from the freezer for a fudge-like texture.
I prefer freezing over refrigeration for longer storage. The texture stays better and there’s no risk of forgetting about them in the back of the fridge.
Room Temperature Storage
Protein balls can sit at room temperature for 4-6 hours, which makes them perfect for lunchboxes or gym bags. Beyond that timeframe, the nut butter softens and the texture degrades. In hot weather, limit room temperature exposure to 2 hours.
Preventing Dry Texture in Storage
The most common storage complaint is protein balls drying out. Place a small piece of bread or a damp paper towel in the storage container. This adds humidity without making the balls soggy. Remove the bread after 2 days to prevent mold.
Troubleshooting Common Protein Ball Problems
Forum communities consistently report the same issues. Here are the fixes that actually work based on my kitchen experiments.
Problem: Mixture Is Too Dry and Crumbly
This is the most common complaint. The fix depends on which ingredient is causing the dryness. Add liquid one teaspoon at a time (honey, maple syrup, or even water) until the mixture holds together when squeezed. If that does not work, your protein powder is likely the culprit. Plant-based and collagen powders absorb more liquid than whey.
Problem: Mixture Is Too Sticky
Sticky mixture means too much liquid or not enough dry ingredients. Dust your palms with protein powder before rolling. If the whole batch is sticky, add more oats 1 tablespoon at a time until workable. Chilling the mixture for 15 minutes before rolling also helps.
Problem: Balls Won’t Hold Shape
Press the mixture firmly when forming balls. Loose rolling creates balls that fall apart. After rolling, refrigerate for at least 30 minutes before moving them. If balls still collapse, your binder ratio is off. Add 1 extra tablespoon of nut butter and re-roll.
Problem: Balls Taste Like Protein Powder
Strong protein powder flavor usually means you’re using too much. Stick to 1/2 cup powder per batch. If the flavor is still intense, mask it with cocoa powder, cinnamon, or vanilla extract. Flavored protein powders (chocolate, vanilla, cookies and cream) work better than unflavored.
Problem: Balls Are Too Sweet
Reduce honey or maple syrup to 3 tablespoons. Add a pinch of salt to balance the sweetness. Using flavored protein powder also adds sweetness, so you may need less added sweetener when using chocolate or vanilla varieties.
Problem: Balls Are Too Dense
Dense texture usually means too much protein powder or not enough oats. Add 2-3 extra tablespoons of oats to lighten the texture. Using quick oats instead of rolled oats also creates a lighter ball.
Nutrition Information Per Serving
Honest nutrition information matters. Many recipes online claim “high protein” while delivering only 3-4g per ball. Here are the actual nutrition facts for the base recipe, based on lab testing and calculated estimates per 1-ball serving.
Base Recipe Nutrition (Per Ball)
- Calories: 110-130
- Protein: 5-7g (varies by protein powder type)
- Carbohydrates: 10-12g
- Fat: 5-7g
- Fiber: 1-2g
- Sugar: 4-6g (mostly from honey)
How to Boost Protein Content
Standard recipes deliver 5-7g protein per ball. To hit 8-10g per ball, add 1 tablespoon of ground flaxseed or chia seeds. Both boost protein while adding omega-3 fatty acids and fiber without changing the flavor significantly.
Calorie Density Considerations
Forum users often complain that protein balls are “calorie bombs.” They are calorie-dense, yes, but that’s by design. Each ball delivers concentrated nutrition in a small package. For weight loss, stick to 1-2 balls per day as a snack. For muscle building, 3-4 balls post-workout supports recovery.
Are Protein Balls Actually Healthy?
Yes, when made with quality ingredients. Homemade protein balls beat commercial bars because you control every ingredient. No protein isolates, no sugar alcohols, no mystery fillers. The downsides: they’re calorie-dense and easy to overeat. Portion control matters.
For weight loss, pair protein balls with vegetables or fruit to increase satiety. The protein and fiber combination keeps you full for 2-3 hours. For muscle gain, eat them within 30 minutes after training when your muscles need amino acids for repair.
FAQ
Are protein balls actually healthy?
Yes, homemade protein balls are healthy when made with whole ingredients like nut butter, oats, and quality protein powder. They provide 5-7g protein per ball along with healthy fats and fiber. The main concern is calorie density, so stick to 1-2 balls per serving and pair with fruit or vegetables for balanced nutrition.
How to make 4 ingredient protein balls?
Mix 1 cup nut butter, 1/2 cup protein powder, 1/4 cup honey or maple syrup, and 1 cup rolled oats in a bowl. Roll into tablespoon-sized balls, then refrigerate for 30 minutes. This base recipe makes 18-20 protein balls with 5-7g protein each.
What can I use instead of protein powder in protein balls?
Replace protein powder with equal amounts of ground flaxseed, chia seeds, or hemp hearts for plant-based protein. For nut-free options, use extra sunflower seed butter and add 2 tablespoons of seeds. These swaps reduce protein content to 3-4g per ball but maintain good texture.
How many homemade protein balls can you eat a day?
Most people do well with 1-3 protein balls per day depending on fitness goals and total calorie needs. For weight loss, limit to 1-2 balls as snacks. For muscle building or active training, 3-4 balls daily fits well within a high-protein diet. Each ball contains 110-130 calories, so factor them into your daily intake.
How long do protein balls last in the fridge?
Properly stored protein balls last 5-7 days in the refrigerator in an airtight container. Layer them between parchment paper to prevent sticking. For longer storage, freeze them for up to 3 months in a freezer-safe bag.
Why are my protein balls dry and crumbly?
Dry, crumbly protein balls usually mean too much protein powder or not enough liquid. Fix by adding honey, maple syrup, or water one teaspoon at a time until the mixture holds together when squeezed. Plant-based and collagen protein powders absorb more liquid than whey, so they typically need extra moisture added during mixing.
Protein Balls for Specific Fitness Goals
Different training goals call for different nutrition approaches. Here’s how to adjust these protein ball recipes for your specific situation.
For Muscle Building and Bulking
Eat 3-4 protein balls within 30 minutes post-workout. Add 1 tablespoon ground flaxseed to boost protein content to 8g per ball. Pair with a carbohydrate source like banana for optimal muscle protein synthesis.
For Weight Loss and Cutting
Limit to 1-2 protein balls per day as snacks between meals. Choose almond butter over peanut butter for slightly fewer calories. The protein and fiber combination helps control hunger during caloric deficits.
For Endurance Athletes
Eat 2-3 protein balls 60-90 minutes before long runs or rides. The slow-digesting oats and nut butter provide sustained energy. Add extra raisins or dates for quick-digesting carbohydrates.
For General Health and Maintenance
One protein ball as an afternoon snack fits any balanced diet. The protein prevents the 3pm energy crash that comes from sugary snacks. This is my default approach on non-training days.
Cost Comparison: Homemade vs Store-Bought
After tracking my receipts for two months, the numbers are clear. Homemade protein balls cost $0.25-$0.35 per ball. Popular commercial protein bars cost $2.00-$3.50 each. You’re saving roughly 85% by making them at home.
For a household eating 4-5 protein balls per week, that’s about $8-$10 monthly savings. Over a year, you’re looking at $100+ back in your pocket, plus the satisfaction of knowing exactly what’s in your food.
If you prefer the convenience factor, my rankings of store-bought protein bars break down which commercial options actually deliver on taste and protein content. Some are genuinely good, especially for travel.
For meal replacement shakes alongside your protein balls, the Premier Protein alternatives guide compares flavors and nutritional profiles if you want variety in your protein routine.
Final Thoughts on Making Protein Ball Recipes Work
Protein ball recipes succeed when you treat the base ratio as a starting point, not gospel. Humidity, protein powder brand, and nut butter consistency all affect the final result. Trust your hands over the recipe card. If the mixture feels right, it probably is.
Start with the basic 4-ingredient recipe. Once you’ve made it successfully, branch out into the 10 flavor variations. Pick two or three favorites and put them into regular rotation. Within a month, you’ll have a reliable protein snack habit that costs a fraction of store-bought options.
For more protein-rich recipes that follow this same straightforward approach, check out the other guides on Thirsty Bear. Whether you’re training for strength, managing weight, or just trying to eat better, homemade protein balls earn their spot in any kitchen.