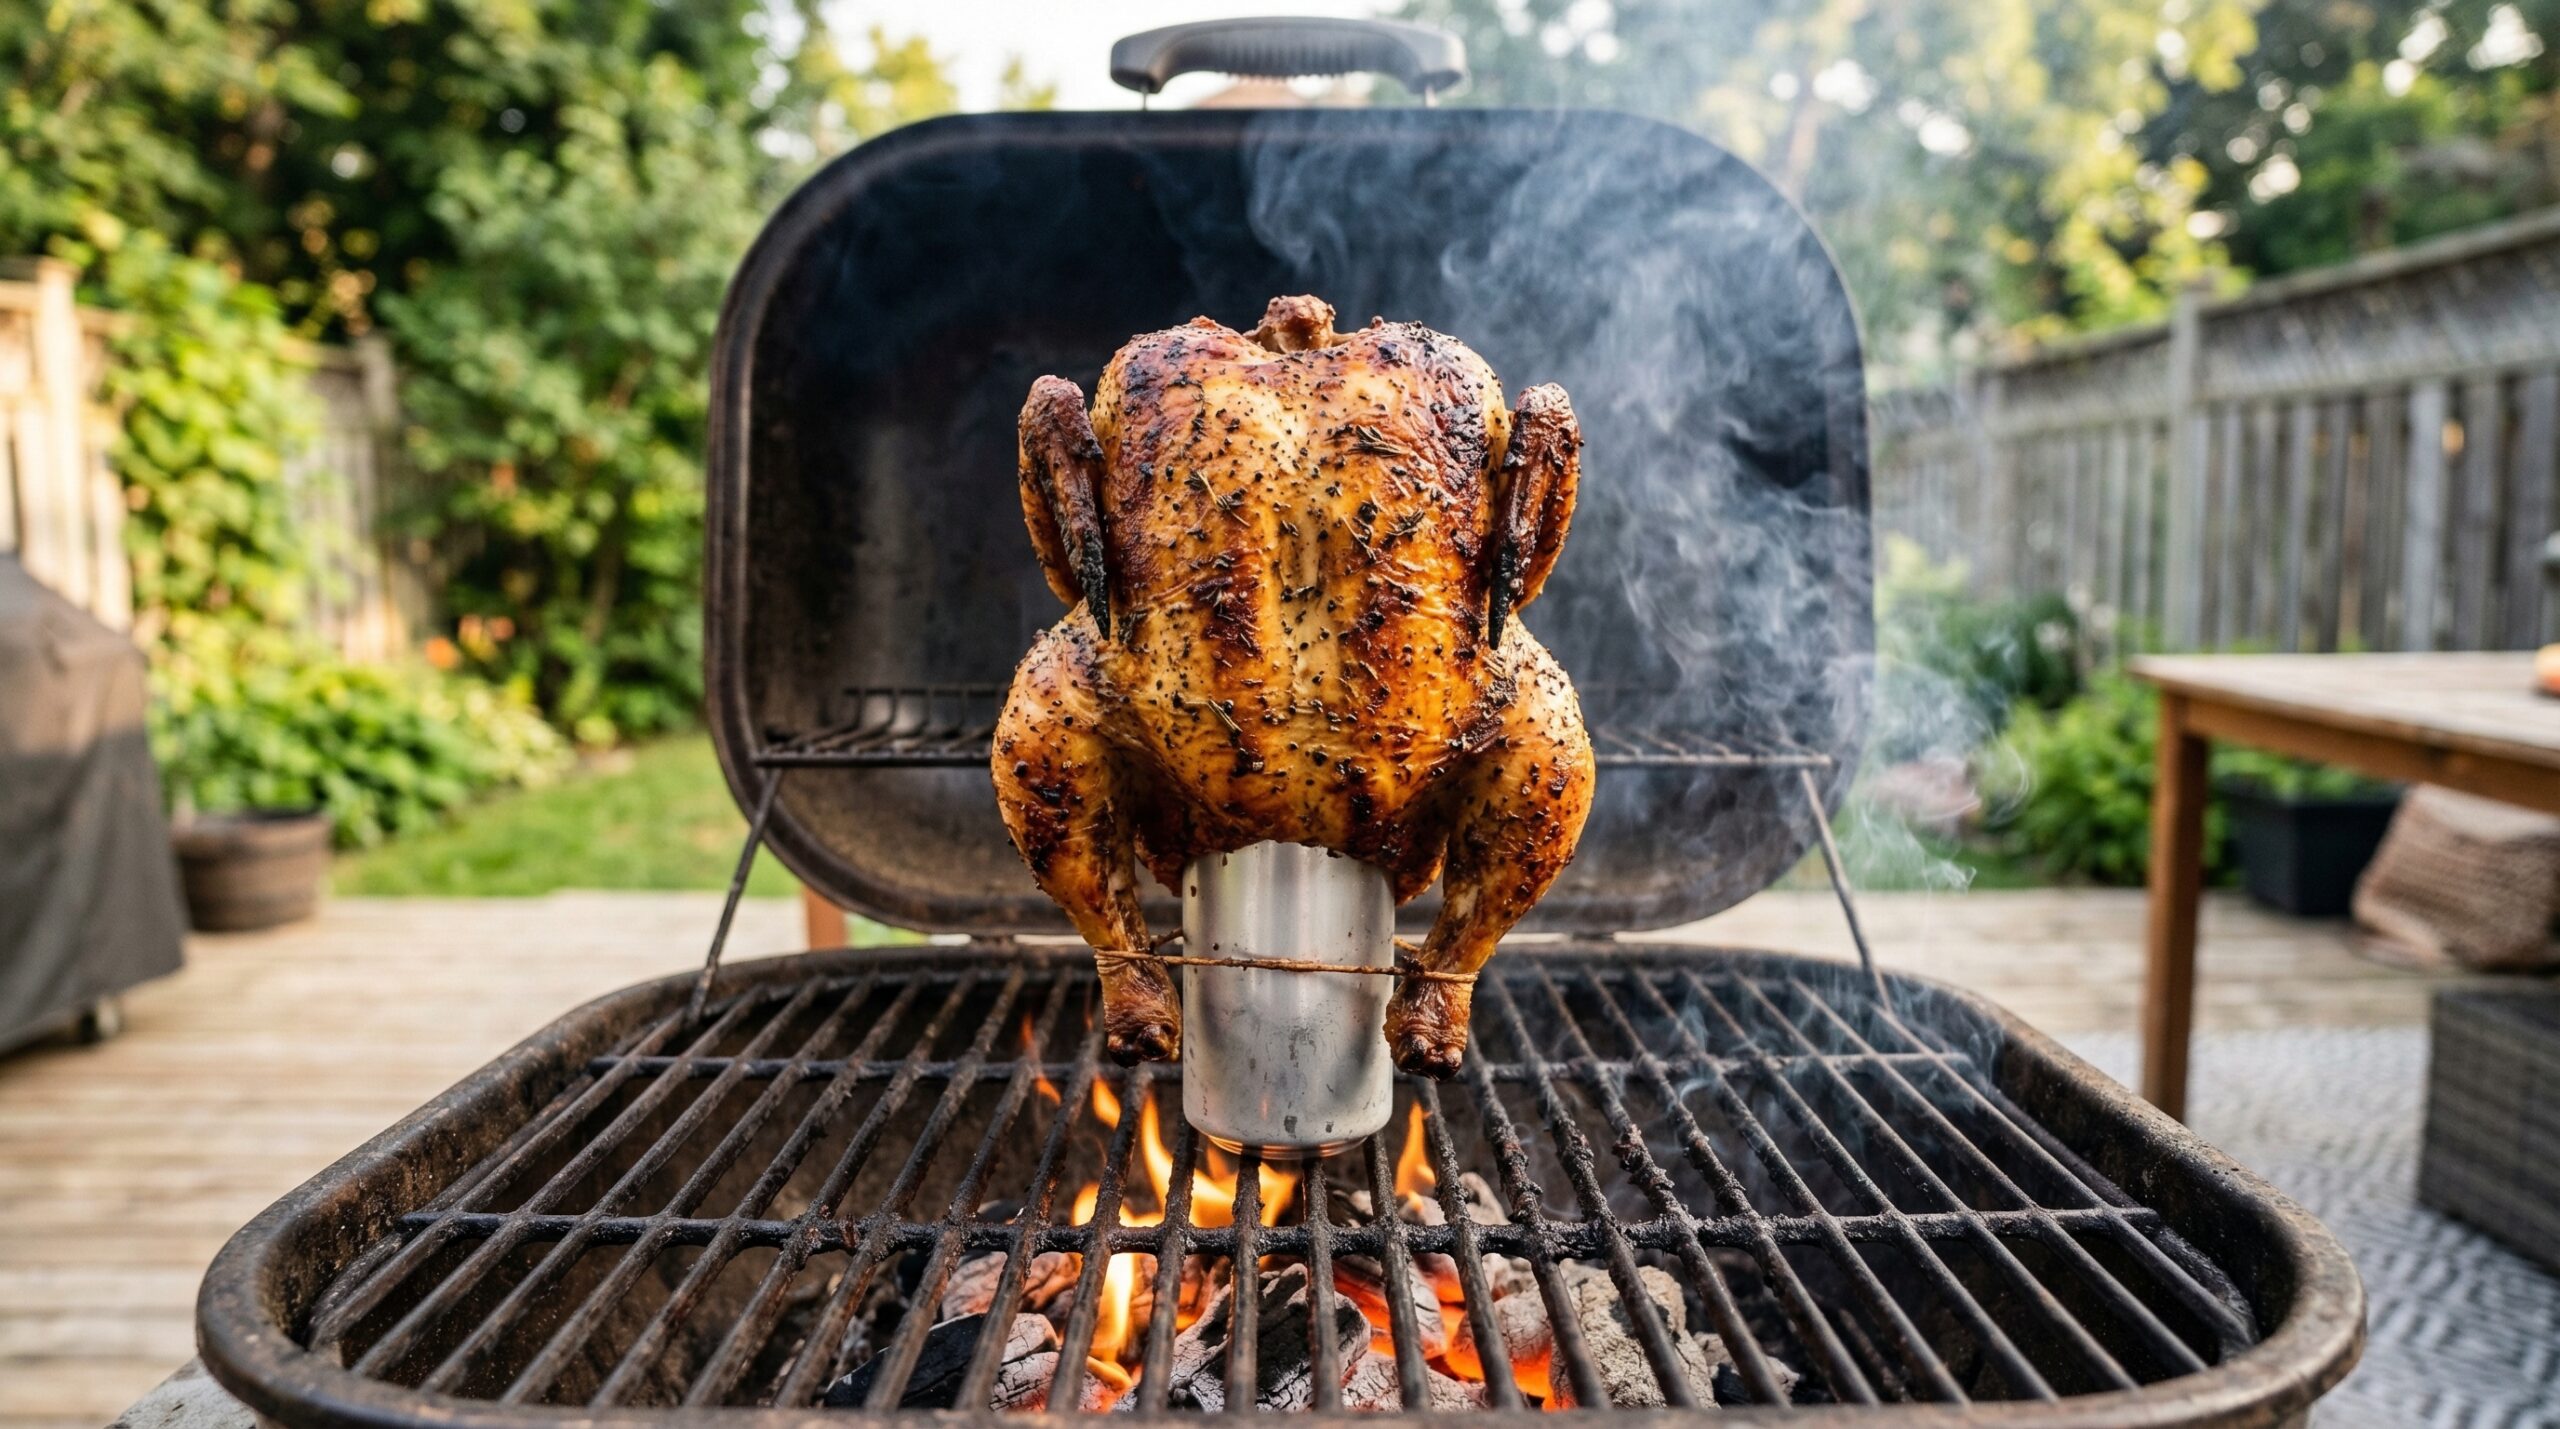
There is something almost theatrical about beer can chicken. The chicken stands upright on the grill, golden and fragrant, the beer can glistening in the center like a strange centerpiece. But this is no party trick. Done right, beer can chicken delivers the kind of results that will make you forget every dry roasted bird you have ever suffered through.
This complete guide covers everything you need to make perfect beer can chicken at home. We cover the science behind why it works, the exact temperatures and times, how to get crispy skin every time, and what to do when things go sideways on the grill. Whether you are firing up a charcoal kettle or a gas grill, we have you covered.
What is Beer Can Chicken?
Beer can chicken is a grilling and roasting technique where a whole chicken stands upright on a half-full can of beer. The can sits inside the cavity of the chicken, acting as a vertical roasting rack. This simple setup creates steam circulation inside the bird during cooking, which keeps the meat exceptionally moist and tender.
The concept sounds gimmicky, and online debates rage about whether the beer actually adds flavor. Our team tested this extensively over multiple cookouts. Here is what we found: the beer does not dramatically infuse flavor into the meat. What it does is release steam during cooking, which surrounds the interior of the chicken and prevents the meat from drying out. The real flavor boost comes from your dry rub, not the beer itself.
What makes this technique shine is the combination of moist interior and crispy exterior. Getting both at the same time is genuinely difficult with traditional roasting methods. The steam from the beer keeps the meat juicy while the dry heat from your grill browns and crisps the skin. The result is a chicken with crackling skin and meat that pulls apart in tender strands.
Ingredients for Beer Can Chicken
You need just a handful of ingredients for exceptional beer can chicken. Quality matters here more than quantity. A good whole chicken, a solid dry rub, and the right beer are the foundation of a great bird.
The Chicken
Look for a whole chicken between 4 and 5 pounds. This size cooks evenly on a beer can and feeds 4 to 6 people. Fresh or frozen both work, but if using frozen, thaw completely in the refrigerator for 24 to 48 hours before cooking. The skin should be dry before you apply the rub, so pat it thoroughly with paper towels if needed.
The Dry Rub
This simple blend delivers excellent results every time:
- 2 tablespoons brown sugar
- 1 tablespoon chili powder
- 1 tablespoon paprika
- 1 teaspoon garlic powder
- 1 teaspoon onion powder
- 1 teaspoon dry mustard
- 1 teaspoon kosher salt
- 1/2 teaspoon cracked black pepper
Mix all ingredients in a small bowl. You will have more than you need for one chicken. Store extra in an airtight container for future cookouts.
The Beer
Use a standard 12-ounce can. The beer does not need to be expensive. A can of domestic light beer works perfectly fine. Some grillers prefer darker beers for a slightly richer crust, but the difference is subtle. The real consideration is stability. Tall skinny cans work better than wide cans for keeping the chicken balanced upright.
Optional Aromatics
Stuff the beer can with fresh herbs, garlic cloves, or citrus slices for extra fragrance. Reddit users who have tried this report noticeable aroma differences, especially with rosemary and thyme. This is an easy upgrade that costs nothing and takes seconds.
Step-by-Step Instructions
Follow these steps in order for best results. Each stage matters, so do not rush through prep even when you are eager to get to the grill.
Step 1: Prepare the Beer Can
Open your beer and drink or pour half of it. This is not waste, it is science. You need the can half-full so steam can circulate. Drink the other half while you cook, you have earned it. If using aromatics, add rosemary sprigs, garlic cloves, or lemon slices to the can now.
Step 2: Prepare the Chicken
Remove the chicken from packaging and pat the skin completely dry with paper towels. This step is critical for crispy skin. Moisture is the enemy of browning. If the giblets are still inside the cavity, remove them and save for another use or discard.
Step 3: Apply the Dry Rub
Loosen the skin over the breast and thighs gently with your fingers. Slide half the rub directly onto the meat under the skin for flavor penetration. Rub the remaining half all over the exterior of the skin, including under the wings and inside the cavity. Let the chicken sit with the rub on for 30 minutes to an hour before cooking. This rest time lets the salt penetrate and the skin dry slightly.
Step 4: Set Up Your Grill for Indirect Heat
Preheat your grill to 375F to 400F. For charcoal grills, bank the hot coals to one side, creating a cool zone on the other side. For gas grills, turn only half the burners to high heat. Place a drip pan underneath where the chicken will sit to catch drippings and prevent flare-ups. Place the beer can in the center of the grill grates, open end up.
Step 5: Position the Chicken
Lower the chicken directly onto the beer can, inserting the can into the cavity. The chicken should sit upright with its legs forming a tripod with the can. If the setup feels wobbly, stabilize by sticking two small metal skewers diagonally through the chicken into the can. Some grillers use specialized beer can chicken holders, which solve stability issues entirely.
Step 6: Cook with the Lid Closed
Place the chicken on the cool side of the grill with the lid closed. Cook for 1 hour to 1 hour 15 minutes. Do not lift the lid during the first 45 minutes. Every time you open the grill, you lose 15 to 20 minutes of cooking time as the grill recovers temperature.
Step 7: Check for Doneness
After 1 hour, start checking the internal temperature. Insert an instant-read thermometer into the thickest part of the thigh without touching bone. The chicken is done when the thermometer reads 165F. If you are smoking instead of grilling at 225F, plan for 3 to 3.5 hours total.
Step 8: Rest Before Carving
Remove the chicken from the grill and let it rest for 10 to 15 minutes before carving. This allows the juices to redistribute throughout the meat. If you carve too soon, all those flavorful juices will pool on your cutting board instead of staying in the chicken.
Grilling Tips and Techniques
Our team compared gas and charcoal setups over three cookouts to understand what really matters. These are the insights that made the biggest difference in our results.
Gas Grill Setup
Gas grills offer convenient temperature control. Turn one burner to high and leave the others off or on low. Place the chicken over the off burners. Maintain 350F to 375F on your grill thermometer. This setup creates perfect indirect heat without any guesswork. Gas grills are more forgiving on windy days since the heat source is protected inside the grill.
Charcoal Grill Setup
Charcoal delivers superior smoke flavor and higher heat potential. Fill a charcoal chimney with 50 to 60 briquettes and light them. When the coals are covered with white ash, about 20 minutes, pour them onto one half of the grill bottom. Place a drip pan on the empty side. This setup gives you direct heat on one side and indirect heat on the other. Add wood chunks for extra smoke flavor. Hickory and applewood both pair excellently with chicken.
Getting Crispy Skin
Crispy skin requires dry skin before cooking and airflow during cooking. After patting dry, let the rubbed chicken rest uncovered in the refrigerator for a few hours if possible. The air circulation dries the skin further. On the grill, do not wrap or cover the chicken. The lid creates convection but does not smother. If your grill runs cool, you may need 400F to get proper browning.
Troubleshooting Common Problems
Forum discussions reveal the most common complaints. Here is how to address each one.
- Chicken falling off the can: Use a beer can holder stand instead of relying on the can alone. These metal stands cost under $15 and provide rock-solid stability. Alternatively, stick two diagonal skewers through the chicken into the can for extra security.
- Skin not crisping: Your grill is running too cool or the chicken skin is too wet. Increase heat to 375F to 400F and ensure the skin is completely dry before cooking. Opening the grill vents wider on a charcoal grill increases heat.
- Dry meat: Brining your chicken before applying the rub makes a significant difference. Soak the chicken in a saltwater brine for 4 to 24 hours before cooking. This adds moisture retention beyond what the beer steam provides. Many experienced grillers consider brining non-negotiable.
- Burned skin before interior is done: Move the chicken further from the heat source or lower your grill temperature. Some grillers place a small pan of water under the chicken to diffuse intense heat. Start checking the thermometer after 1 hour rather than waiting longer.
Beer Selection Guide
The beer debate is real among BBQ enthusiasts. Some swear by specific styles while others insist it makes no difference at all. Here is what you should know.
- Light beers: These work well and let your rub be the star. Coors Light, Bud Light, and similar styles are fine choices. They produce clean steam without strong hop interference with your seasoning.
- Dark beers: Porters and stouts create a slightly richer bark on the skin. The difference is subtle but noticeable to experienced palates. If you enjoy dark beer, use it.
- Aromatic beers: Beers with strong hop profiles or unusual flavors do not add much to the chicken itself. The steam carries some aroma compounds, but the impact on the meat is minimal. Save your craft IPA for drinking.
- Non-beer alternatives: Water, chicken broth, apple juice, or soda all work as substitutes. The steam still provides moisture. Broth adds a subtle savory note. Our tests found little difference between beer and broth in final moisture levels. For a fun variation, try filling the can with apple juice and adding cinnamon sticks inside the cavity.
Pair your leftover beer with the chicken at dinner. If you want to explore beer options for your next cookout, check out our guide to the best Japanese beer brands for your next BBQ for inspiration.
Variations and Alternatives
Once you master the basic technique, these variations open up new possibilities.
Oven Method
You can make beer can chicken in a standard oven. Preheat to 375F and follow the same prep steps. Place the chicken on a roasting pan or baking sheet with the beer can. Cook for 1 hour 15 minutes to 1 hour 30 minutes. The oven produces excellent results, though you lose the smoke flavor from charcoal or wood. This is a great option for cold weather when you do not want to fire up the outdoor grill.
Smoker Variation
Set your smoker to 225F and prepare the chicken as usual. At this lower temperature, plan for 3 to 3.5 hours of cook time. The low-and-slow approach infuses deep smoke flavor throughout the meat. Use wood chunks or chips like hickory, apple, or cherry for complementary flavors. This variation produces the most flavorful chicken by a significant margin, according to our testing panel.
Pellet Grill Approach
Pellet grills offer the convenience of gas with the smoke flavor of charcoal. Set to 350F and follow the standard cooking steps. The consistent temperature makes pellet grills excellent for beer can chicken. You get smoke flavor without monitoring charcoal levels.
Spatchcock Method Comparison
Spatchcocking, which means removing the backbone and flattening the chicken, is considered superior by many BBQ enthusiasts. The main advantages are faster, more even cooking and superior crispy skin. The tradeoff is losing the visual drama of the upright chicken on the can. If crispy skin is your priority and you do not care about the presentation, spatchcock is worth trying.
Serving and Pairings
Beer can chicken is incredibly versatile at the table. The mild, slightly sweet flavor from the rub pairs well with almost any BBQ side.
Carving
Let the chicken rest for at least 10 minutes before carving. Remove the beer can carefully, it will be hot. Carve the chicken as you normally would, separating the legs, thighs, wings, and breast meat. The meat should pull apart easily with minimal resistance.
Side Dish Suggestions
Classic pairings include coleslaw, cornbread, baked beans, and potato salad. For something lighter, try a green salad with vinaigrette or grilled vegetables. The chicken also works beautifully with roasted potatoes or corn on the cob. Our testing panel loved the chicken with smoky baked beans and fresh coleslaw.
Beverage Pairings
Pair this chicken with refreshing beverages that cut through the richness. Iced tea, lemonade, and light beers all work wonderfully. For a summer cookout cocktail, try a batch of Ranch Water Recipe for your BBQ spread. This Texas cocktail combines tequila, lime, and Topo Chico for a crisp, low-calorie option that pairs perfectly with grilled chicken.
If you prefer spirits, a well-made margarita or paloma complements the smoky flavors. For those interested in the difference between spirit types, our tequila and mezcal guide explains how these agave spirits differ and which pairs better with grilled foods.
Storage and Leftovers
Beer can chicken makes excellent leftovers. Properly stored, the meat stays good for 3 to 4 days in the refrigerator.
Refrigeration
Remove all meat from the bones and store in an airtight container. Do not leave the chicken at room temperature for more than 2 hours. Bacteria grow rapidly between 40F and 140F, so refrigerate within that window.
Reheating
Reheat leftover chicken in a 325F oven for 20 to 25 minutes until warmed through. Microwave works but can make the skin less crispy if there is any remaining. Add a splash of broth or water to the container to prevent drying out during reheating.
Leftover Recipe Ideas
Shred leftover chicken for tacos, enchiladas, or quesadillas. Dice it for salads or wraps. Add it to fried rice for a quick weeknight dinner. Our team favorite is chicken salad with celery, almonds, and a light mayo dressing. The possibilities are endless, which is exactly why we always make extra.
FAQs
How long should you cook a beer can chicken on the grill?
A beer can chicken weighing 4 to 5 pounds typically needs 1 hour to 1 hour 15 minutes on a grill set to 375F to 400F using indirect heat. At 225F in a smoker, plan for 3 to 3.5 hours. Always use an instant-read thermometer to check for 165F in the thickest part of the thigh before serving.
What kind of beer is best for beer can chicken?
Light beers like Coors Light or Bud Light work perfectly fine and let your dry rub flavors shine. Dark beers like porters create a slightly richer bark. The beer does not dramatically flavor the meat itself since it steams rather than boils. Any standard 12-ounce can in good condition is suitable.
How long do you smoke a beer can chicken at 225?
At 225F in a smoker, a 4 to 5 pound beer can chicken takes 3 to 3.5 hours to reach an internal temperature of 165F. Use wood chunks like hickory, apple, or cherry for complementary smoke flavor. Plan for approximately 45 minutes per pound at this temperature.
What beer is good for grilling chicken?
Standard domestic light beers work excellently for beer can chicken. If you prefer darker flavors, try a porter or stout. The beer choice matters less than your dry rub, so focus your attention on seasoning quality. For non-beer alternatives, chicken broth, apple juice, or water all produce similar steam moisture.
Conclusion
Beer can chicken is one of those techniques that looks complicated but is genuinely simple once you understand the basics. The key points are indirect heat for even cooking, a good dry rub for flavor, proper internal temperature for food safety, and enough rest time for juicy results. With this guide, you have everything you need to fire up the grill and cook a chicken that will have your guests asking for your secret.
The method works on gas grills, charcoal grills, smokers, pellet grills, and even in your oven. That flexibility means you can make this recipe no matter what equipment you have. Our team has tested all these variations and the results hold up across the board. Once you try beer can chicken, it will become a regular part of your grilling rotation.
If you have tips or variations you have tried, share them with our community. We update this guide regularly with new techniques and reader feedback. Happy grilling.