Making your own infused vodka opens up a world of creative possibilities that store-bought bottles simply cannot match. When I first tried a homemade lemon rosemary vodka at a dinner party, the compliments convinced me to explore further. The process is straightforward, requires minimal equipment, and lets you craft unique flavors tailored to your taste preferences.
This guide walks you through everything you need to know about how to make infused vodka at home, from selecting the right ingredients to mastering the timing for different flavor profiles. Whether you want citrus zest for summer martinis or spicy peppers for Bloody Marys, you will find the answers here.
Table of Contents
What is Infused Vodka
Infused vodka is a flavored spirit made by steeping fruits, herbs, or spices in regular vodka for several days to weeks. The alcohol acts as a solvent, extracting natural oils and flavors from your chosen ingredients. Unlike commercial flavored vodkas that use artificial additives, homemade infused vodka relies entirely on real ingredients.
The steeping process transforms a plain spirit into something remarkable. A $15 bottle of vodka becomes the base for extraordinary cocktails when infused properly. You control the intensity, the flavor balance, and the ingredients used.
Making infused vodka at home saves money compared to buying premium flavored spirits. It also allows unlimited flavor combinations that commercial producers simply do not offer. You can match infusions to seasonal ingredients or create signature flavors for specific cocktails. The satisfaction of serving something you made yourself adds another dimension to hosting.
The DIY vodka infusion movement has grown significantly in recent years as more people discover how simple the process actually is. Unlike complicated cocktail recipes, infusion requires minimal hands-on time. Most of the work happens passively as the vodka extracts flavors from your chosen ingredients.
The Science Behind Infusion
Understanding why infusion works helps you become a better craftsperson. When you steep ingredients in vodka, you are performing a simple extraction process. The alcohol dissolves the volatile compounds that give fruits, herbs, and spices their characteristic flavors.
Different ingredients release their flavors at different rates based on their cellular structure. Delicate herbs give up their oils quickly, while dense spices require extended contact time. This is why timing varies so dramatically between ingredient types. The concentration of flavor compounds in the base ingredient also matters significantly.
Vodka’s high alcohol content makes it an excellent extraction medium. The spirit prevents bacterial growth while efficiently pulling flavors from plant material. This is the same reason herbal tinctures use alcohol as their base. The proof of your vodka affects extraction efficiency, with higher alcohol content generally extracting more flavor.
The steeping process is essentially the same technique used to make vanilla extract, herbal liqueurs, and medicinal tinctures. These time-tested methods have been used for centuries because they work reliably.
Equipment You Need
You do not need specialized bar equipment to start making infused vodka. A basic kitchen setup suffices for excellent results. Most home crafters already own everything required.
The most important piece of equipment is a glass container with a tight-sealing lid. A wide-mouth mason jar works perfectly for this purpose. The wide opening makes adding and removing ingredients easy, while the airtight seal prevents evaporation and contamination. Use one 16-ounce jar for every 2 cups of vodka you plan to infuse.
You need a straining method to separate the vodka from solid ingredients when the infusion is complete. Cheesecloth is the traditional choice, but a fine-mesh strainer works well too. For clearest results, strain through cheesecloth twice. This removes all sediment and produces a crystal-clear final product.
Storage bottles complete your kit. Small airtight bottles in 375ml or 750ml sizes work best for storing finished infusions. These bottles preserve freshness and make it easy to give gifts or store different flavors separately. Amber-colored bottles offer extra protection against light exposure.
Other helpful items include a small kitchen scale for measuring ingredients, parchment paper for creating custom labels, and small funnels for transferring liquids between containers without spilling.
Choosing the Right Vodka
One of the most common questions I hear is whether premium vodka is necessary for infusion. The answer surprises many people: you do not need expensive spirits for making infused vodka at home. The infusion process adds so much flavor that the base vodka quality becomes less relevant.
A mid-range bottle priced between $15 and $20 provides perfectly adequate results. Brands in this range include most standard options available at your local liquor store. The goal is to find a neutral-flavored vodka that will not compete with your infusion ingredients.
For those with gluten sensitivities, selecting the right base becomes more important. Potato-based vodkas or corn-based options work well for gluten-free infusions. Rice-based vodkas offer another alternative. Always check the label to confirm the base ingredient if gluten is a concern.
Avoid using the cheapest possible vodka, as some budget options add glycerin or other fillers that can affect the final taste. Conversely, premium vodkas offer no noticeable improvement in the finished infusion. Save your expensive bottles for drinking neat.
The flavor of your base vodka matters less than you might think. After a week of steeping with bold ingredients like peppers or citrus, the original character of the spirit becomes nearly undetectable anyway.
Step-by-Step Infusion Process
The actual infusion process follows a simple pattern that works consistently regardless of your chosen ingredients. Following these steps ensures predictable, repeatable results every time.
- Step 1: Prepare your ingredients. Wash all fruits thoroughly and pat them dry. Peel citrus fruits carefully, removing all white pith which adds bitterness. Slice fruits into smaller pieces to increase surface area. Bruise fresh herbs gently to release their oils before adding them to the jar. Proper preparation prevents off-flavors in your final product.
- Step 2: Combine vodka and flavoring agents. Place your prepared ingredients in the mason jar and pour vodka over them until fully submerged. The general ratio is 2 cups of vodka to approximately 1 cup of fresh ingredients or half a cup of dried spices. Leave about one inch of space at the top of the jar. This headroom allows for shaking and expansion.
- Step 3: Seal and store properly. Screw the lid on tightly and give the jar a gentle shake to combine everything. Store the jar in a cool, dark place like a kitchen cabinet or pantry. Room temperature storage works fine since the alcohol content prevents bacterial growth. Avoid locations with temperature fluctuations like near the stove or in direct sunlight.
- Step 4: Monitor and taste regularly. Beginning on day three, taste your infusion daily. Insert a clean straw or dip a small spoon to sample the liquid. This taste test tells you when the flavor has reached your preferred intensity. The difference between good and over-infused can happen quickly with some ingredients.
- Step 5: Strain and bottle. Once you achieve the desired flavor, strain out all solid material and transfer to storage bottles. Do not leave ingredients in the vodka longer than necessary, as extraction continues even after you feel satisfied with the flavor.
Popular Flavor Combinations
The variety of flavors you can create rivals any commercial producer. These combinations represent proven favorites from both professional bartenders and home enthusiasts. Start with tried-and-true recipes before experimenting with your own creations.
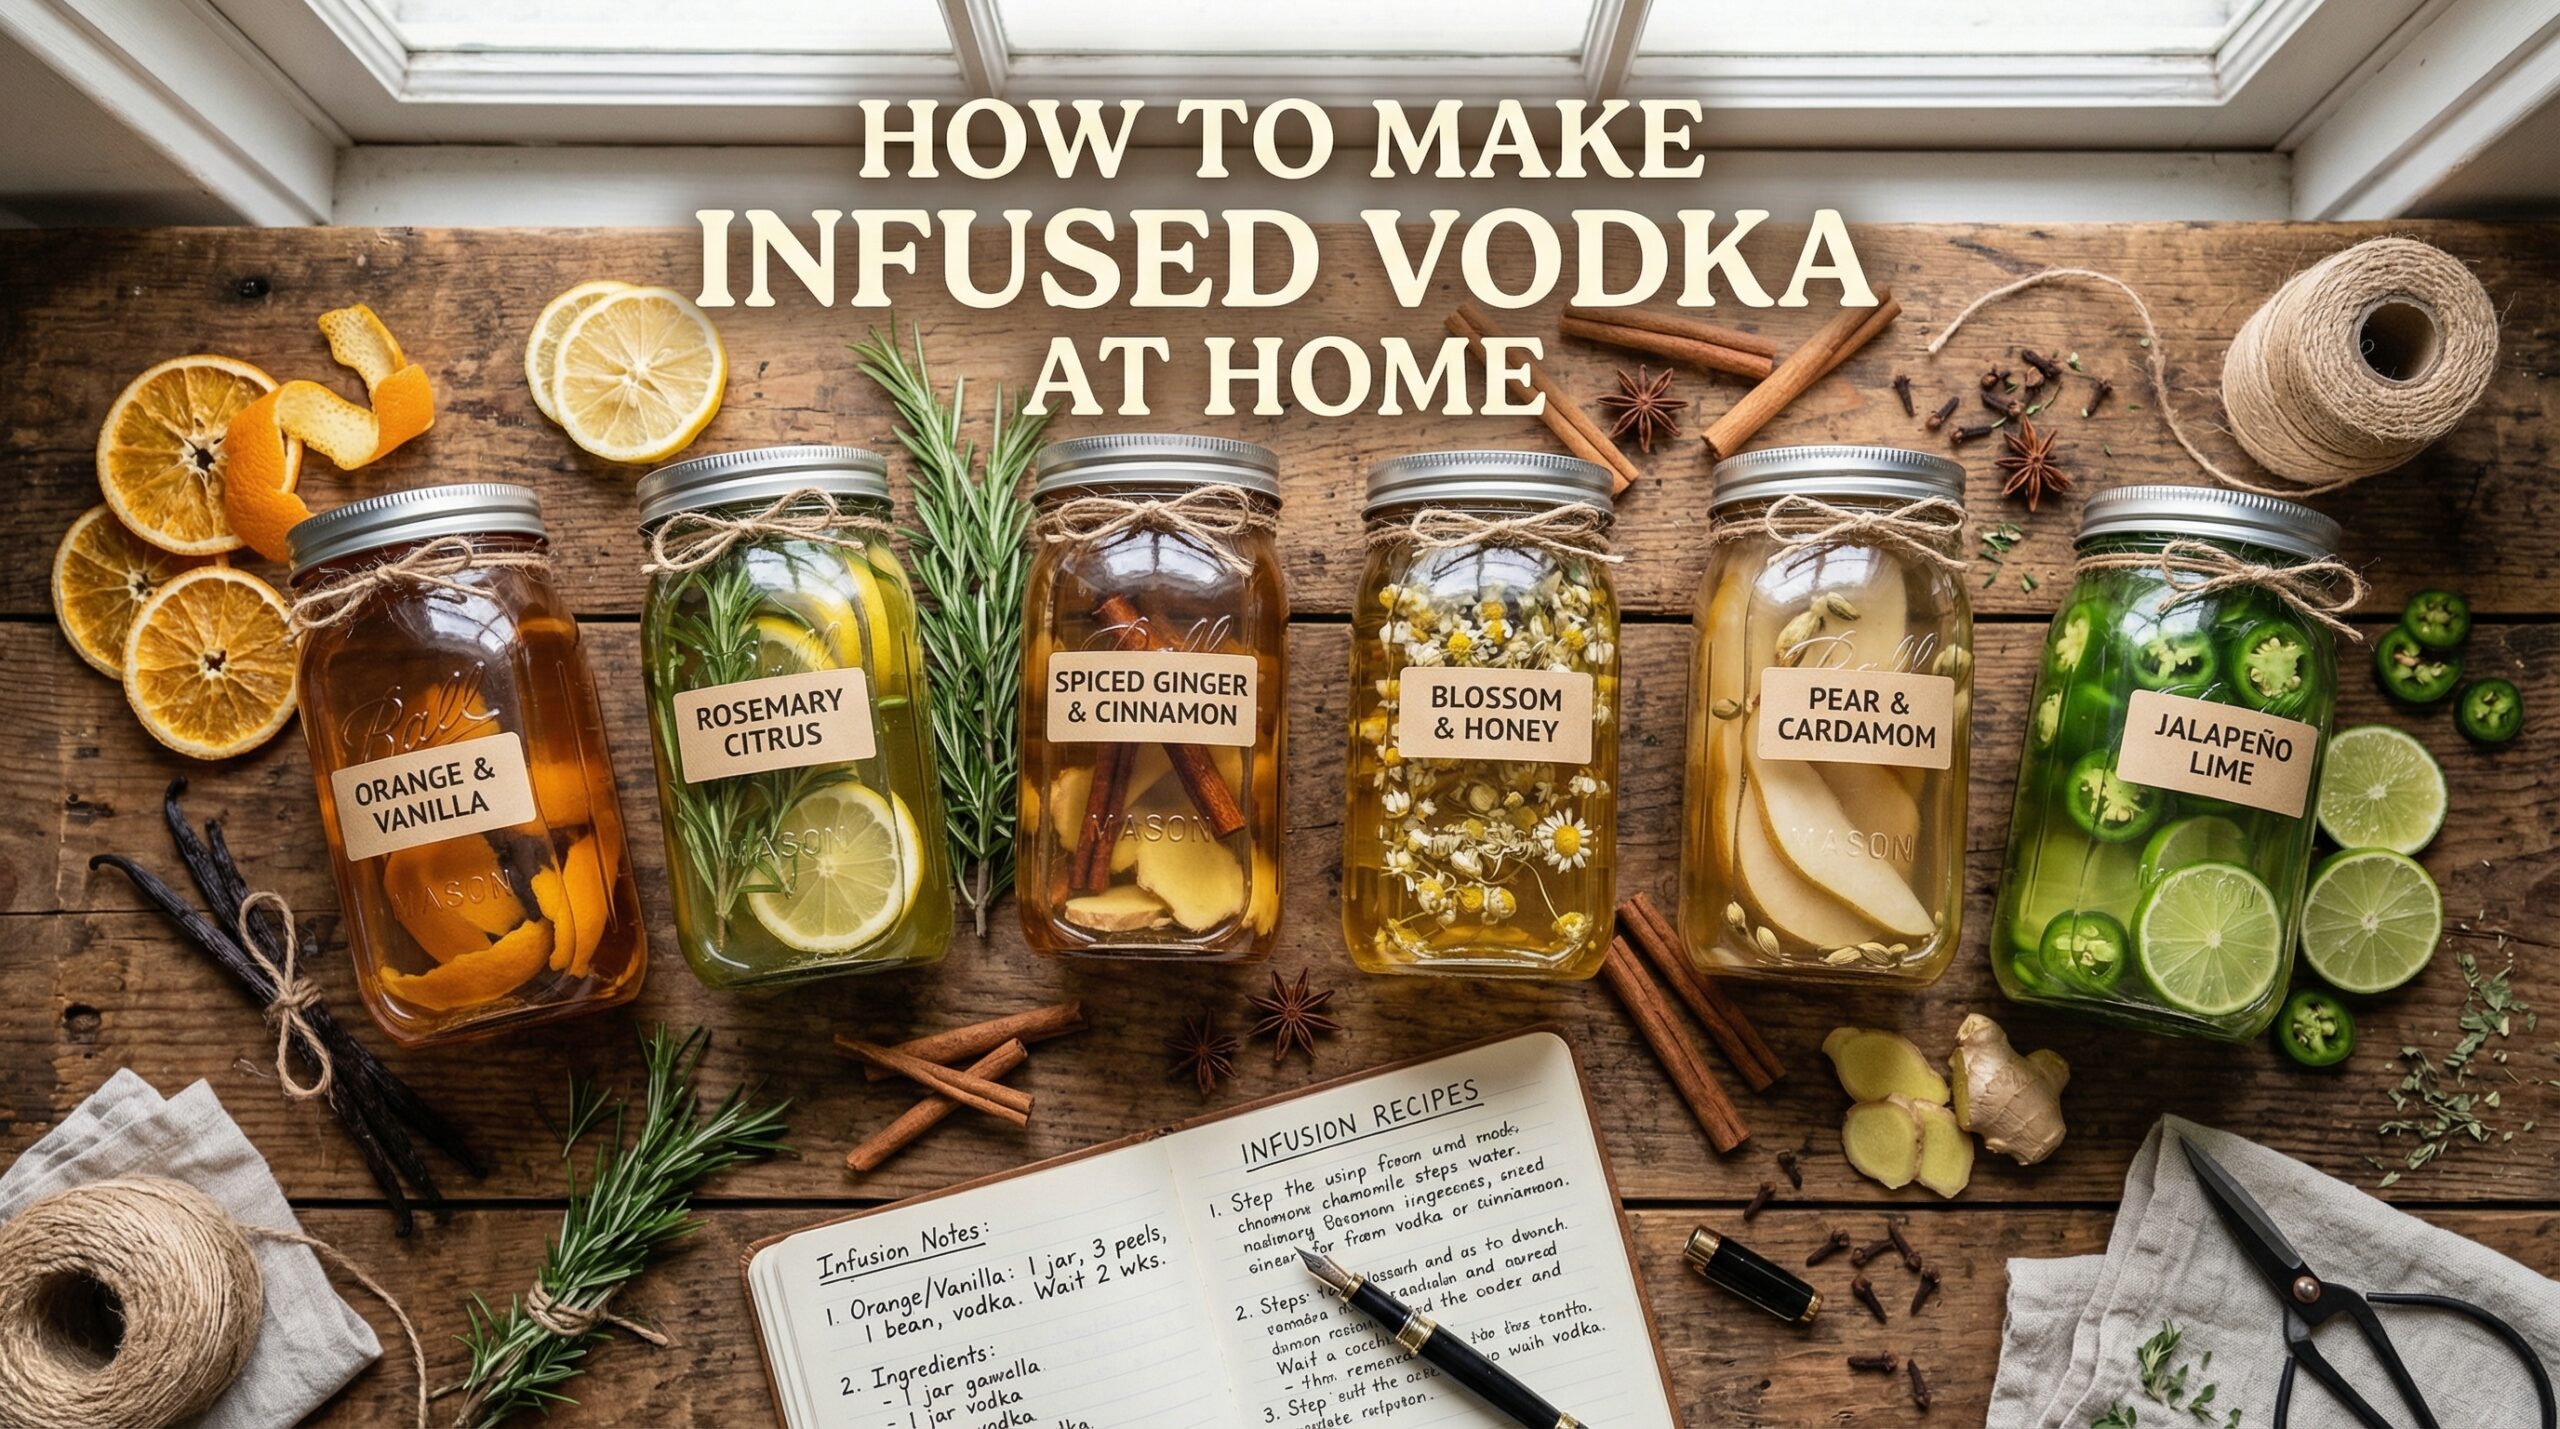
Citrus infusions work beautifully with lemon, lime, orange, and grapefruit. Use only the colored peel, avoiding all white pith which imparts bitter flavors. Orange peel with vanilla bean creates a bright, sweet profile perfect for martinis. Try this lychee martini recipe using citrus-infused vodka as the base.
Herb combinations offer sophisticated options for cocktail enthusiasts. Rosemary and thyme complement gin-style infusions, while basil pairs wonderfully with berry vodkas. Sage and lavender create more challenging flavors that appeal to adventurous palates. Always use fresh herbs rather than dried for the cleanest flavors.
Spice infusions bring warmth and complexity to your vodka collection. Cinnamon sticks and whole cloves create dessert-style vodkas excellent for holiday entertaining. Vanilla bean infused in vodka produces a smooth, sweet base that works beautifully in vanilla-infused vodka in an espresso martini. Peppers range from mild heat with jalapeno to intense burn with habanero.
Fruit-based infusions provide classic results every time. Berries, stone fruits, and tropical options each bring unique characteristics. Strawberries need just three to four days, while dried fruits like raisins require a full week or longer. Frozen fruits work well and eliminate concerns about seasonality.
Candy and dessert infusions offer fun alternatives for parties. Peppermint extract-infused vodka creates dessert cocktail possibilities. Chocolate and coffee combinations satisfy sweet tooth cravings. These playful flavors make memorable gifts for special occasions.
Gift Packaging Ideas
Homemade infused vodka makes a thoughtful and memorable gift for any occasion. Presentation matters as much as the contents when creating presents from your craft. A beautifully packaged infusion shows the recipient that you put genuine care into their gift.
Select attractive bottles that showcase the beautiful color of your infusion. Clear glass allows recipients to see the ingredients suspended inside, adding visual appeal. Add a handwritten label with the flavor name, creation date, and suggested cocktail pairings. Custom labels transform simple bottles into professional-looking products.
Consider creating themed gift sets around particular flavors. Package a citrus infusion with tonic water and lime for a complete gin-and-tonic-style experience. Pair vanilla vodka with coffee liqueur and cream for an espresso martini kit. Include the recipe card so recipients can recreate cocktails at home.
Decorative elements like raffia, ribbon, or twine add rustic charm. Small fabric bags filled with the whole spices used in your infusion make charming accompaniments. The extra effort transforms a simple bottle into a treasured present that rivals anything store-bought.
Holiday-themed infusions make particularly popular gifts during the gift-giving season. Start your holiday infusions several weeks early to ensure they are ready for wrapping. Consider creating matching sets for entire families or friend groups.
How Long to Infuse – Timing Guide
Understanding infusion timing prevents the most common mistake: over-steeping. Different ingredients extract at different rates, and personal preference ultimately determines the ideal duration. Use this guide as a starting point rather than an absolute rule.
- Rapid infusion ingredients (1-2 days): Coffee beans, chocolate, and hot peppers extract quickly due to their intense flavor compounds. These ingredients can turn bitter or overwhelming if left too long. Check these infusions after 24 hours and again at 48 hours maximum. Remove ingredients immediately when desired flavor is achieved. With peppers especially, the heat compounds continue extracting long after the vegetable flavors peak.
- Moderate infusion ingredients (3-5 days): Citrus peels, cinnamon, vanilla, and most fresh herbs fall into this category. These provide balanced flavor extraction without risk of bitterness. Start tasting on day three and continue until satisfied. The flavor develops gradually with these ingredients, making it easy to find your perfect moment.
- Slow infusion ingredients (5-7 days or longer): Fresh berries, stone fruits, cucumber, and dried fruits need extended steeping times. These ingredients release flavor more slowly, requiring patience to achieve proper extraction. Check these weekly rather than daily. The slow extraction produces subtle, complex flavors that reward patience.
The temperature of your storage area affects timing as well. Warmer temperatures speed extraction slightly, while cooler conditions slow it down. Regardless of ingredients, always store infusions in consistent room temperature away from direct sunlight. Temperature fluctuations cause uneven extraction and can lead to off-flavors.
Tasting and Monitoring
Developing the habit of tasting your infusions transforms you from a novice to a skilled craftsperson. This monitoring process lets you catch the perfect moment before flavors become too intense. Your palate becomes calibrated to the infusion process over time.
Taste your infusion at the same time each day for consistency. Use a clean spoon or straw to withdraw a small amount. Allow the sample to rest on your tongue for a moment before swallowing. Notice the initial flavor, how it develops, and the aftertaste. The aftertaste often reveals the true character of an infusion.
Pay attention to whether the flavor intensifies, plateaus, or begins declining. Most ingredients peak around their ideal time and then start deteriorating. Citrus infusions turn bitter after their prime. Berry vodkas can become overly sweet or fermented-tasting. The decline signals it is time to strain and bottle.
If you accidentally over-infuse, do not panic. Dilution offers a solution. Mixing over-infused vodka with regular vodka restores balance. Alternatively, use the strong infusion as a flavor concentrate, adding small amounts to milder vodka until reaching desired intensity.
Straining and Storage
Proper straining and storage preserve your hard work and ensure the longest possible shelf life for your infused vodka. Taking extra care during this phase makes a noticeable difference in the final product quality.
Strain your infusion through cheesecloth placed over a fine-mesh strainer. For clearest results, strain once, then strain the collected liquid through fresh cheesecloth. This second pass removes microscopic particles that cause cloudiness. Avoid squeezing the cheesecloth, as this forces sediment into the liquid.
Transfer the strained vodka to clean, airtight bottles immediately. Glass bottles with screw caps or cork stoppers work equally well. Fill bottles to the brim to minimize air exposure, which causes oxidation over extended storage. Oxidation dulls flavors and changes the character of your infusion.
Store finished infusions in a cool, dark cabinet. Refrigeration is not necessary due to the alcohol content, but some prefer chilled results for certain applications. Properly stored infused vodka maintains quality for several months. Citrus and pepper infusions last about two months, while vanilla and spice vodkas can extend to four months or longer.
Label your finished bottles with the flavor name and date. This helps you track freshness and remember which batches to use first. Older infusions should be used before newer ones.
Troubleshooting Common Issues
Even careful practitioners encounter problems occasionally. Understanding common issues helps you prevent them or correct them when they arise. Most problems have simple solutions if caught early.
Floating ingredients represent the most frequent problem. When ingredients break the surface, they risk mold growth and produce uneven extraction. Push ingredients back below the surface with a clean spoon, or use a small weight like a clean rock to keep them submerged. Another solution involves shaking the jar daily to redistribute ingredients.
Cloudy vodka usually results from improper straining or ingredients left infusing too long. Fine particles remain suspended in the liquid, creating an unappealing appearance. Strain through coffee filters for extra clarification, though this process takes several hours. Alternatively, cold-chill the vodka overnight to help particles settle, then carefully pour off the clear liquid.
Bitterness typically stems from including pith on citrus fruits or over-infusing delicate ingredients. Prevention works better than correction. If bitterness occurs, try filtering through activated charcoal or mixing with fresh vodka to dilute the effect. Sweet ingredients like fruit can help balance bitter notes.
Mold growth rarely occurs in properly made infusions due to alcohol’s preservative properties. If you see any cloudiness, unusual odors, or visible growth, discard the entire batch immediately. This situation indicates contamination from improper preparation or ingredients that were not fully submerged.
Reusing Infused Ingredients
After straining your infused vodka, you might wonder whether the flavoring ingredients can be reused. The answer depends on the ingredient type and how long it infused.
Spent vanilla beans can be rinsed and added to coffee grounds for extra flavor. Dried spices generally lose most of their flavor after a single use. Fresh herbs can be dried and used in cooking, though their vodka flavor may not translate well to food applications.
Fruits that have infused for several days become Vodka-soaked and lose their structural integrity. These make excellent additions to fruit salads or smoothies where the alcohol flavor is welcome. Avoid eating them plain as they will taste primarily of alcohol.
Consider using double-infusion methods where you strain the first vodka batch and then add fresh vodka to the same ingredients. This produces a milder second infusion perfect for mixing or gift-giving at a lower alcohol proof. The second infusion typically takes half the time of the original.
Frequently Asked Questions
How do you make your own infused vodka?
Make your own infused vodka by combining 2 cups of vodka with your chosen flavoring ingredients in a mason jar. Seal it tightly and store in a cool, dark place. Taste test daily and strain through cheesecloth when the flavor reaches your preference, typically within 3-7 days depending on ingredients.
How long should you infuse vodka for?
Infusion times vary by ingredient: coffee and peppers need just 1-2 days, citrus fruits require 3-5 days, and berries or stone fruits need 5-7 days. Taste test daily after day 3 to catch the perfect moment.
How is infused vodka made?
Infused vodka is made by steeping flavoring agents like fruits, herbs, or spices in vodka for several days. The alcohol acts as a solvent, extracting natural flavors from the ingredients over time through room temperature steeping.
What is the best vodka to infuse with?
Use a mid-range vodka around $15-20 per bottle. You do not need premium vodka since the infusion process adds flavor. For gluten-free options, choose potato-based or corn-based vodkas.
Final Thoughts on Making Infused Vodka at Home
Learning how to make infused vodka at home opens a creative outlet that rewards experimentation. Start with simple combinations like lemon and rosemary or vanilla and cinnamon before advancing to more complex creations. Your first batches teach you what works for your palate.
The skills you develop transfer directly to infusing other spirits. Gin, rum, and whiskey follow similar principles with adjusted timing for different alcohol bases. Once you master vodka infusions, a world of craft spirits becomes accessible.
Your homemade infusions make excellent gifts when packaged in attractive bottles with custom labels. The personal touch transforms a simple bottle into a thoughtful present for any occasion. Consider adding a handwritten note describing the flavor profile and suggested cocktail uses.
Ready to start your infusion journey? Gather your ingredients, select a flavor combination that excites you, and begin the rewarding process of creating your own homemade infused vodka.