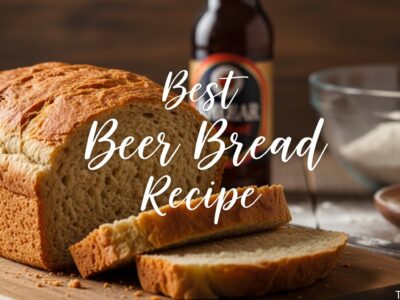
There is something deeply satisfying about biting into a loaded potato skin. The crispy exterior gives way to a fluffy interior, and the melted cheese, smoky bacon, and cool sour cream create a flavor explosion in every single bite. This loaded potato skins recipe delivers restaurant-quality results right from your own oven, no deep frying required.
Whether you are planning a Super Bowl spread, hosting a party, or simply craving something indulgent, these crispy oven-baked potato skins will steal the show. Our team tested multiple methods over several months to perfect the crisping technique, and we are excited to share our findings with you.
In this guide, you will learn exactly what to put in loaded potato skins, the secret to achieving that perfect crispy texture, and the best way to cook potatoes in their skins for maximum flavor. We will also cover make-ahead instructions, storage tips, and fun variations to keep things exciting.
What Are Loaded Potato Skins?
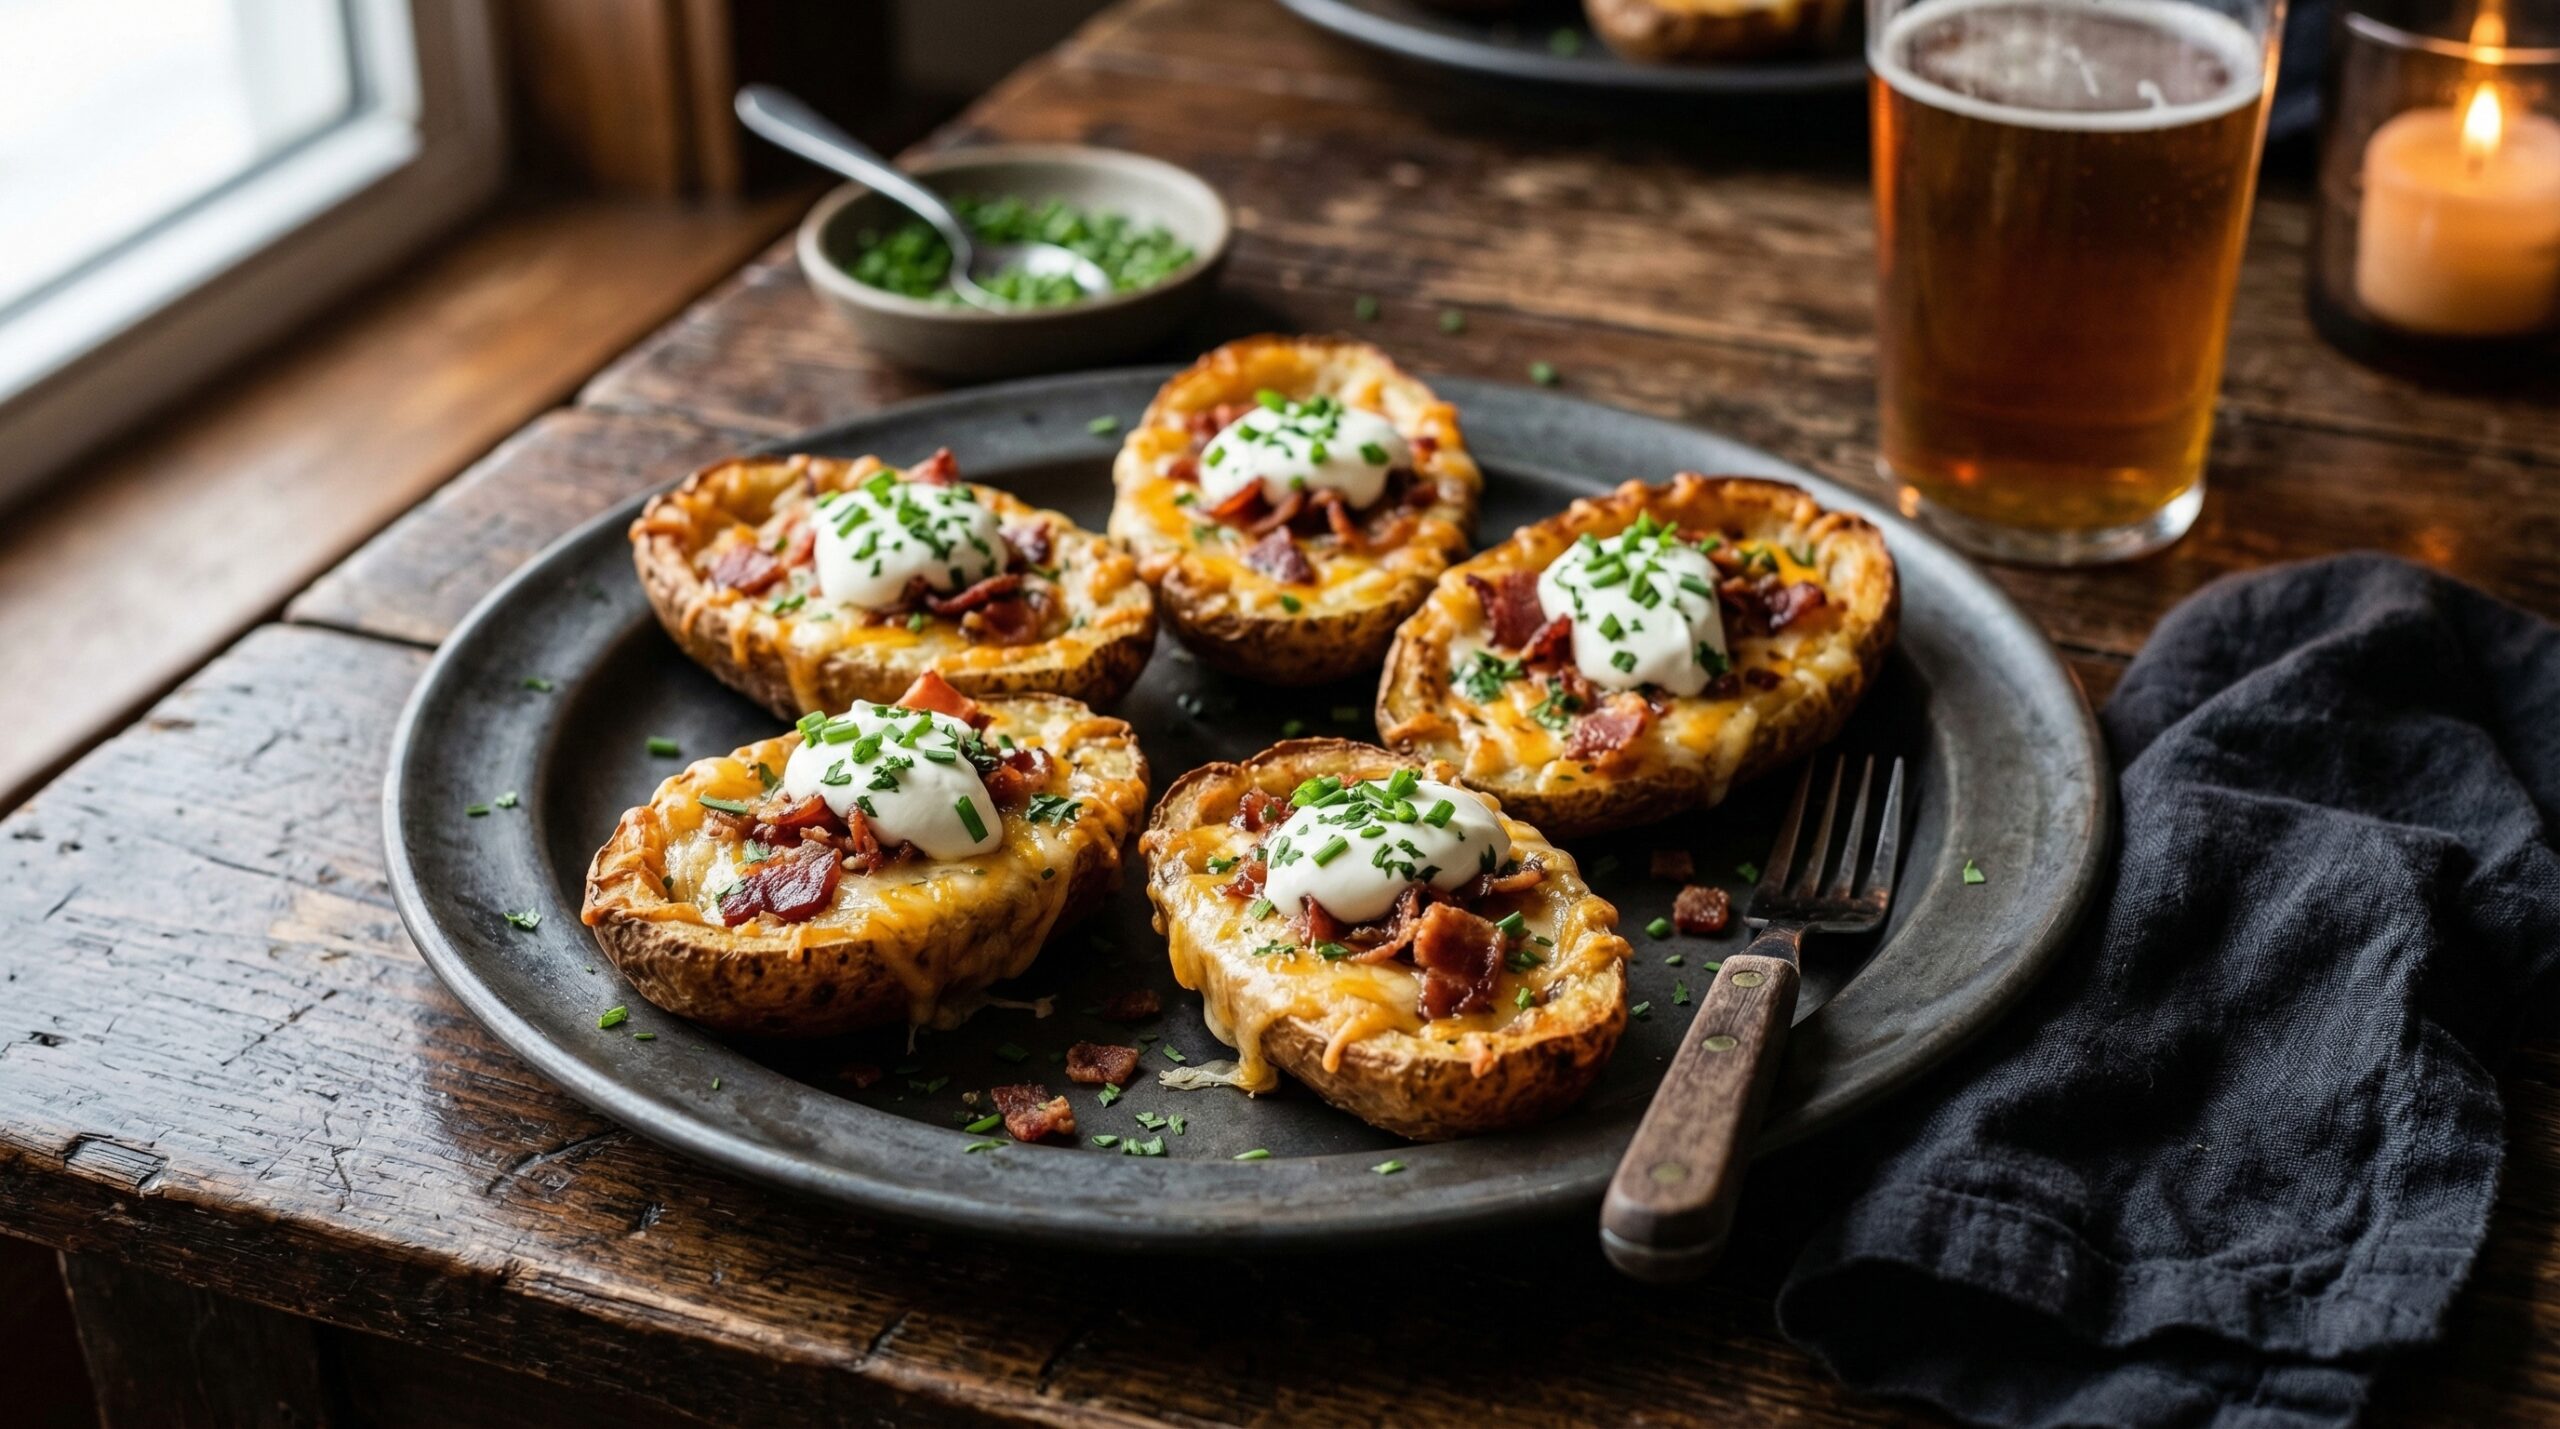
Loaded potato skins are crispy baked potato shells filled with melted cheddar cheese, crispy bacon bits, and topped with sour cream and green onions. Unlike fully loaded baked potatoes where the filling is mixed inside, potato skins feature a hollowed-out shell that provides maximum surface area for that irresistible crispy texture.
The beauty of this appetizer lies in its simplicity. Russet potatoes are baked until fork tender, then carefully scooped out, brushed with seasoned butter, and baked again until golden and crispy. The shells are then filled with cheese and bacon, and finished under the broiler until the cheese bubbles and the bacon reaches perfect crispiness.
These bite-sized treats have become a staple at bars, sports venues, and party spreads across the country. The combination of textures and flavors makes them incredibly addictive, and the fact that they can be assembled ahead of time makes them a stress-free option for entertaining.
Ingredients for Loaded Potato Skins
Before we get into the instructions, let us talk ingredients. The quality of your components matters, especially when there are so few of them. Here is what you will need to make 6-8 loaded potato skins, depending on the size of your potatoes.
For the Potatoes
The foundation of any great potato skin is, of course, the potato itself. You need russet potatoes, period. These starchy potatoes have the ideal texture for achieving crispy skins while maintaining a fluffy interior. Their thick skins crisp up beautifully, and their size provides plenty of room for generous fillings.
Look for russet potatoes that are firm, smooth, and free of any green patches or sprouting eyes. Each medium russet potato will yield one generous potato skin, so plan accordingly. For a party of 6-8 people, you will typically need 6-8 medium russet potatoes.
For the Toppings and Seasonings
The classic loaded potato skins combination includes shredded sharp cheddar cheese, real bacon bits (not the watered-down imitations), sour cream, and freshly sliced green onions or chives. These four components create the perfect balance of savory, smoky, creamy, and fresh flavors.
For the seasoning butter that makes the skins crispy and flavorful, you will need melted butter, olive oil, garlic powder, and seasoned salt. The combination of these creates a savory coating that helps the skins crisp up while adding depth of flavor to every bite.
You will also need vegetable oil or additional olive oil for brushing the skins before the second bake. Do not skip this step, as the oil is essential for achieving that golden, crispy texture we all crave.
How to Make Loaded Potato Skins
Now for the main event. Follow these step-by-step instructions carefully, and you will end up with potato skins that rival any restaurant or sports bar version. The process has a few key stages, and each one matters for the final result.
Step 1: Baking the Potatoes
Preheat your oven to 425 degrees Fahrenheit. While the oven heats up, scrub your russet potatoes clean under cold running water, removing any dirt or debris. Pat them completely dry with paper towels.
Using a fork, pierce each potato 4-5 times on all sides. This allows steam to escape during baking and prevents the potatoes from splitting. Rub each potato with a light coating of olive oil, then place them directly on the oven rack or on a baking sheet. Bake for 45-55 minutes until they are fork tender and can be easily pierced with a fork.
The potatoes are ready when they give way gently when squeezed with an oven-mitt-protected hand. They should feel slightly yielding but not mushy. Let them cool for 10-15 minutes until they are comfortable to handle.
Step 2: Scooping and Preparing the Shells
Once your potatoes are cool enough to handle, slice each one in half lengthwise. Using a spoon or a melon baller, carefully scoop out the interior flesh, leaving about a quarter-inch of potato attached to the skin. This is where your scooping skills come into play.
Be patient and work carefully to avoid tearing the skins. The goal is to create a sturdy shell that can hold all your delicious toppings without collapsing. Save the scooped potato flesh for another use, like mashed potatoes or potato soup.
Place the hollowed shells cut-side up on a baking sheet. Brush both the inside and outside generously with the melted butter and olive oil mixture. Sprinkle the outside of each skin with seasoned salt and a light dusting of garlic powder.
Step 3: First Bake for Crisping
Now comes the crucial step that determines your skin crispiness. Place the prepared shells back in the oven at 425 degrees Fahrenheit, cut-side up, for approximately 15-20 minutes. Watch them closely during the last few minutes.
You want the skins to turn golden brown and become visibly crispy around the edges. The exterior should feel firm and have a slight resistance when you touch it. If you notice any soft spots, give them a few extra minutes.
Remove from oven and let them cool for 5 minutes. This brief rest allows the skins to set and firm up slightly, making them easier to fill without breaking.
Step 4: Adding Fillings and Broiling
Preheat your broiler to high. Now it is time to fill your crispy shells. Begin by layering shredded sharp cheddar cheese into each shell, using enough to generously cover the bottom and sides. Next, sprinkle a generous amount of real bacon bits over the cheese.
Return the filled shells to the oven under the broiler for 3-5 minutes. Watch them like a hawk during this stage. You want the cheese to melt and bubble, and the bacon bits to become slightly crispy and more deeply colored. This happens fast, and it can go from perfect to burnt in under a minute.
Once the cheese is melted and the bacon is crispy, remove from oven. Let them cool for 2-3 minutes, then top each skin with a dollop of sour cream and a sprinkle of freshly sliced green onions or chives.
Tips for Crispy Potato Skins
The secret to great potato skins lies in a few key techniques that separate the mediocre from the magnificent. Here is what our testing taught us about achieving that perfect crispy texture every time.
First, always use russet potatoes. They have the ideal starch content and skin thickness for crispiness. Idaho or Yukon Gold potatoes will not deliver the same results. The thick skin of a russet crisps up beautifully while maintaining its structural integrity.
Second, do not skip the oil or butter coating. This is not optional if you want crispy skins. The fat creates a barrier that helps the skin crisp up rather than steam in its own moisture. Make sure to coat both the inside and outside of each shell.
Third, do not overcrowd your baking sheet. Place the shells with space between them so that air can circulate freely. Overcrowding leads to steaming instead of crisping, which is the opposite of what you want.
Fourth, get your oven really hot for that initial crisping bake. 425 degrees Fahrenheit is the sweet spot for russet potatoes. If your oven runs cool, you may need to add a few extra minutes. Conversely, if your oven runs hot, watch them carefully.
Fifth, save the broiler for the very end. The high heat finishes the cheese melting and bacon crisping perfectly, but it can quickly go from golden to burnt. Stay vigilant during this final step.
Toppings and Variations
While the classic loaded potato skins with bacon, cheddar, sour cream, and chives are hard to beat, there are countless ways to customize this recipe to your taste preferences or dietary needs. Here are some ideas to get your creative juices flowing.
BBQ Style Loaded Potato Skins
Swap the traditional cheddar for smoked gouda or pepper jack cheese. Add a drizzle of your favorite barbecue sauce over the bacon before broiling, and top with crispy fried onion strings and coleslaw for a pulled pork-inspired experience.
Pizza Loaded Potato Skins
Use mozzarella cheese instead of cheddar, and add pepperoni slices on top of the cheese before broiling. After broiling, finish with a sprinkle of Italian seasoning and a few drops of pizza sauce. You could also add sauteed mushrooms, bell peppers, or olives.
Vegetarian Loaded Potato Skins
For a meat-free version, skip the bacon and instead fill your shells with cheese and sauteed vegetables like mushrooms, spinach, bell peppers, or caramelized onions. You can also use vegetarian bacon bits or tempeh bacon for a smoky flavor without the meat.
Buffalo Chicken Loaded Potato Skins
Mix shredded chicken with buffalo sauce and blue cheese dressing, then spoon into the shells. Top with shredded cheddar and blue cheese crumbles after broiling. Drizzle with extra buffalo sauce and garnish with celery slices for crunch.
Air Fryer Loaded Potato Skins
If you prefer cooking with an air fryer, you can absolutely adapt this loaded potato skins recipe for that appliance. The air fryer delivers excellent crispiness with less oil and shorter cooking times.
After scooping your baked potatoes and brushing them with butter and seasonings, place them in your air fryer basket in a single layer. Cook at 400 degrees Fahrenheit for 8-10 minutes, flipping halfway through, until they reach your desired crispiness level.
Fill and broil as directed, but keep a close eye on them since air fryer models vary in heat intensity. The cheese and bacon finishing step may only need 2-3 minutes under your oven broiler.
Storage and Make-Ahead Instructions
One of the best things about loaded potato skins is how well they hold up for meal prep. Here is everything you need to know about making them ahead and storing leftovers.
Refrigerator Storage
Store completely cooled, unfilled potato shells in an airtight container for up to 3 days. When you are ready to serve, fill and broil as directed. The shells will crisp up nicely in the oven even after being refrigerated.
For fully assembled potato skins, store them in a single layer in an airtight container for up to 2 days. Reheat in a 375 degree Fahrenheit oven for 10-12 minutes until warmed through and the skins regain some crispiness. The microwave will make them soggy, so avoid it.
Freezer Instructions
Freezing filled, uncooked potato shells works well for meal prep. After your initial bake and seasoning, fill the shells with cheese and bacon, then place them on a baking sheet in a single layer. Freeze until solid, about 2 hours, then transfer to a freezer bag or container.
They can frozen for up to 2 months. When ready to serve, there is no need to thaw. Place frozen filled shells on a baking sheet and bake at 375 degrees Fahrenheit for 25-30 minutes, then switch to broil for the final cheese melt. This is a game-changer for party planning.
Reheating Leftover Potato Skins
To restore that crispy texture when reheating, avoid the microwave at all costs. Instead, spread the potato skins on a baking sheet and reheat in a 400 degree Fahrenheit oven for 12-15 minutes. If you added sour cream and onions before storing, add these fresh when serving for the best texture and appearance.
For a quicker option, your air fryer at 375 degrees Fahrenheit for 5-7 minutes will also do the trick, crisping up the shells while reheating the fillings.
Nutrition Information
Each loaded potato skin (recipe makes 8) contains approximately 280-320 calories, depending on the exact amount of cheese and bacon used. The primary macronutrient contributors are carbohydrates from the potato and fat from the cheese and bacon.
Each serving provides around 15-18 grams of fat, 25-30 grams of carbohydrates, and 12-15 grams of protein. Sodium content can be significant due to the bacon, cheese, and seasoned salt, so keep that in mind if you are watching your sodium intake.
To reduce calories and fat, you can use reduced-fat cheese and turkey bacon, though the texture and flavor will differ slightly from the classic version. A dollop of Greek yogurt instead of sour cream also cuts fat while adding protein.
FAQs
What to put in loaded potato skins?
Classic loaded potato skins are filled with shredded sharp cheddar cheese and crispy bacon bits. After broiling, they are topped with sour cream and freshly sliced green onions or chives. You can also customize with BBQ sauce, pepperoni, buffalo chicken, or vegetarian options like sauteed mushrooms and spinach.
What’s the secret to great potato skins?
The secrets to great potato skins are using russet potatoes for their thick skins and starchy texture, brushing both sides generously with oil or melted butter before crisping, baking at high heat (425F) for the initial crisp, and finishing under the broiler for the cheese and bacon. Do not overcrowd during baking, and stay vigilant during the broiling step to avoid burning.
What’s the best way to cook potatoes in their skins?
The best way to cook potatoes for skins is to bake them whole at 425F until fork tender (45-55 minutes), then scoop out the flesh, brush with seasoned butter, and bake cut-side up until crispy (15-20 minutes). Finish by filling with cheese and bacon and broiling until the cheese melts and bacon crisps. This two-stage baking process ensures a fluffy interior and crispy exterior.
Conclusion
Loaded potato skins are the ultimate party appetizer that delivers big on flavor and crunch. This loaded potato skins recipe gives you all the tools and techniques you need to create crispy, cheesy, bacon-topped perfection right in your own kitchen. The two-stage baking process ensures you get that restaurant-quality crunch without any deep frying.
The beauty of this recipe lies in its versatility. Once you master the basic technique, you can endlessly customize your fillings to suit any taste preference or dietary requirement. From classic bacon and cheddar to BBQ, pizza, or vegetarian variations, there is a loaded potato skin for everyone.
Remember to prep your shells ahead and freeze them for stress-free entertaining. Your future self will thank you when you are hosting a party and can simply pull pre-filled shells from the freezer and have them on the table in under 30 minutes.
We hope this guide inspires you to fire up your oven and try this loaded potato skins recipe. Whether it becomes a game day tradition, a party staple, or just a comforting weeknight treat, these crispy, cheesy, bacon-topped beauties are sure to become a favorite in your household.
Happy cooking!