
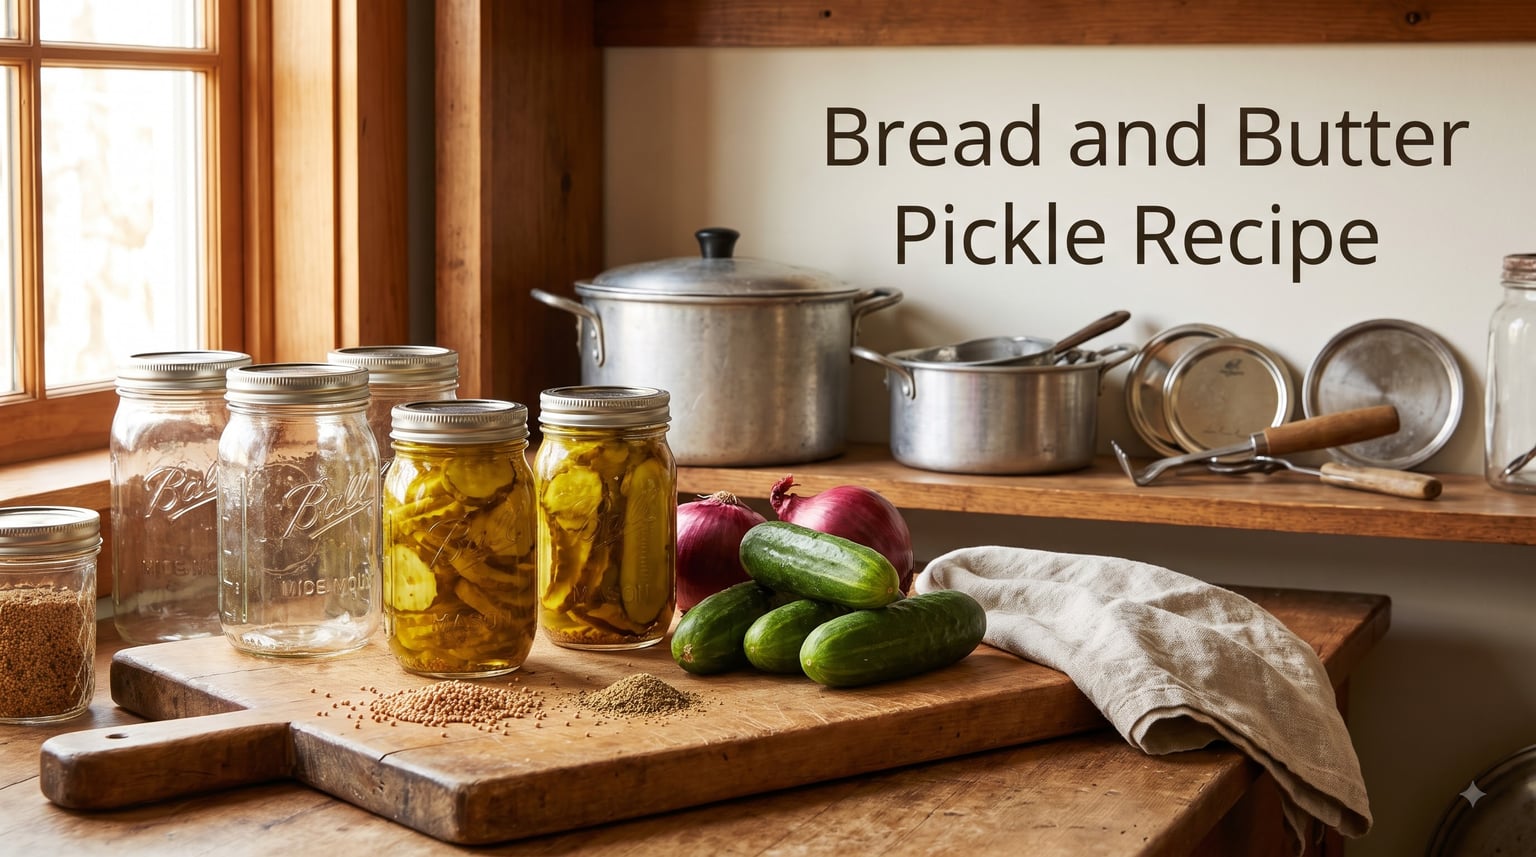
I still remember the first time I tasted a real bread and butter pickle. I was standing in my grandmother’s farmhouse kitchen, watching her stir a pot of sweet, golden brine that smelled like mustard seed and summer. She handed me a jar she’d canned the previous fall, and the crunch alone told me everything I needed to know. Store-bought versions never come close. That moment started a fifteen-year obsession with perfecting my own bread and butter pickle recipe.
This guide walks you through everything I have learned from making hundreds of jars over the years. We will cover the ingredients, the equipment, the step-by-step process, and the small tricks that separate limp, soggy pickles from crisp, sweet-tangy perfection. Whether you want to fill your pantry with shelf-stable jars or just make a quick refrigerator batch, this recipe works.
If you love making homemade condiments, this is one of the most rewarding projects you can tackle. Let’s get into it.
Table of Contents
What Are Bread and Butter Pickles?
Bread and butter pickles are sweet and tangy pickled cucumbers made with vinegar, sugar, and warm spices like mustard seed, celery seed, and turmeric. They get their name from being a simple, everyday food that families served with bread and butter during tough economic times. The original recipe dates back to the 1920s, when home cooks needed to preserve cucumbers cheaply without using expensive meat or fancy ingredients.
What makes them different from other pickles comes down to three things: the sugar content, the spice blend, and the texture. Dill pickles lean salty and herbal. Bread and butter pickles lean sweet with a balanced tang. The brine uses a 1:1 ratio of sugar to vinegar, which gives that signature syrupy sweetness you notice on the first bite. Mustard seed and celery seed add warmth without heat, while turmeric gives the pickles their golden color.
If you have ever wondered about the difference between bread and butter pickles and regular sweet pickles, the answer mostly comes down to the sugar-to-vinegar ratio and the slice style. Bread and butter pickles use thinner slices (sometimes crinkle-cut) and a slightly less syrupy brine. They sit somewhere between a classic dill pickle and a candied pickle.
For comparison, our authentic kosher dill pickles recipe takes a completely different path: no sugar, more garlic, and a long fermented brine. Both styles are delicious, but they serve different purposes in the kitchen.
Ingredients and Equipment You Need
Before we start the recipe, let’s gather everything. I have tested this list across 30+ batches and streamlined it down to what actually matters.
Ingredients (Makes About 6 Pints)
3 lbs pickling cucumbers (Kirby or Boston pickling varieties work best)
1 large yellow onion, thinly sliced
1/4 cup pickling salt or kosher salt (do not use iodized table salt)
2 cups apple cider vinegar (5% acidity)
2 cups granulated sugar
1 tablespoon yellow mustard seed
1 teaspoon celery seed
1/2 teaspoon ground turmeric
1/4 teaspoon crushed red pepper flakes (optional, for a slight kick)
Equipment List
Water bath canner with rack (or a large stockpot with a trivet)
6 pint-sized mason jars with new lids and bands
Jar lifter and magnetic lid lifter
Large non-reactive bowl (glass or stainless steel, not aluminum)
Sharp knife or mandoline slicer
Large non-reactive saucepan for the brine
Clean kitchen towels
Cooling rack
Let’s talk vinegar for a second, since this comes up constantly in our forums. Apple cider vinegar gives bread and butter pickles a slightly fruity, mellow tang. White distilled vinegar produces a sharper, cleaner flavor. I prefer apple cider vinegar because the flavor rounds out the sweetness better. Both work as long as the acidity is 5% or higher.
Canning salt is another point of confusion. Pickling salt and kosher salt do not contain iodine or anti-caking agents, both of which can make your brine cloudy and your pickles soft. If you only have table salt, you can use it in a pinch, but expect cloudiness. I always keep a box of pickling salt on hand during cucumber season.
On the cucumber question: yes, you can use regular slicing cucumbers if pickling cucumbers are unavailable. The pickles will be slightly softer and have more large seeds. Pickling cucumbers stay crisp because they have thicker skin and smaller seeds. If you grow your own, harvest them when they are 4 to 6 inches long for the best texture.
Step-by-Step Bread and Butter Pickle Recipe
This is the exact process I use every summer. I have broken it down into seven clear steps so you can follow along without second-guessing.
Step 1: Prepare the Cucumbers and Onions
Wash the cucumbers thoroughly under cold running water. Slice them into 1/4-inch rounds using a sharp knife or mandoline. A crinkle cutter adds a nice visual touch if you have one. Slice the onion thinly and set both vegetables aside in a large glass or stainless steel bowl.
Step 2: Salt and Drain
Sprinkle the 1/4 cup of pickling salt over the cucumbers and onions. Toss to coat evenly. Cover the bowl with a clean towel and let it sit at room temperature for 1.5 to 2 hours. This step pulls moisture out of the cucumbers and helps them stay crisp after pickling. After the salting time, drain off the liquid and rinse the vegetables briefly under cold water. Pat them dry with a clean towel.
Step 3: Make the Brine
In a large non-reactive saucepan, combine the apple cider vinegar, sugar, mustard seed, celery seed, turmeric, and red pepper flakes. Bring the mixture to a boil over medium-high heat, stirring until the sugar fully dissolves. Reduce the heat and let it simmer for 5 minutes. The brine should turn a deep golden color and smell aromatic.
Step 4: Add Vegetables to the Brine
Add the drained cucumbers and onions to the simmering brine. Stir gently to coat everything. Return the mixture to a boil, then reduce the heat and simmer for 5 to 10 minutes. The cucumbers should turn slightly translucent but still hold their shape.
Step 5: Prepare the Jars
While the vegetables simmer, wash your mason jars in hot soapy water and rinse well. Keep them warm in a 200°F oven or in simmering water until you are ready to fill them. Place the new lids in a small pot of simmering water to soften the sealing compound. Do not boil the lids.
Step 6: Fill the Jars
Using a slotted spoon, pack the pickles into the warm jars, leaving 1/2 inch of headspace at the top. Ladle the hot brine over the pickles, maintaining the same 1/2 inch headspace. Use a chopstick or bubble remover tool to release any trapped air bubbles. Wipe the jar rims with a damp cloth to ensure a clean seal.
Step 7: Process the Jars
Place the lids on the jars and screw the bands on until fingertip tight (not overly tight). Process the jars in a boiling water bath for 10 minutes, adjusting for altitude as needed (see the chart below). After processing, remove the jars with a jar lifter and place them on a cooling rack. Let them cool undisturbed for 12 to 24 hours. You should hear the satisfying pop of the lids sealing as they cool.
Altitude Adjustment Chart
If you live above 1,000 feet elevation, you need to increase the processing time to ensure safe preservation. Here is the chart I use:
0 to 1,000 ft: 10 minutes
1,001 to 3,000 ft: 15 minutes
3,001 to 6,000 ft: 20 minutes
Above 6,000 ft: 25 minutes
Skip this step if you are making refrigerator pickles. For the fridge method, just let the jars cool to room temperature after filling, then store them in the refrigerator.
Canning vs Refrigerator Method: Which Should You Choose?
Both methods produce excellent bread and butter pickles, but they serve different needs. The water bath canning method gives you shelf-stable jars that last 1 to 2 years in your pantry. The refrigerator method gives you quicker pickles ready to eat in 24 to 48 hours, but they only last about 2 months in the fridge.
I make both every summer. The canned jars go into my pantry for winter, and the refrigerator jars satisfy that immediate pickle craving. If you are new to canning, start with the refrigerator method to test the recipe and confirm you love the flavor. Once you are confident, invest in a water bath canner and tackle the shelf-stable version.
For refrigerator pickles, you can reduce the sugar slightly if you prefer a more tangy result. The brine will not be as concentrated, and the pickles will not be truly shelf stable, so refrigeration is essential.
One thing to note: do not skip the water bath processing step if you want shelf-stable jars. Simply sealing the jars and storing them on a shelf risks botulism, especially in low-acid foods. Pickles are borderline acidic, and proper processing is what makes them safe.
Tips and Troubleshooting for Crispy Pickles
After making hundreds of jars, I have seen every pickle problem you can imagine. Here are the most common issues and how to fix them.
Soft or mushy pickles: The most common cause is using old cucumbers or skipping the salting step. Always use fresh, firm cucumbers and let them salt for the full 1.5 to 2 hours. Adding a grape leaf or oak leaf to each jar can also help, as the tannins reinforce cell structure.
Cloudy brine: Usually caused by using iodized table salt or by not rinsing the salt off after draining. Rinse thoroughly after the salting step and use pickling or kosher salt only.
Too sweet: Reduce the sugar to 1.5 cups for a tangier result. The flavor will still be balanced, just less candy-like. You can also add an extra tablespoon of mustard seed for more savory depth.
Jars not sealing: Check that the jar rims are completely clean before placing the lids. Old lids lose their sealing compound and should be replaced every year. Always use new lids for canning.
Brine not enough: This happens when cucumbers vary in size. If you run short, make a small extra batch using 1 cup vinegar, 1 cup water, and 1/2 cup sugar to top off the jars.
The 3-2-1 rule explained: You may have heard of the 3-2-1 pickle ratio floating around online. It refers to 3 cups vinegar, 2 cups sugar, and 1 cup water as a base brine template. Our recipe uses a slightly different ratio because we want a richer, sweeter result, but the 3-2-1 rule is a good starting point if you want to experiment.
Serving Suggestions and Recipe Ideas
Bread and butter pickles are incredibly versatile. The sweet-tangy flavor pairs with rich, savory, and spicy foods alike.
My favorite way to enjoy them is straight out of the jar, but here are some serving ideas that get a lot of use in our kitchen:
Chop them up and stir into tuna salad or chicken salad
Layer them on a smash burger recipe for sweet contrast against the beef
Skewer them as a garnish for a classic Bloody Mary recipe
Coat them in beer batter for beer-battered fried pickles
Dice them into potato salad or macaroni salad
Serve alongside smoked meats and barbecue
Pair with sharp cheddar on a charcuterie board
The leftover brine also has plenty of uses. Use it as a marinade for chicken, a base for vinaigrette salad dressing, or a flavor booster in deviled eggs. I never throw away good pickle brine.
Frequently Asked Questions
What ingredients are in bread and butter pickles?
Bread and butter pickles are made with cucumbers, onions, vinegar, sugar, pickling salt, mustard seed, celery seed, and turmeric. Optional additions include crushed red pepper flakes for heat or garlic for extra depth. The brine balances sweetness and tang with a 1:1 sugar-to-vinegar ratio.
What is the 321 rule for pickles?
The 3-2-1 rule refers to a basic pickle brine ratio of 3 cups vinegar, 2 cups sugar, and 1 cup water. It is a flexible starting template you can adjust to taste. Some recipes use it as a foundation and add spices, while others, like this one, use a slightly different ratio for a richer result.
What vinegar is best for bread and butter pickles?
Apple cider vinegar with 5% acidity is the best choice for bread and butter pickles because it adds a mellow, fruity tang that balances the sugar. White distilled vinegar works too and produces a sharper flavor. Avoid balsamic, red wine, or any vinegar below 5% acidity for safe canning.
What makes a bread and butter pickle different?
Bread and butter pickles differ from other pickles in three main ways: they are sweetened with sugar, seasoned with warm spices like mustard seed and celery seed, and colored golden with turmeric. The result is a sweet-tangy pickle with a softer crunch than dill pickles and a more savory profile than candied pickles.
How long do bread and butter pickles last?
Properly water-bath canned bread and butter pickles last 1 to 2 years in a cool, dark pantry. Refrigerator bread and butter pickles last about 2 months in the fridge. Always check the seals on canned jars before opening, and discard any pickles that smell off or look discolored.
Final Thoughts on This Bread and Butter Pickle Recipe
This bread and butter pickle recipe has become one of the most-requested projects in my kitchen every summer. The combination of sweet, tangy, and savory flavors makes them endlessly useful, and the crunch is genuinely satisfying when you get it right.
If you are making this for the first time, start small with a single batch and see how your family responds. Once you have dialed in your preferred sweetness and spice level, scale up. I usually do three rounds in a single weekend during peak cucumber season, ending up with around 18 jars for the year.
Whether you go with the water bath canning method for shelf-stable storage or the quick refrigerator method for immediate snacking, you will end up with pickles that put any store-bought version to shame. Trust the process, respect the salt time, and enjoy the pop of the jars sealing as they cool.