
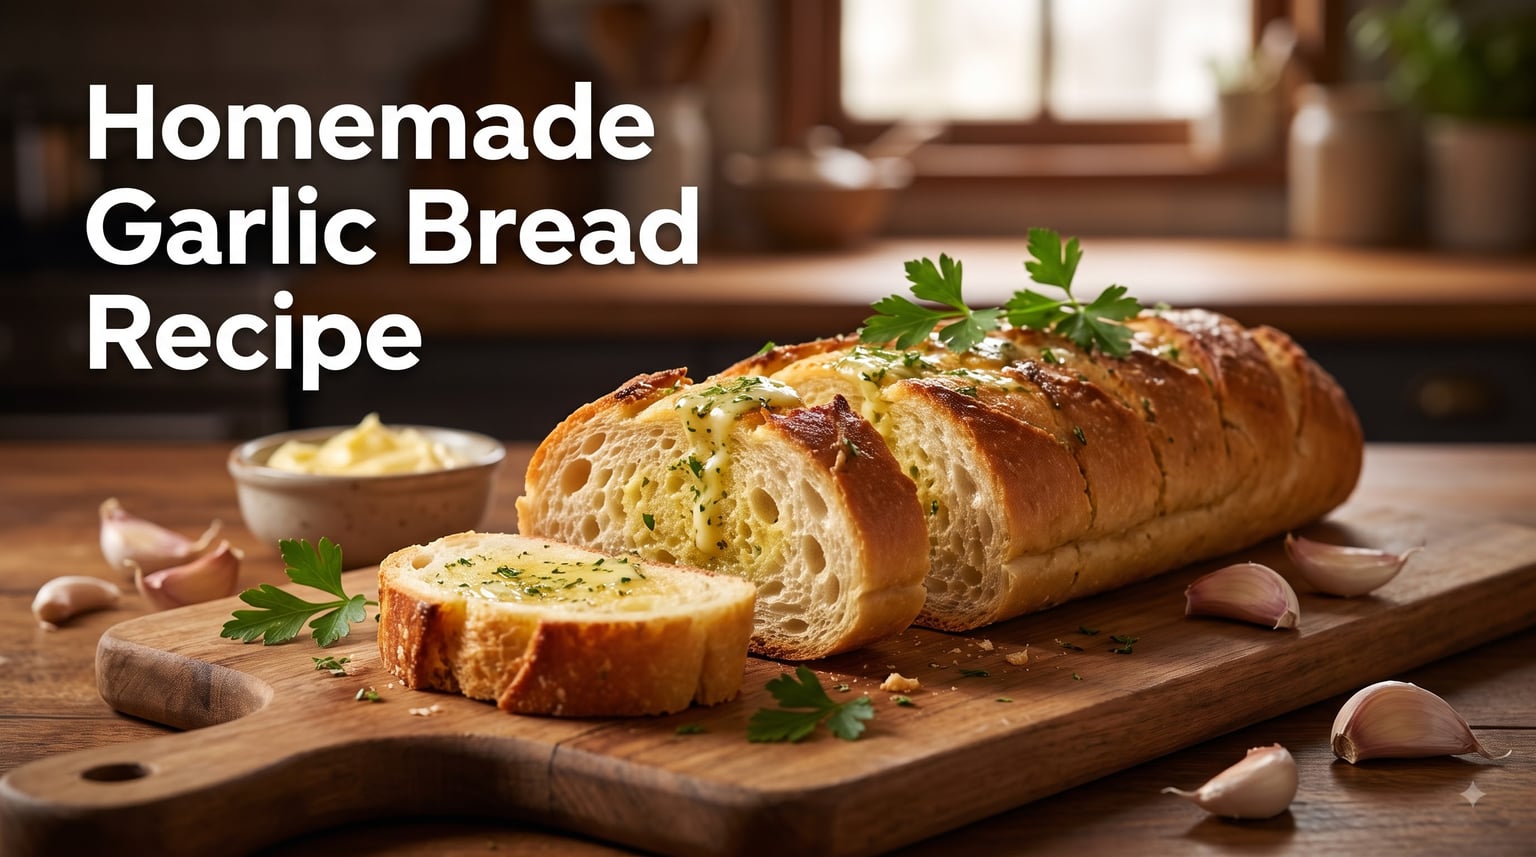
I have made garlic bread hundreds of times at home, and I still get excited when I pull a loaf out of the oven with golden, bubbling butter. This homemade garlic bread recipe is the one my family asks for every week, and it tastes ten times better than anything from the freezer aisle.
The difference comes down to three things: real butter, fresh garlic, and a proper French baguette. Skip the jarred garlic, don’t skimp on the butter, and toast under the broiler with your eyes on it. That is the whole game.
In this guide, I will show you exactly how I make it, including the bread I trust, the garlic butter ratio that works, and how to get it crispy on the outside and soft in the middle. I will also cover storage, freezing, and what to serve with it.
Table of Contents
Ingredients You Need for Homemade Garlic Bread
You only need seven simple ingredients for this homemade garlic bread, and most are already in your kitchen. The star is fresh garlic, not the jarred kind.
1 French baguette or Italian loaf (about 16 to 18 inches long)
1/2 cup (1 stick) salted butter, softened to room temperature
4 to 5 fresh garlic cloves, finely minced (about 2 tablespoons)
2 tablespoons fresh parsley, finely chopped
1 tablespoon olive oil (helps the butter spread evenly)
1/4 cup grated Parmesan cheese (optional but recommended)
1/2 teaspoon Italian seasoning (optional)
Pinch of sea salt and freshly cracked black pepper to taste
Fresh garlic is the single most important ingredient. I tested this side by side with jarred minced garlic, and the jarred version tasted sour and flat. Fresh cloves take about 30 seconds to mince and produce a noticeably better flavor.
For cheese lovers, add 1 cup of shredded mozzarella in the last 2 minutes of baking for that pizzeria-style pull-apart effect.
What Type of Bread Works Best for Garlic Bread?
The best bread for homemade garlic bread is a thin-crusted French baguette. I prefer a baguette over a fat Italian loaf because the crust toasts crisp without turning into a rock, and the inside stays soft and fluffy.
Here is how the common bread choices compare:
French baguette: Thin crust, airy interior, classic shape for slicing on the diagonal. My top pick for this recipe.
Italian loaf: Slightly thicker crust, denser crumb. Works well but needs a few extra minutes in the oven.
Ciabatta: Chewy texture with big holes. Great for rustic presentation but absorbs butter unevenly.
Sliced sandwich bread: Works in a pinch for soft garlic bread, but it will not get crispy.
Pick a baguette that feels light for its size. A heavy loaf means a dense crumb, which gets gummy under all that butter. If you want to bake from scratch, our beer bread recipe makes a great stand-in for the baguette.
How to Make the Garlic Butter Spread
The garlic butter is where the flavor lives, so I never rush this step. I use a fork in a small bowl to mash everything together until it is smooth and spreadable.
Here is my method: let the butter sit on the counter for 30 to 45 minutes until it gives slightly when pressed. Cold butter tears the bread, and melted butter runs straight off and pools at the bottom of the pan.
Mash the softened butter with the minced garlic, chopped parsley, olive oil, Parmesan, and Italian seasoning. I taste a tiny dab on my finger at this point and adjust the salt. The butter should taste boldly of garlic and salt since the bread itself is bland.
For a deeper, almost nutty flavor, you can sauté the minced garlic in the olive oil for 60 seconds over low heat before mixing it into the butter. This is the trick restaurant kitchens use, and it removes any sharp raw bite. I do this version when I have time.
If you want to take the spread even further, our homemade truffle butter recipe swaps in beautifully for an upgraded dinner-party version.
How to Make Homemade Garlic Bread Step by Step?
This homemade garlic bread comes together in about 20 minutes from start to finish. Prep is 10 minutes, bake is 10 minutes. Here is the exact sequence I follow every time.
Step 1: Preheat and prep. Preheat your oven to 400 degrees F and line a rimmed baking sheet with parchment paper. Slice the baguette in half lengthwise, then cut each half into two shorter pieces so you have four manageable slices.
Step 2: Score the cut sides. Using a serrated knife, lightly score the cut sides of the bread in a shallow crosshatch pattern. This helps the butter seep into every bite without slicing all the way through.
Step 3: Spread the garlic butter. Spoon the garlic butter onto the cut sides and spread it edge to edge with a butter knife. I use every last bit, scraping the bowl clean. Any butter left behind is missed flavor.
Step 4: Bake covered for 8 minutes. Place the bread butter-side-up on the baking sheet and cover loosely with aluminum foil. Bake for 8 minutes so the butter melts down into the crumb and the bread warms through without burning the top.
Step 5: Broil uncovered for 2 to 3 minutes. Remove the foil, switch the oven to broil, and slide the bread back in. Watch it closely. The top should turn golden brown with a few darker spots. Anything past three minutes under the broiler risks burning.
Step 6: Slice and serve immediately. Pull the bread out, sprinkle with a little extra parsley, and slice each piece into 2-inch segments. Serve hot.
Crispy vs Soft Garlic Bread: How to Get Both
The texture comes down to how you bake it. After running this recipe through my kitchen more times than I can count, I settled on two reliable methods.
For crispy garlic bread, leave the foil off the entire time and bake at 425 degrees F for about 10 to 12 minutes. The crust gets shatter-crisp and the edges turn deep golden. This is the version I serve with saucy pasta where the bread soaks up the sauce.
For soft garlic bread, keep the foil on for the full bake at 400 degrees F. The steam trapped under the foil keeps the top tender and pillowy. This is what my kids prefer with soup.
For a hybrid, do the foil-off bake first for 6 minutes, then broil for the last 2 minutes. You get a soft interior with crisp edges. My family usually votes for this version.
A common mistake is drenching the bread in butter. I stick to half a stick per baguette. More butter makes the bread soggy at the bottom because it cannot absorb it all before the top burns.
Cheese Variations and Flavor Upgrades
Cheese on garlic bread is optional, but it is one of the easiest upgrades in the book. Mozzarella is the classic choice because it melts into long strands, while Parmesan adds a salty, nutty bite.
My favorite combinations are:
Mozzarella + Parmesan: Sprinkle 1 cup shredded mozzarella over the buttered bread, then add 2 tablespoons grated Parmesan. Broil until the cheese bubbles and turns golden in spots.
Cheddar + jalapeño: For game day, swap in sharp cheddar and add thin jalapeño slices under the cheese.
Three-cheese Italian: Mix mozzarella, provolone, and Parmesan for a deeper, more complex melt.
For a vegan version, replace the butter with a high-quality vegan butter stick (not margarine from a tub) and skip the Parmesan, or use a vegan Parmesan alternative. The bread itself is already dairy-free, so this switch is easier than most people expect.
Fresh herbs take this bread from good to memorable. I rotate between parsley, basil, and chives depending on what I have on hand. Dried herbs work too, but you only need about a third of the amount since the flavor is concentrated.
How to Store, Freeze, and Reheat Garlic Bread
Homemade garlic bread keeps well for a few days, and yes, you can freeze it. I often make a double batch on Sunday and freeze half for busy weeknights.
Room temperature: Wrap leftover garlic bread in foil and leave on the counter for up to 2 days. The crust will soften, so plan to reheat before serving.
Refrigerator: Store in an airtight container or foil wrap for up to 5 days. The bread will dry out a bit, so revive it with a few minutes in a 350 degree F oven.
Freezer: Wrap each piece tightly in plastic wrap, then in foil, and freeze for up to 3 months. Label the date so you know when to use it.
Reheating: From frozen, unwrap and place directly on a baking sheet in a 375 degree F oven for 8 to 10 minutes. For extra-crispy results, finish under the broiler for the last 60 seconds.
Make-ahead method: Assemble the bread with the butter spread but skip the bake. Wrap tightly in foil and refrigerate for up to 24 hours. When ready, bake at 400 degrees F for 12 minutes, then broil for 2 minutes. This is my go-to for dinner parties.
What to Serve With Homemade Garlic Bread
Garlic bread is the ultimate side, and it pairs with almost anything that has a sauce to soak up. Here are my favorite pairings from the Thirsty Bear kitchen.
For pasta nights, serve it alongside a classic San Giorgio lasagna or a bubbling 3 cheese mac and cheese. The bread is perfect for mopping up tomato sauce and cheese drippings.
It also works with soups like minestrone, tomato basil, and French onion. Tear off a piece and float it on top of the soup for a quick riff on the French classic.
For heartier mains, pair it with a grilled steak, roasted chicken, or baked ziti. Garlic bread also shows up on pizza night, game day spreads, and any Italian-American dinner.
Common Mistakes to Avoid
After hundreds of loaves, I have made every mistake in the book. These are the ones that catch home cooks most often.
Using jarred garlic. It tastes sour and one-dimensional. Fresh cloves take 30 seconds to mince and produce noticeably better flavor.
Spreading cold butter. It tears the bread and leaves bald patches. Always soften the butter first.
Walking away from the broiler. Garlic bread can go from golden to burnt in under 30 seconds. Stay close and watch it.
Overloading the butter. More is not better. Half a stick per baguette is the sweet spot before the bottom turns soggy.
Skipping the salt. Bread is bland, so the butter needs real salt to make the flavor pop. Taste the spread before you put it on the loaf.
If your garlic bread comes out soggy, the two usual culprits are too much butter or not enough heat. Crank the oven to 425 degrees F and bake uncovered for the last few minutes to dry out the base.
Frequently Asked Questions
How do I make garlic bread from scratch?
To make garlic bread from scratch, slice a French baguette in half lengthwise. Mix softened butter with minced fresh garlic, parsley, olive oil, and Parmesan. Spread the butter mix edge to edge on the cut sides, bake at 400 degrees F for 8 minutes covered with foil, then broil uncovered for 2 to 3 minutes until golden brown.
What are common mistakes when making garlic bread?
The most common mistakes are using jarred garlic instead of fresh, spreading cold butter that tears the bread, walking away from the broiler and burning the top, using too much butter which makes the bread soggy, and forgetting to salt the garlic butter so the flavor pops.
What are the three ingredients in garlic bread?
The three core ingredients in garlic bread are bread, butter, and fresh garlic. Most recipes also add parsley and salt, and many include Parmesan cheese or olive oil for extra flavor.
How do restaurants make their garlic bread?
Restaurants typically make garlic bread by softening butter to spreadable room temperature, mixing it with finely minced fresh garlic, parsley, and salt, then slathering it on a sliced baguette. They bake at high heat and finish under a broiler to get a crisp top with a soft center. Some kitchens sauté the garlic in butter first for a deeper, less sharp flavor.
Can you freeze homemade garlic bread?
Yes, you can freeze homemade garlic bread for up to 3 months. Wrap each piece tightly in plastic wrap, then in foil, and store in the freezer. Reheat from frozen in a 375 degree F oven for 8 to 10 minutes, finishing under the broiler for the last minute for a crispy top.
Final Thoughts on This Homemade Garlic Bread Recipe
This homemade garlic bread recipe is the kind of side dish that turns a regular Tuesday dinner into something people remember. It takes 20 minutes, uses seven ingredients, and beats any store-bought version by a mile.
Make it tonight with a French baguette, real butter, and fresh garlic. Use the foil method for soft, broil for crispy, and watch the broiler the whole time. Once you nail the butter-to-bread ratio, you will never go back to the frozen stuff.