
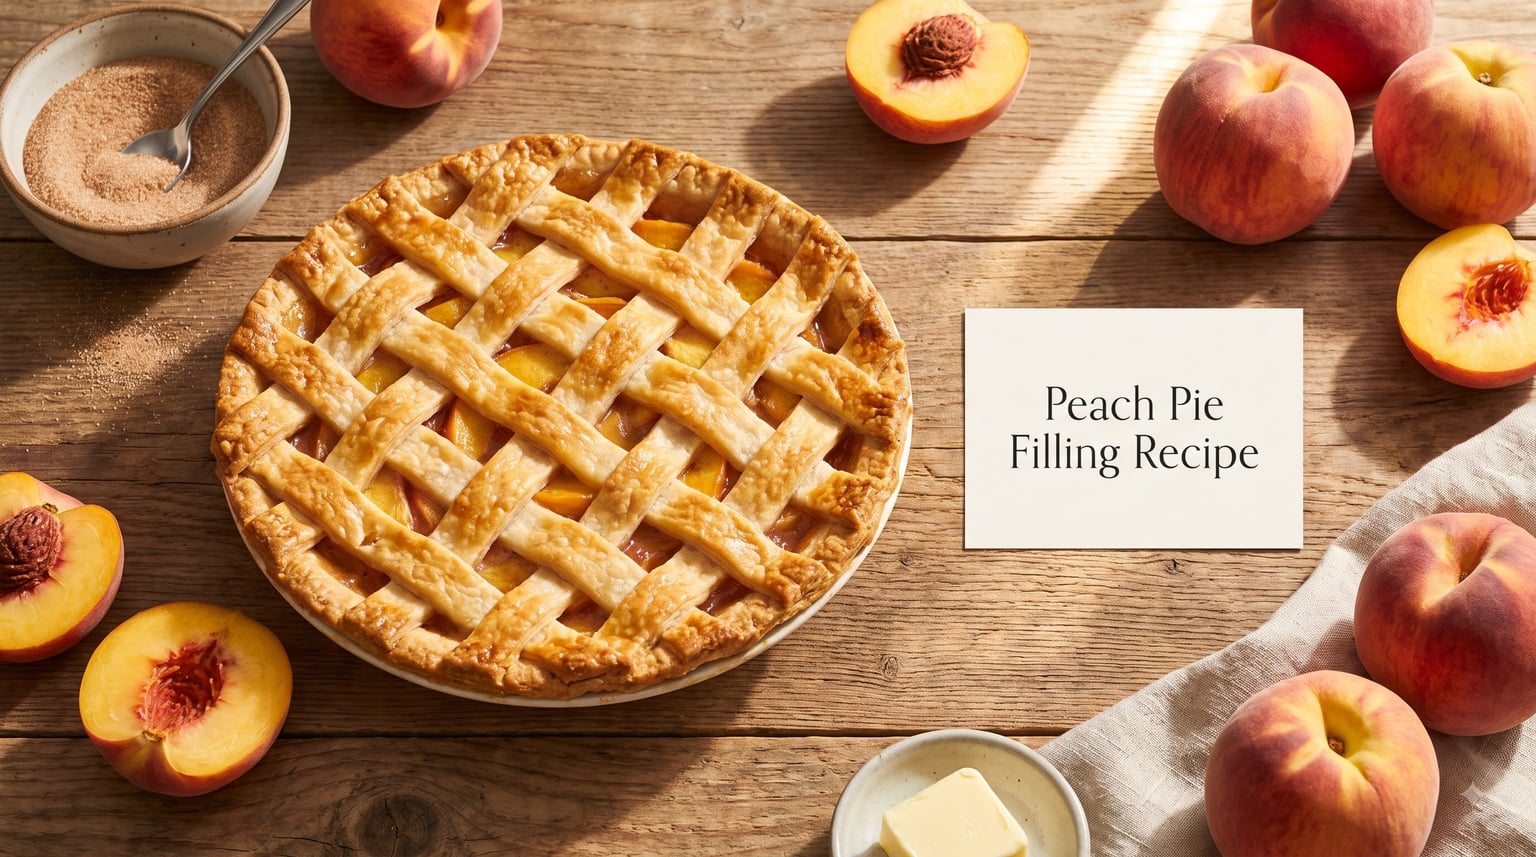
I’ve been making peach pie filling from scratch for nearly a decade, and I still remember the first time I pulled a bubbling golden pie out of the oven. The kitchen smelled like late July, the filling held its shape when sliced, and the crust stayed crisp on the bottom. That moment sent me down a long path of testing thickeners, peeling methods, and sugar ratios.
This homemade peach pie filling recipe is the version I keep coming back to. It uses simple pantry ingredients, works with fresh, frozen, or canned peaches, and gives you a glossy, sliceable filling every single time. I’ll walk you through every step, explain why each move matters, and show you how to fix common problems like runny or clumpy filling.
If you’re a beginner baker or a seasoned pie maker, you’ll find the tips below useful. By the end, you’ll have a peach pie filling recipe you can pull off confidently for cobblers, cheesecakes, turnovers, or a classic double-crust pie.
Table of Contents
What You Need: Peach Pie Filling Ingredients
Every great peach pie filling starts with the right ingredients in the right ratios. I tested this combination over many summers, and these measurements produce a filling that’s thick enough to slice but still juicy and tender.
For one 9-inch pie (about 8 servings):
6 cups fresh peaches, peeled and sliced (about 9 medium peaches or roughly 2.5 pounds)
3/4 cup granulated sugar
1/4 cup light brown sugar, packed
1/4 cup cornstarch
1 tablespoon lemon juice, freshly squeezed
1 teaspoon vanilla extract
1/2 teaspoon ground cinnamon
1/4 teaspoon salt
1/8 teaspoon almond extract (optional but recommended)
2 tablespoons unsalted butter
The brown sugar adds depth without overpowering the fruit. Cornstarch is my go-to thickener for everyday baking because it’s reliable, clear, and easy to find. Lemon juice brightens the flavor and prevents the peaches from browning. If you’re new to baking, our essential baking spices guide explains how cinnamon and other warming spices work in fruit desserts.
How to Prepare Fresh Peaches for Pie Filling?
Fresh peaches need a little prep before they hit the saucepan. The skin has to come off, and you want to handle the fruit gently so the slices hold their shape during cooking.
The Blanching Method for Easy Peeling
I’ve tried every peeling method out there. The boiling water bath is the fastest and least wasteful, especially when you’re working with 9 or 10 peaches at a time.
Bring a large pot of water to a rolling boil.
Score a small X on the bottom of each peach with a paring knife.
Drop the peaches into the boiling water for 30 to 45 seconds.
Remove with a slotted spoon and immediately plunge into an ice bath for 1 minute.
The skins will slip right off with your fingers or a paring knife.
Don’t leave the peaches in the hot water too long. They’ll start to cook and turn mushy, which makes for a softer filling. Once peeled, slice each peach into 1/4 to 1/2 inch wedges and discard the pits.
Why the Lemon Juice Matters
Toss your sliced peaches with the tablespoon of lemon juice right away. The acid slows oxidation, so your filling stays bright instead of turning brown. Lemon juice also balances the sweetness and helps the cornstarch activate properly when you heat everything together.
How to Make Peach Pie Filling from Scratch?
This is the part where everything comes together. I’ll break it into clear steps so you can follow along without flipping back and forth.
In a small bowl, whisk together the granulated sugar, brown sugar, cornstarch, cinnamon, and salt. Mixing the dry ingredients first prevents cornstarch clumps in the finished filling.
In a large nonstick saucepan, combine the sliced peaches and lemon juice over medium heat. Cook for 3 to 4 minutes, stirring gently, until the peaches start to release their juices.
Sprinkle the sugar-cornstarch mixture over the peaches and stir to coat. Keep stirring for 1 to 2 minutes as the mixture begins to bubble.
Bring the filling to a gentle simmer and cook for 8 to 10 minutes. The liquid will start to thicken and turn glossy. Don’t rush this step. Patience here pays off with a filling that holds together when sliced.
Remove the pan from heat and stir in the butter, vanilla extract, and almond extract. The butter adds richness and a silky mouthfeel.
Let the filling cool for at least 15 minutes before pouring it into your pie crust. Warm filling in a cold crust can lead to a soggy bottom.
The total active time is about 25 minutes, and you’ll have enough filling for one 9-inch double-crust pie or two smaller pies. If you’re baking right away, preheat your oven to 425°F while the filling cools.
Choosing the Right Thickener for Your Peach Pie Filling
Cornstarch is the most common thickener for peach pie filling, but it’s not the only option. The right pick depends on whether you’re baking, freezing, or canning the filling. Each thickener behaves differently under heat, and using the wrong one can leave you with a runny or cloudy mess.
Cornstarch: My top choice for everyday baking. It creates a clear, glossy filling and thickens at around 203°F. Use 1/4 cup per 6 cups of peaches. It breaks down after prolonged cooking, so add it late in the process.
Clear Jel: A modified cornstarch that’s the only safe thickener for canning peach pie filling. It holds up during the long boiling-water-bath processing that canning requires. Use the same ratio as cornstarch.
Tapioca starch: A great alternative if you want a filling with a slightly chewier texture. It also freezes better than cornstarch. Use 3 tablespoons per 6 cups of peaches.
All-purpose flour: Works in a pinch but creates a cloudier filling with a slightly raw flour taste if not cooked long enough. Use 1/3 cup per 6 cups of peaches and cook thoroughly.
For a regular baked pie, cornstarch is the easiest and most forgiving. If you’re planning to can jars of peach pie filling for the pantry, switch to Clear Jel. Canning with cornstarch is unsafe because it breaks down during the long processing time and creates conditions for bacterial growth.
Fresh vs Frozen vs Canned Peaches: Which Works Best?
The type of peaches you use changes the recipe a little. Here’s what I’ve learned from making this filling hundreds of times in all three forms.
Fresh peaches: Best flavor and texture when they’re in season from June through August. Choose freestone varieties like Elberta or Redhaven so the pits come out cleanly.
Frozen peaches: A solid option in winter. Thaw them overnight in the refrigerator and drain off about 1/3 of the liquid before cooking. Add an extra teaspoon of cornstarch since frozen fruit releases more water.
Canned peaches: Convenient year-round. Drain them well and reduce the sugar by 2 tablespoons since canned fruit sits in syrup. You can also use peach pie filling straight from the can and doctor it up with fresh lemon juice and cinnamon.
If you have leftover fresh peaches, try them in our white sangria with fresh peaches or a bourbon peach smash cocktail. Both recipes put ripe summer peaches to delicious use.
Troubleshooting Runny or Clumpy Peach Pie Filling
Even with a great recipe, things sometimes go sideways in the kitchen. Here are the most common problems and exactly how to fix them.
Why Won’t My Peach Pie Filling Thicken?
If your filling stays soupy after 10 minutes of simmering, the cornstarch hasn’t activated yet. Cornstarch needs to reach 203°F to gel properly. Bring the mixture back to a gentle boil and keep stirring for another 3 to 4 minutes. If it’s still thin, mix 1 tablespoon of cornstarch with 2 tablespoons of cold water and stir it into the simmering filling. Let it cook for 2 more minutes.
How to Fix Clumpy Filling
Clumps happen when dry cornstarch hits hot liquid without being whisked in first. To prevent this, always mix cornstarch with the sugar before adding it to the pan. If you already have clumps, press the filling through a fine-mesh sieve to break them up.
Why Did My Peach Pie Turn Out Runny?
A runny baked pie usually means the filling didn’t cook long enough on the stovetop, or the pie didn’t bake hot enough to finish thickening in the oven. Make sure your filling simmers for the full 8 to 10 minutes before pouring it into the crust. Bake the assembled pie at 425°F for the first 20 minutes, then drop the temperature to 375°F for another 30 to 35 minutes. The filling should bubble thickly in the center when it’s done.
How to Store Peach Pie Filling (Fridge, Freezer, and Canning)?
One batch makes more filling than you’ll likely need for a single pie. Here’s how to keep it fresh for later.
Refrigerator: Cool the filling completely, transfer to an airtight container, and store for up to 5 days. Use it straight from the fridge for cobblers, ice cream topping, or a quick weekday pie.
Freezer: Pour the cooled filling into freezer-safe bags or containers, leaving 1/2 inch of headspace for expansion. Freeze for up to 12 months. Thaw in the refrigerator overnight before using.
Canning: Only safe with Clear Jel as the thickener. Ladle hot filling into sterilized jars, process in a boiling water bath for the time recommended by the National Center for Home Food Preservation, and store in a cool, dark place for up to 18 months.
Homemade peach pie filling makes a great make-ahead gift. Pour it into a mason jar, tie a ribbon around it, and add a handwritten tag with reheating instructions.
Flavor Variations and Other Uses for Peach Pie Filling
Once you have a batch of peach pie filling ready, the dessert possibilities are nearly endless. Here are some of my favorite tweaks and second uses.
Spice and Flavor Variations
Add 1/4 teaspoon of nutmeg or allspice for a warmer spice profile.
Swap almond extract for an equal amount of maple extract for a fall-inspired twist.
Stir in 1 tablespoon of bourbon or rum after removing the pan from heat for an adult-only version.
Mix in 1/2 cup of fresh raspberries or blueberries for a mixed-fruit filling.
Beyond the Pie Crust
Cobbler or crisp: Spoon the filling into a baking dish, top with biscuit dough or oat crumble, and bake at 375°F for 30 to 35 minutes.
Cheesecake topping: Chill the filling and spoon it over a plain New York cheesecake.
Ice cream topping: Warm a few spoonfuls and drizzle over vanilla or butter pecan ice cream.
Turnovers and hand pies: Wrap cooled filling in puff pastry, brush with egg wash, and bake until golden.
Yogurt or oatmeal: Stir a spoonful into morning oatmeal or Greek yogurt for a sweet breakfast.
If you love finding new ways to use fresh fruit, our collection of classic nostalgic recipes has plenty of inspiration for comfort food bakes and old-fashioned desserts.
Frequently Asked Questions About Peach Pie Filling
What are the ingredients for filling a peach pie?
A classic peach pie filling uses sliced peaches, granulated sugar, brown sugar, cornstarch, lemon juice, vanilla extract, cinnamon, salt, and butter. For one 9-inch pie, you’ll need about 6 cups of peeled, sliced peaches, 3/4 cup granulated sugar, 1/4 cup brown sugar, 1/4 cup cornstarch, and a tablespoon of lemon juice.
What is the best thickener for peach pie?
Cornstarch is the best thickener for a baked peach pie. It creates a clear, glossy filling that holds its shape when sliced. For canning, use Clear Jel instead, because regular cornstarch breaks down during the long boiling-water processing. Tapioca starch is another solid option if you prefer a slightly chewier texture.
Can canned peaches be used for pie filling?
Yes, canned peaches work well for pie filling. Drain them well before using and reduce the sugar in your recipe by about 2 tablespoons, since canned peaches are packed in syrup. You can also use store-bought canned peach pie filling and doctor it up with fresh lemon juice, cinnamon, and a pinch of almond extract.
Why won’t my pie filling thicken?
Your pie filling won’t thicken if the cornstarch hasn’t reached its activation point of about 203°F. Keep the mixture at a gentle simmer and stir constantly for 8 to 10 minutes. If it’s still thin, whisk 1 tablespoon of cornstarch with 2 tablespoons of cold water and stir it into the simmering filling until it thickens.
How long does peach pie filling last in the fridge?
Homemade peach pie filling keeps in the refrigerator for up to 5 days when stored in an airtight container. For longer storage, freeze it for up to 12 months or can it in sterilized jars using Clear Jel for up to 18 months of pantry storage.
Final Thoughts on Making Homemade Peach Pie Filling
Making peach pie filling from scratch is one of those summer kitchen rituals that rewards patience and a little know-how. Once you’ve nailed the basic ratio and the simmer time, you can riff on it all year long with different spices, extracts, and stone fruits.
Start with fresh peaches when they’re at their peak, use cornstarch for everyday baking, and switch to Clear Jel if you want to can jars for the pantry. Most importantly, give the filling time to simmer so the cornstarch can fully activate. That’s the single biggest difference between a sliceable pie and a soupy one.
Pull out your saucepan, grab a bag of ripe peaches, and give this peach pie filling recipe a try this week. Once you taste the difference between homemade and canned, you’ll never go back.