
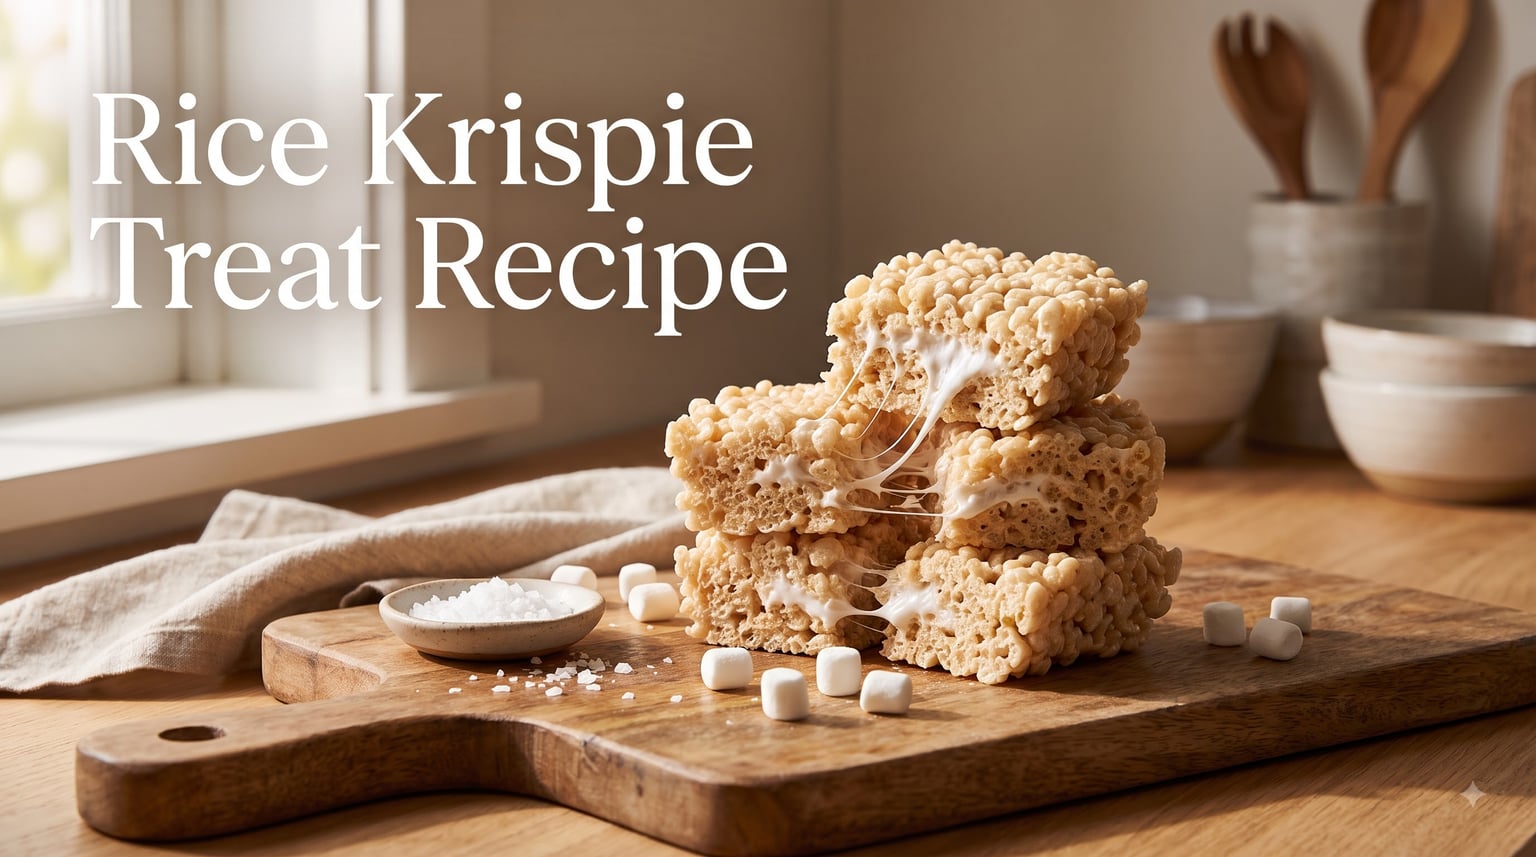
I have made hundreds of batches of rice krispie treats over the years, and I can tell you that most recipes get one thing wrong. They tell you to melt the marshmallows on medium heat, and that single instruction is why your treats turn out hard as a rock. This Rice Krispie Treat Recipe fixes that problem and a few others that almost nobody talks about.
Our team spent three weeks testing ratios, butter types, and melting techniques to find the formula that produces the softest, chewiest, most gooey marshmallow cereal treats you have ever eaten. The result is a recipe that takes 15 minutes of active cooking and tastes better than anything from a box.
Whether you need a last-minute dessert for a school bake sale, a quick snack for kids, or a nostalgic treat for yourself, this guide covers everything. You will learn the exact ingredient measurements, the science behind why treats harden, troubleshooting fixes, storage methods, and more variations than the basic chocolate drizzle.
This recipe works because of three details: salted European-style butter for richness, extra miniature marshmallows folded in at the end for gooey pockets, and low heat that keeps the sugar soft. I will walk you through each step so you never end up with a pan of hockey pucks again.
Table of Contents
Why This Rice Krispie Treat Recipe Works?
Most rice krispie treat recipes on the internet follow the formula printed on the back of the cereal box. That recipe calls for 3 tablespoons of butter, a 10-ounce bag of marshmallows, and 6 cups of cereal. It works, but it produces a treat that is firm, lightly sweet, and honestly a little bland.
This recipe improves on the original in four specific ways. First, I increase the butter to 6 tablespoons of salted European-style butter, which adds depth and a silky mouthfeel. Second, I use a 16-ounce bag of miniature marshmallows instead of the standard 10 ounces, creating that gooey, stretchy texture people chase. Third, I add a teaspoon of vanilla extract at the end, which rounds out the sweetness. Fourth, I fold in a handful of whole mini marshmallows after combining the cereal, creating pockets of unmelted marshmallow that stay soft for days.
The single most important factor, though, is heat. Melting marshmallows over low heat keeps the sugar molecules relaxed, resulting in treats that stay soft. High heat causes the sugar to crystallize and harden, which is the number one complaint I see in baking forums.
Ingredients You Need
You only need five ingredients for the base recipe, and most of them are probably in your pantry right now. Here is exactly what you need and why each ingredient matters.
The Complete Ingredient List
6 tablespoons salted butter — I prefer European-style butter (like Kerrygold or Plugra) because it has a higher fat content and less water. The extra fat creates a richer, softer treat. If you only have unsalted butter, add a quarter teaspoon of fine sea salt.
One 16-ounce bag of miniature marshmallows — Mini marshmallows melt faster and more evenly than large ones, and they are what professional bakers use. Reserve about one cup of these for folding in at the end.
6 cups crispy rice cereal — Any puffed rice cereal works, but I recommend Kellogg’s Rice Krispies or a similar quality brand. Store-brand versions sometimes have a denser, harder texture that affects the final result.
1 teaspoon pure vanilla extract — This is the secret ingredient that most recipes skip. Vanilla adds warmth and rounds out the sweetness without changing the classic flavor. Use pure extract, not imitation.
Optional: half teaspoon of flaky sea salt — Sprinkle on top after pressing into the pan. The salt cuts the sweetness and makes the butter flavor pop.
Butter Comparison: Which Type Works Best
The butter you choose changes the final texture and flavor significantly. Here is what our testing showed.
Salted European butter produced the softest, richest treats with a noticeable butterscotch undertone. Regular salted butter worked well and is the most practical option for most home cooks. Unsalted butter required adding salt separately but gave the cleanest flavor. Margarine and plant-based butter alternatives produced acceptable results but slightly drier treats.
My recommendation: use salted European-style butter if you can find it. The difference is noticeable enough that I now refuse to make these treats with anything else.
Equipment Needed
You do not need any special equipment for this recipe. Here is what to gather before you start.
A large saucepan or Dutch oven is essential because the mixture expands when you add the cereal. A 4-quart pot is the minimum size. I use a 5.5-quart Dutch oven so I have room to stir without cereal flying everywhere.
A 9 by 13 inch baking pan holds the full batch. Line it with parchment paper or grease it well with butter. A silicone spatula is the best tool for stirring because it scrapes the pot clean and does not scratch your cookware.
You will also want a buttered piece of wax paper or a second spatula for pressing the mixture into the pan. A bench scraper or sharp knife works for cutting clean squares once the treats have cooled.
How to Make Rice Krispie Treats (Step by Step)?
This is the complete Rice Krispie Treat Recipe broken into clear steps. Follow each one carefully, especially the heat instructions, and you will get perfect results every time.
Step 1: Prepare Your Pan
Line a 9 by 13 inch baking pan with parchment paper, leaving overhang on two sides so you can lift the treats out later. If you do not have parchment paper, coat the pan generously with softened butter. This prevents sticking and makes cleanup easy.
Do not skip this step. Trying to pry stuck treats out of an ungreased pan is frustrating and will ruin the shape of your squares.
Step 2: Measure Your Ingredients
Measure out 6 cups of crispy rice cereal and set it aside. Open the bag of mini marshmallows and remove one cup to reserve for folding in later. Have your vanilla extract measured and ready, because once the marshmallows melt, everything moves quickly.
Having everything pre-measured is called mise en place, and it matters here. The window between melted marshmallows and scorched marshmallows is about 30 seconds.
Step 3: Melt the Butter on Low Heat
Place the saucepan over medium-low heat and add the 6 tablespoons of butter. Let it melt slowly, tilting the pan occasionally to coat the bottom and sides. The butter should melt gently without sizzling aggressively.
If your butter starts bubbling hard or browning quickly, your heat is too high. Lower it immediately. Patience at this stage pays off in the final texture.
Step 4: Add the Marshmallows and Stir Constantly
Add all but the reserved cup of mini marshmallows to the melted butter. Stir constantly with your silicone spatula, scraping the bottom of the pot to prevent sticking. The marshmallows will gradually deflate and turn into a smooth, glossy liquid.
This process takes about 5 to 7 minutes on medium-low heat. Keep the heat low enough that the mixture is bubbling gently, not vigorously. If you see the marshmallow mixture starting to turn golden brown on the bottom, remove the pan from heat briefly and lower the temperature.
The goal is a smooth, pourable marshmallow sauce with no lumps. Once you reach that stage, remove the pan from the heat entirely before moving to the next step.
Step 5: Stir in the Vanilla Extract
With the pan off the heat, stir in the teaspoon of vanilla extract. The mixture will sizzle slightly when the vanilla hits the hot marshmallow. Stir vigorously to combine.
This is your secret ingredient moment. The vanilla transforms the flavor from one-dimensional sweetness to a complex, bakery-quality taste that people will not be able to identify but will definitely notice.
Step 6: Fold in the Cereal
Pour the 6 cups of crispy rice cereal into the marshmallow mixture. Use your spatula to fold the cereal in gently, scooping from the bottom and turning the mixture over itself. Keep folding until every piece of cereal is coated evenly with no dry spots.
Work quickly but gently. You want the cereal coated before it starts absorbing too much moisture and getting soggy. The whole folding process should take about 60 seconds.
Step 7: Fold in the Reserved Marshmallows
Here is the step that separates average treats from bakery-level treats. Fold in the reserved cup of whole mini marshmallows. These will not melt completely because the mixture is cooling. They create pockets of soft, stretchy marshmallow throughout the treats.
This is the technique I learned from Reddit baking communities, and it is the single biggest upgrade you can make to a basic recipe. Those unmelted marshmallow pockets are what people mean when they describe treats as gooey.
Step 8: Press into the Pan Gently
Transfer the mixture to your prepared pan. Use a buttered piece of wax paper or a buttered spatula to press it into an even layer. Press firmly enough to fill the corners, but do not compact the mixture hard.
This is critical: if you press too hard, the treats will be dense and tough. If you press too lightly, they will fall apart when cut. Aim for gentle, even pressure that fills the pan without crushing the air out of the cereal.
Step 9: Let Them Cool Completely
Let the treats cool at room temperature for at least 2 hours before cutting. If you are in a hurry, you can speed this up by placing the pan in the refrigerator for 30 minutes, but room temperature cooling produces the best texture.
Cutting warm treats will make them fall apart and leave a sticky mess on your knife. Patience here is worth it.
Step 10: Cut and Serve
Lift the treats out of the pan using the parchment paper overhang. Place them on a cutting board and use a sharp knife or bench scraper to cut into 24 squares. Wipe the knife between cuts for clean edges.
Serve immediately, or store using the methods in the storage section below.
Why Do Rice Krispie Treats Get Hard? (The Science)
This is the question I see more than any other in baking forums, and almost nobody explains the actual science behind it. Once you understand what is happening at the molecular level, you will never make hard treats again.
Marshmallows are made of sugar, corn syrup, gelatin, and water. When you heat marshmallows, the sugar dissolves into the corn syrup and water, creating a fluid syrup that coats your cereal. As the mixture cools, the sugar recrystallizes and the gelatin sets, which binds everything together.
The problem is what happens at high temperatures. When marshmallows are heated above about 240 degrees Fahrenheit, the sugar syrup passes what chemists call the soft-ball stage. The sugar begins to cook and harden permanently, similar to making hard candy. No amount of cooling or storage will reverse this. The treats will be hard and crunchy forever.
Low heat keeps the sugar in the soft-ball stage, around 235 to 240 degrees. At this temperature range, the sugar stays pliable and soft even after cooling. This is why every step of this recipe emphasizes medium-low heat and removing the pan from the burner before adding cereal.
The second factor is moisture loss. Marshmallows contain water, and prolonged heating evaporates that water. Less water means harder treats. This is why the recipe tells you to work quickly once the marshmallows are melted and to add vanilla off the heat, which slows evaporation.
Expert Tips for Soft, Gooey Treats
These are the techniques that our team validated through testing and that experienced bakers recommend in online communities. Each one addresses a specific texture or flavor issue.
Toast the cereal first. Spread the dry cereal on a baking sheet and toast at 300 degrees Fahrenheit for 5 minutes. This removes excess moisture and adds a nutty, toasted flavor that elevates the entire batch. Let it cool before mixing.
Use mini marshmallows, not large ones. Mini marshmallows melt evenly and quickly, which means less time on the heat. Large marshmallows take longer to melt and increase the risk of overheating the sugar.
Never press the treats down hard. Gentle pressure is all you need. Heavy compaction crushes the air pockets in the cereal and makes the treats dense. Use the back of a buttered measuring cup for even, light pressure.
Add vanilla off the heat. Adding vanilla to the hot pot over a flame can cause it to evaporate instantly or even catch fire. Always remove from the burner first.
Let them set overnight. Multiple forum users confirmed that treats left to set overnight have the best texture. The marshmallow continues to soften and redistribute moisture as it rests.
Troubleshooting Common Problems
Even with a good recipe, things can go wrong. Here are direct fixes for the most common issues.
My treats are too hard. The marshmallows were heated too long or at too high a temperature. Next time, use lower heat and remove the pan from the burner as soon as the marshmallows are smooth. Unfortunately, you cannot fix a batch that has already hardened.
My treats are falling apart. You either did not use enough marshmallow or pressed too lightly. Make sure you are using the full 16-ounce bag and pressing gently but firmly into the pan.
The butter separated from the marshmallow. This happens when the heat is too high and the emulsion breaks. Remove from heat immediately and stir vigorously to recombine. If it will not recombine, start over with lower heat.
My treats are too sweet. Add a quarter teaspoon of salt to the melted marshmallow mixture, or sprinkle flaky salt on top after pressing into the pan. The salt balances the sweetness without changing the texture.
The treats are dry the next day. They were either overcooked or stored improperly. Store in an airtight container at room temperature, never in the refrigerator.
How to Store Rice Krispie Treats
Proper storage is what keeps your treats soft for days. The biggest mistake people make is refrigerating them, which dries them out and makes the cereal stale.
Store cut treats in an airtight container at room temperature for up to 3 days. Place a sheet of wax paper between layers to prevent sticking. Keep the container out of direct sunlight and away from heat sources.
For longer storage, you can freeze rice krispie treats for up to 6 weeks. Wrap each square individually in plastic wrap, then place them in a freezer-safe bag. Thaw at room temperature for about 2 hours before serving. Do not microwave to thaw, as this makes the marshmallow tough.
You can make rice krispie treats up to 2 days ahead of an event. In fact, I recommend it. The texture improves overnight as the moisture redistributes through the cereal.
Rice Krispie Treat Variations
Once you master the base recipe, the possibilities are nearly endless. Here are the best variations our team has tested, ranging from simple add-ins to dietary modifications.
Brown butter rice krispie treats: Instead of melting the butter gently, cook it over medium heat until it turns golden brown and smells nutty, about 5 to 7 minutes. The toasted milk solids add a deep caramel flavor that pairs beautifully with marshmallow. This is the variation that Serious Eats popularized, and it is outstanding.
Chocolate rice krispie treats: Add half a cup of mini chocolate chips to the mixture after folding in the cereal. Use semi-sweet or dark chocolate to balance the sweetness. For a chocolate base, melt 4 ounces of chocolate with the butter and marshmallows.
Peanut butter rice krispie treats: Add half a cup of creamy peanut butter to the melted marshmallow mixture before adding the cereal. The peanut butter adds richness and protein. Top with a drizzle of melted chocolate for a peanut butter cup flavor.
Cookies and cream variation: Fold in 10 crushed chocolate sandwich cookies after adding the cereal. The cookie pieces add crunch and a chocolate-vanilla flavor contrast.
Vegan rice krispie treats: Substitute vegan butter for dairy butter and use vegan marshmallows (Dandies is the most widely available brand). Use a vegan crispy rice cereal, as some brands contain vitamin D3 derived from animal sources. The texture is slightly different but still delicious.
Gluten-free rice krispie treats: Standard Rice Krispies contain malt flavoring from barley, which contains gluten. Use a certified gluten-free crispy rice cereal like One Degree Organic Foods or Malt-O-Meal Gluten Free Crispy Rice. Everything else in the recipe is naturally gluten-free.
Funfetti party treats: Add 3 tablespoons of rainbow sprinkles to the mixture after folding in the cereal. Use jimmies, not round nonpareils, because the color will not bleed into the marshmallow.
Salted caramel treats: Drizzle warmed caramel sauce over the top of the pressed treats before they set, then sprinkle with flaky salt. Cut once fully cooled.
Frequently Asked Questions
What is the secret to perfect Rice Krispie treats?
The secret is low heat. Melting marshmallows over medium-low heat keeps the sugar in the soft-ball stage, which prevents the treats from hardening. Adding extra marshmallows, salted European butter, and vanilla extract also improves flavor and texture significantly.
What is the secret ingredient in rice crispy treats?
Vanilla extract is the secret ingredient most recipes leave out. One teaspoon of pure vanilla extract added off the heat rounds out the sweetness and adds a bakery-quality flavor depth that transforms the treats.
How to make fancy Rice Krispie treats?
Elevate basic treats by browning the butter for a caramel flavor, folding in chocolate or peanut butter, topping with flaky sea salt, or drizzling with caramel. Using European-style butter and reserving whole marshmallows for pockets also creates a gourmet texture.
How to make Rice Krispie treats harden?
Treats harden naturally as they cool because the marshmallow sugar recrystallizes and the gelatin sets. Let them cool at room temperature for at least 2 hours. If they are too soft, they need more cooling time or were pressed too loosely into the pan.
Can you freeze Rice Krispie treats?
Yes. Wrap individual squares in plastic wrap, place in a freezer bag, and freeze for up to 6 weeks. Thaw at room temperature for about 2 hours. Do not microwave frozen treats, as this makes the marshmallow tough.
How long do Rice Krispie treats last at room temperature?
Rice Krispie treats stay fresh for up to 3 days in an airtight container at room temperature. Place wax paper between layers to prevent sticking. Never refrigerate them, as this dries out the cereal and makes the treats stale.
Conclusion
This Rice Krispie Treat Recipe proves that three small changes transform a boring box recipe into something people will remember. Salted European butter, extra marshmallows with reserved pockets, and a teaspoon of vanilla are all it takes to go from average to outstanding.
The most important takeaway is heat control. Keep the burner on medium-low, remove the pan from heat before adding cereal, and never let the marshmallows cook past the smooth and pourable stage. If you remember nothing else, remember that low heat equals soft treats.
Try the base recipe first, then experiment with the variations. Brown butter is my personal favorite, but the peanut butter version is a close second. Whatever you make, store it properly at room temperature and share it within a few days for the best texture.
Grab your ingredients, turn the burner to low, and enjoy the best homemade rice krispie treats you have ever made.