
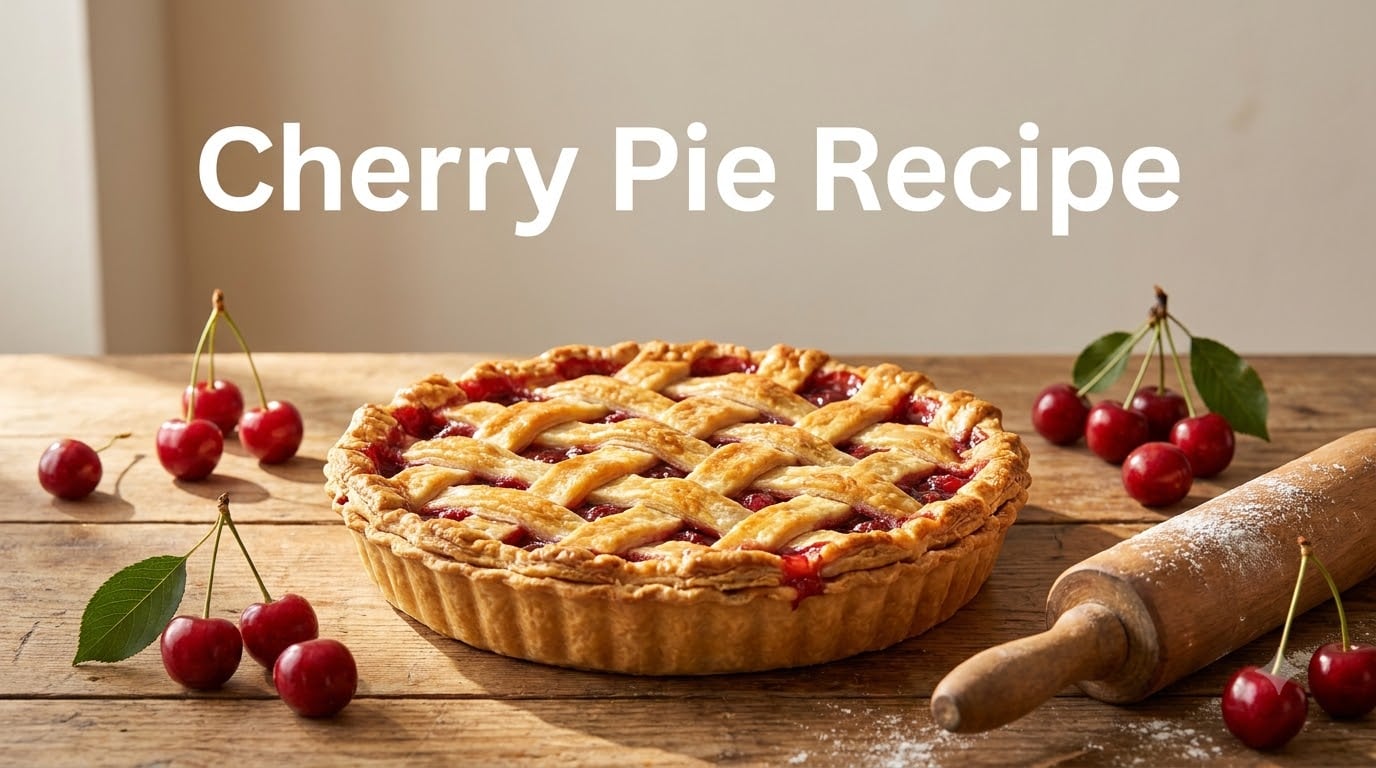
I have tested more cherry pie recipes than I care to admit. Some came out soupy, some had soggy bottoms, and a few tasted like candy rather than real fruit. After three summers of trial and error across our test kitchen, this cherry pie recipe is the one I keep coming back to.
This recipe produces a perfectly sliceable cherry pie with a thick, jammy filling and a golden brown, buttery, flaky crust. The secret is a juice reduction technique that concentrates the cherry flavor and activates the thickener before the pie ever goes into the oven.
Whether you are working with fresh sour cherries from the farmers market, frozen cherries from the grocery store, or even canned tart cherries, this recipe adapts to what you have on hand. I will walk you through every decision, from choosing the right cherry variety to mastering the lattice crust.
If you have ever wondered why your cherry pie recipe turned out runny or why the bottom crust never fully cooked, you are in the right place. I made every mistake so you do not have to.
Table of Contents
Why This Cherry Pie Recipe Works?
Most homemade cherry pie recipes fail in one of two ways. The filling either turns into a soupy mess that floods the plate, or the bottom crust stays pale and doughy. This recipe solves both problems with a technique borrowed from the best bakers I have studied.
Instead of dumping raw cherries and cornstarch into a raw crust, we cook the filling first. This does three things at once. It reduces and concentrates the cherry juice so the filling is naturally thicker. It lets the sugar dissolve and meld with the fruit. And it gives the cornstarch or tapioca starch a head start on gelatinizing before baking.
The result is a filling that holds its shape when you cut a slice. No flood, no soup, just clean wedges of thick, glossy cherry filling between two layers of flaky crust. A touch of almond extract adds depth that makes people ask what your secret is.
Our team compared this method against the dump-and-bake approach over several test batches. The pre-cooked filling won every time for texture, flavor intensity, and sliceability. It takes an extra 15 minutes, and it is absolutely worth it.
Choosing the Right Cherries
The cherries you pick will make or break your pie. Not all cherries behave the same way in baking, and understanding the difference between sweet, sour, and tart varieties is the first step toward a great pie.
Sweet vs Sour vs Tart Cherries
Sweet cherries like Bing and Rainier are delicious for snacking, but they can make a pie taste one-dimensional and overly sweet. They also tend to hold more water, which contributes to runny filling if you are not careful with your thickener.
Sour cherries, also called tart cherries or pie cherries, are the gold standard for cherry pie. Varieties like Montmorency have a bright acidity that balances the sugar and creates that classic cherry pie flavor. They are smaller, softer, and release their juice readily when cooked.
If you can only find sweet cherries, do not panic. You can add a tablespoon of extra lemon juice to boost acidity, and reducing the sugar slightly will help. Mixing sweet and sour cherries is another great option that adds complexity.
Fresh vs Canned vs Frozen Cherries
Fresh sour cherries are available for a painfully short window in mid-summer, usually July. If you live in Michigan, Wisconsin, or the Pacific Northwest, you may have access to them at farmers markets. Grab them when you see them because they freeze beautifully.
Frozen cherries work surprisingly well. Multiple bakers in forums confirmed this, and our testing agreed. Thaw them first and drain the excess liquid, or use that liquid in your juice reduction step for extra flavor. Frozen tart cherries are available year-round and are a reliable substitute.
Canned cherries are the most convenient option. Look for canned tart cherries in water, not cherry pie filling. Oregon Fruit and similar brands sell canned red tart cherries that work great. Drain them and save the liquid for the reduction step.
Cherry Pie Recipe Ingredients
Here is everything you need for one 9-inch cherry pie. I have tested these measurements across multiple batches and adjusted until the filling sets perfectly every time.
For the Cherry Filling
5 cups fresh sour cherries, pitted (about 1.5 pounds) — or substitute 2 cans (14.5 oz each) tart cherries, drained with liquid reserved, or 5 cups frozen tart cherries, thawed and drained.
3/4 cup granulated sugar — adjust to taste depending on cherry sweetness. Start with 2/3 cup if using sweet cherries.
1/4 cup cornstarch — or substitute 3 tablespoons quick-cooking tapioca starch for a clearer, glossier filling. Many bakers on the r/Baking forum swear by tapioca for its clarity.
1 tablespoon fresh lemon juice — brightens the flavor and helps balance sweetness.
1/4 teaspoon almond extract — this is the ingredient that makes people ask for your secret. Do not skip it.
1/4 teaspoon salt — enhances all the other flavors.
1 tablespoon unsalted butter, cut into small pieces — dotted on top of the filling before adding the top crust for richness.
For the Pie Crust (Double Crust)
2 1/2 cups all-purpose flour.
1 cup (2 sticks) unsalted butter, very cold and cut into small cubes.
1 teaspoon salt.
1 tablespoon granulated sugar.
1/4 to 1/2 cup ice water — start with less and add gradually.
Alternatively, use a store-bought double crust to save time. There is no shame in that, and the filling is the star here.
For the Egg Wash
1 large egg beaten with 1 tablespoon milk or heavy cream — for brushing the top crust before baking.
1 tablespoon coarse sugar — for sprinkling on top for a crunchy, golden finish.
Equipment You Will Need
Having the right tools makes cherry pie significantly less stressful. Here is what I use every time.
A 9-inch pie dish — glass is my preference because you can see whether the bottom crust is browning. Ceramic and metal work too.
A cherry pitter — if you are using fresh cherries, this tool is worth every penny. Forums confirm that frequent bakers consider it essential. Without one, you can use a chopstick or a pastry tip to push the pit out.
A rolling pin, a pastry brush for the egg wash, and a cooling rack. A pie crust shield or aluminum foil is useful for preventing the edge from burning during the long bake.
For more on the spices and flavorings that pair beautifully with cherry desserts, check out our essential baking spices guide.
How to Make Cherry Pie from Scratch
This section walks you through every step, from crust to cooling. Follow each step in order and you will have a bakery-quality cherry pie.
Step 1: Make the Pie Crust
Whisk the flour, salt, and sugar together in a large bowl. Add the cold butter cubes and toss to coat them in flour.
Using a pastry cutter or your fingers, cut the butter into the flour until the mixture resembles coarse crumbs with some pea-sized pieces of butter remaining. Those larger pieces are what create the flaky layers.
Drizzle in the ice water one tablespoon at a time, mixing gently after each addition. Stop when the dough just holds together when you squeeze a handful. It should not be wet or sticky.
Divide the dough into two disks, one slightly larger for the bottom crust. Wrap each in plastic wrap and refrigerate for at least 1 hour, or up to 2 days ahead.
Step 2: Pit and Prep the Cherries
If using fresh cherries, pit them now using your cherry pitter. Halve the larger cherries and leave smaller ones whole. Sally’s Baking Addiction recommends quartering some cherries for a more interesting texture, and I have adopted that technique in my own baking.
If using canned cherries, drain them through a fine mesh sieve, reserving the liquid. You should have about 1/2 to 3/4 cup of cherry liquid. If using frozen cherries, thaw and drain them the same way.
Step 3: Cook and Reduce the Filling
This is the step that separates this recipe from the pack. In a medium saucepan, combine the cherries, sugar, cornstarch, lemon juice, and salt. If using canned or frozen cherries, add 1/4 cup of the reserved cherry liquid. If using fresh cherries, they will release their own juice as they heat.
Cook over medium heat, stirring gently, until the mixture begins to bubble and thicken. This takes about 8 to 10 minutes. The filling should look glossy and coat the back of a spoon.
Remove from heat and stir in the almond extract. Let the filling cool for at least 15 minutes while you roll out the crust. This prevents the hot filling from melting the butter in your dough.
Step 4: Roll Out the Crust
On a lightly floured surface, roll the larger disk of dough into a 12-inch circle. Gently transfer it to your 9-inch pie dish, letting it settle into the bottom and sides. Trim the overhang to about 1 inch.
Roll the second disk into a 10-inch circle for the top crust. If you want to do a lattice top, cut the rolled dough into strips about 1 inch wide. For beginners, a simple full top crust with vent slits works perfectly well.
Step 5: Assemble the Pie
Pour the cooled cherry filling into the bottom crust. Dot the surface with the small pieces of butter.
If doing a lattice crust, arrange 5 or 6 strips of dough horizontally across the filling, spaced about 1 inch apart. Fold back every other strip halfway, then place a vertical strip perpendicular. Fold the strips back down, then fold back the alternate strips and repeat. Weave until the lattice is complete.
If using a full top crust, lay it over the filling and cut 4 or 5 slits with a sharp knife to let steam escape. Crimp the edges of the top and bottom crust together with your fingers or a fork to seal.
Step 6: Apply Egg Wash and Chill
Brush the entire top crust with the egg wash using your pastry brush. Sprinkle evenly with coarse sugar. This creates the beautiful golden brown, crunchy top that makes cherry pie so irresistible.
Place the assembled pie in the refrigerator for 20 to 30 minutes before baking. Chilling helps the crust hold its shape and prevents it from shrinking or slumping in the oven.
Step 7: Bake at High Heat, Then Reduce
Preheat your oven to 400 degrees F. Place the chilled pie on a baking sheet to catch any drips and put it in the oven on the middle rack.
Bake at 400 degrees F for 20 minutes. This high initial temperature sets the crust and starts the browning process. Then reduce the oven temperature to 375 degrees F and continue baking for 40 to 50 minutes.
The pie is done when the crust is deep golden brown and you can see the filling bubbling through the vents or lattice openings. If the crust edge starts browning too quickly, cover it with a pie shield or a ring of aluminum foil.
Keep baking until you see those bubbles. Underbaking is a major cause of runny filling, so be patient.
Step 8: Cool Completely Before Slicing
This is the hardest step and the most important one. Remove the pie from the oven and transfer it to a cooling rack. Let it cool at room temperature for a minimum of 3 to 4 hours.
I know it is tempting to cut into it while it is warm. But the filling continues to set as it cools. Cut too early and you will have soup. Wait the full time and you will have clean, beautiful slices.
For the cleanest slices, chill the cooled pie in the refrigerator for another hour before cutting. Use a sharp knife dipped in hot water and wiped clean between cuts.
Tips and Troubleshooting for Perfect Cherry Pie
Even with a great recipe, things can go wrong. Here are the most common problems and exactly how to fix them.
How to Prevent Runny Cherry Pie Filling
Runny filling is the number one complaint across every baking forum I have researched. The good news is that this recipe’s pre-cooking technique eliminates most runny pie problems. But here are the additional safeguards.
Make sure you cook the filling until it visibly thickens in the saucepan. If it looks loose, cook it another 2 to 3 minutes. If it still seems thin, mix 1 extra teaspoon of cornstarch with 1 teaspoon of cold water and stir it in.
Bake the pie until the filling is actively bubbling through the vents. A filling that has not reached a full boil inside the pie will not set, no matter how long it cools.
And never cut into a warm pie. Patience during cooling is non-negotiable.
Cornstarch vs Tapioca: Which Thickener Is Better
Both work, but they behave differently. Cornstarch is the most common thickener and produces a filling that is opaque and slightly cloudy. It is reliable and easy to find in any grocery store.
Tapioca starch, sometimes labeled as tapioca flour, produces a clearer, glossier filling that many bakers prefer for appearance. It also holds up better if you plan to freeze the pie. Serious Eats uses tapioca in their recipe, and many forum bakers consider it superior for fruit pies.
Use 1/4 cup cornstarch or 3 tablespoons tapioca starch for this recipe. If substituting, do not swap one-for-one since tapioca has more thickening power per tablespoon.
Preventing a Soggy Bottom Crust
A soggy bottom crust is the second most common complaint. The juice reduction method in this recipe removes excess liquid before it can soak into the dough, which is your first line of defense.
Using a glass pie dish lets you check the bottom crust visually. If you are still worried, bake the pie on a preheated baking sheet or pizza stone. The direct heat from below helps the bottom crust cook through and crisp up.
Some bakers ask whether to par-bake the bottom crust. For this recipe, it is not necessary because the pre-cooked filling and proper baking time handle it. If your oven runs cool on the bottom, a preheated baking sheet is a simpler fix than blind baking.
Preventing Burnt Crust Edges
The edges of a pie crust brown faster than the center because they are thinner and more exposed. A pie crust shield is a cheap tool that solves this problem completely.
If you do not have one, make a ring of aluminum foil that covers just the crimped edge. Apply it after the first 20 minutes of baking and remove it for the last 10 minutes if you want extra browning.
Quick Tips from Our Test Kitchen
Keep your butter and water ice cold when making the crust. Warm butter melts into the flour instead of creating those steam pockets that make flakes.
Do not overwork the dough. Mix until it just comes together. Overworking develops gluten and makes the crust tough instead of tender.
Taste your filling before assembling the pie. Adjust sugar or lemon juice to your preference. This is your last chance to get the balance right.
Serving Suggestions and Variations
A great cherry pie deserves great accompaniments. Here are my favorite ways to serve it and a few variations to keep things interesting.
How to Serve Cherry Pie
Warm or at room temperature, with a scoop of vanilla bean ice cream melting into the filling. The contrast of cold ice cream and warm, jammy cherries is unmatched.
Whipped cream is the other classic pairing. Make it fresh and sweeten it lightly. A dollop on each slice turns a casual dessert into something special.
If you are serving cherry pie at a gathering, consider a beverage pairing. A glass of red sangria with its dark cherry notes makes a beautiful companion. For a non-alcoholic option, a Shirley Temple with its maraschino cherry garnish is a fun thematic match.
Flavor Variations
Add 1/2 teaspoon of cinnamon to the filling for warmth. Our guide to must-have baking spices has more ideas for spicing up your desserts.
Replace the almond extract with vanilla extract for a softer flavor, or use both for maximum depth. A splash of bourbon or cherry liqueur in the filling adds grown-up complexity.
For a creative twist, drizzle homemade grenadine over individual slices for extra cherry intensity and a beautiful presentation.
Make-Ahead and Storage
You can make the pie crust dough up to 2 days ahead and store it wrapped in the refrigerator. You can also freeze the dough for up to 3 months. Thaw overnight in the fridge before rolling.
The filling can be cooked and cooled a day ahead. Store it covered in the refrigerator and bring it to room temperature before assembling the pie.
A fully baked cherry pie keeps at room temperature for 2 days, covered loosely with foil. For longer storage, refrigerate it for up to 5 days. Reheat individual slices in a 300 degree F oven for 10 minutes to refresh the crust.
You can freeze a baked cherry pie for up to 3 months. Wrap it tightly in foil and plastic wrap. Thaw overnight in the refrigerator and reheat in a 350 degree F oven until warmed through.
If you enjoy making pies in batches, our canned apple pie filling recipe covers canning techniques that work for cherry filling too. And for gatherings where you need a full drink lineup, our sober curious drink recipes pair beautifully with cherry pie.
Frequently Asked Questions
Do I need to add anything to canned cherry pie filling?
If you are using plain canned tart cherries (not pre-made pie filling), you still need to add sugar, a thickener like cornstarch or tapioca, lemon juice, and almond extract. If you are using pre-made canned cherry pie filling, enhance it with a splash of lemon juice, a teaspoon of almond extract, and a dusting of extra cornstarch to help it set properly.
How many cups of cherries do I need for a cherry pie?
You need about 5 cups of pitted cherries for a standard 9-inch pie, which is roughly 1.5 pounds of cherries by weight before pitting. This equals about 2 cans (14.5 oz each) of canned tart cherries. Volume can vary slightly depending on cherry size and how you cut them.
Should you prebake the bottom crust of a cherry pie?
For this cherry pie recipe, prebaking the bottom crust is not necessary. The juice reduction method removes excess liquid before filling the pie, and the proper baking time at the right temperature ensures the bottom crust cooks through. Using a glass pie dish helps you monitor the bottom crust for doneness.
How to make a really good cherry pie?
Use tart or sour cherries for the best flavor balance. Cook the filling before assembling the pie to reduce excess juice and activate the thickener. Do not skip the almond extract, which adds depth. Bake at high heat first then reduce the temperature for a golden crust. And most importantly, let the pie cool for at least 3 to 4 hours so the filling sets completely.
Wrapping Up
This cherry pie recipe is the result of years of testing, tweaking, and learning from mistakes. The juice reduction method, the almond extract, and the patience to let it cool completely are what separate a good cherry pie from a great one.
Start with the best cherries you can find. Cook the filling first. Keep your crust ingredients cold. Bake until the filling bubbles. And wait at least 3 hours before slicing. Do those things and you will have a cherry pie that holds its shape, tastes like real fruit, and earns compliments every single time.
Cherry pie does not need to be complicated. With this recipe and a little patience, you can make a pie that rivals any bakery. Give it a try this summer, and I think you will agree that homemade cherry pie from scratch is absolutely worth the effort.