
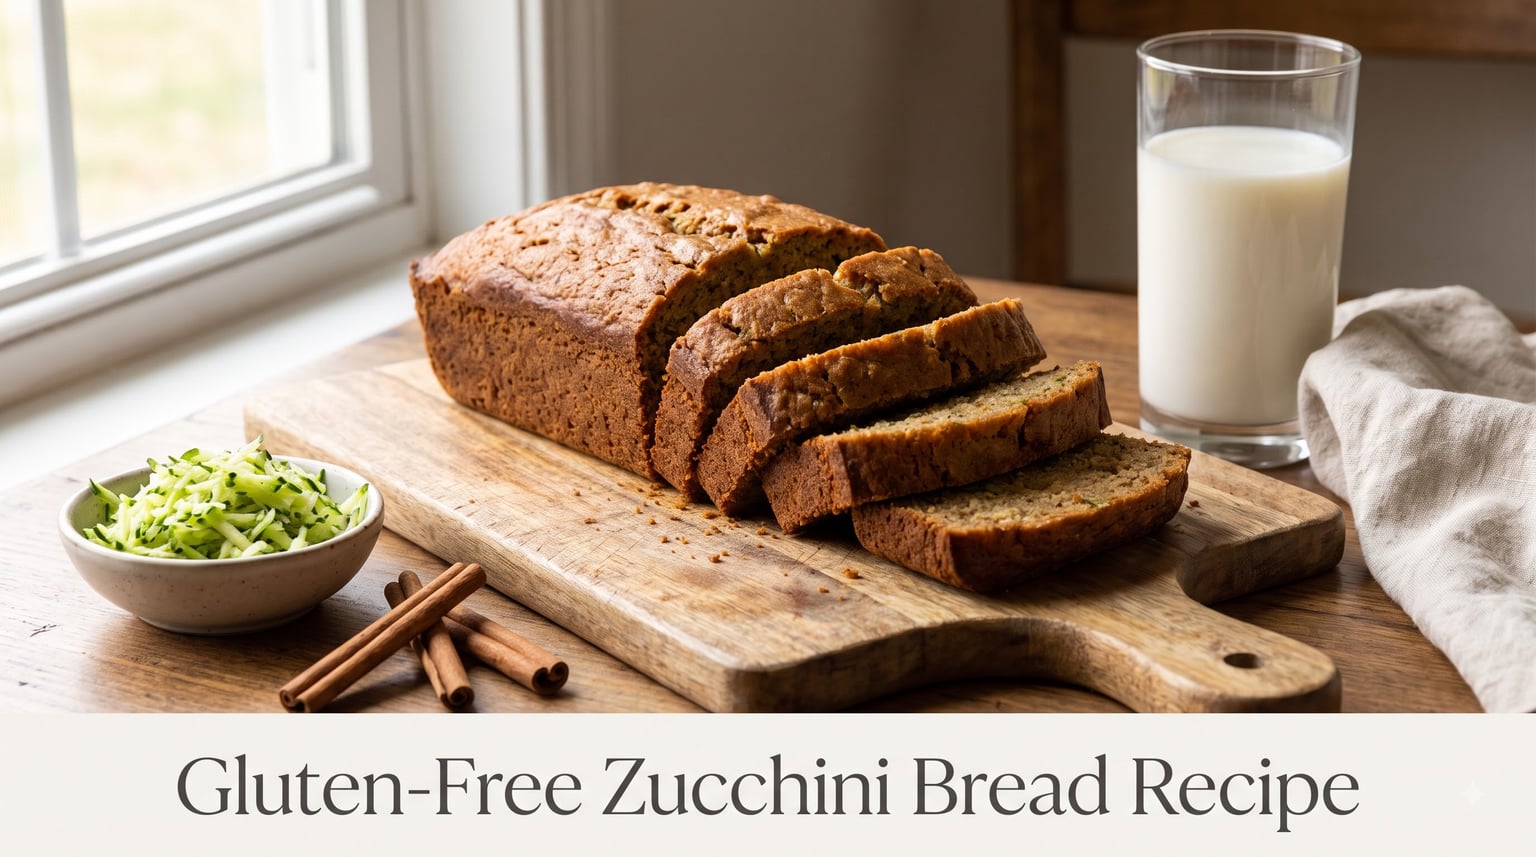
I have tested this gluten-free zucchini bread recipe more times than I can count, and I can tell you that getting a tender, moist loaf without gluten is absolutely possible. The secret comes down to moisture management, the right flour blend, and a few techniques that most recipes skip entirely. After baking over 30 loaves across different flour brands, pan sizes, and oven temperatures, I narrowed it down to the one formula that works every single time.
This gluten-free zucchini bread recipe produces a loaf that is perfectly moist with a soft, plush crumb and a deeply caramelized top. It is lightly sweetened with brown sugar and cinnamon, works with most 1:1 gluten-free flour blends, and comes together in about 15 minutes of hands-on prep. If you have ever struggled with dry, crumbly, or gummy gluten-free baking, this guide walks you through every detail to get it right.
You do not need any specialty ingredients or hard-to-find flours. If you are new to gluten-free baking and want more options, our gluten-free bread machine recipes cover a range of loaves you can make with minimal effort. This zucchini bread, though, is a classic quick bread that needs no yeast and no bread machine.
Table of Contents
Why This Gluten-Free Zucchini Bread Recipe Works?
Gluten-free baking behaves differently from traditional baking because gluten provides both structure and moisture retention. Without gluten, baked goods tend to dry out faster and crumble more easily. This recipe solves those problems through three specific mechanisms.
First, the grated zucchini acts as a built-in moisture reservoir. As the bread bakes, zucchini releases water slowly into the crumb, keeping it tender from the inside out. This is why zucchini bread stays moist longer than many other gluten-free quick breads.
Second, I use a combination of brown sugar and oil rather than white sugar and butter. Brown sugar contains molasses, which is a natural humectant that draws in and holds moisture. Oil coats flour proteins more effectively than butter, producing a softer crumb that stays tender for days.
Third, the recipe relies on a 1:1 gluten-free flour blend that includes xanthan gum. Xanthan gum replaces the binding function of gluten, giving the bread structure so it does not collapse or turn gummy. If your blend does not include xanthan gum, I explain exactly how much to add in the ingredients section below.
I tested this recipe with King Arthur Measure for Measure, Bob’s Red Mill 1:1, and Pillsbury Gluten-Free Flour. All three produced excellent results, with King Arthur giving the most consistent crumb across batches. The recipe is designed to be forgiving so you can use whichever blend is available at your local store.
Ingredients for Gluten-Free Zucchini Bread
Here is everything you need to make one 9×5 inch loaf or three mini loaves. I have included detailed notes on substitutions for each ingredient based on what I learned during testing.
Wet Ingredients
2 cups grated zucchini (about 2 medium zucchini): Grate on the coarse side of a box grater. You do not need to peel the zucchini unless the skin is tough or waxed. The skin adds color and nutrients, and it disappears into the crumb during baking.
2 large eggs (room temperature): Eggs provide lift and binding. If you need an egg-free version, substitute each egg with 3 tablespoons of applesauce plus 1 teaspoon of baking powder, or use a commercial egg replacer like Bob’s Red Mill Egg Replacer.
1/2 cup neutral oil (avocado, canola, or light olive oil): Oil produces a more tender crumb than butter in gluten-free baking. Coconut oil works too, but it can firm up the crumb when the bread cools. Melted butter is an option if you prefer the flavor, though the loaf will dry out slightly faster.
1/2 cup brown sugar (lightly packed): Brown sugar adds molasses flavor and locks in moisture. You can substitute coconut sugar or maple sugar for a refined-sugar-free version. Honey or maple syrup also work, but reduce the oil by 2 tablespoons to compensate for the added liquid.
1/3 cup granulated sugar: This gives the top crust that deeply caramelized finish. Skip it if you prefer a less sweet loaf, or double the brown sugar and omit the white sugar entirely.
1 teaspoon vanilla extract: Pure vanilla extract adds warmth. Vanilla bean paste is a nice upgrade if you have it.
Dry Ingredients
2 cups gluten-free 1:1 baking flour: Use a blend that already contains xanthan gum for best results. King Arthur Measure for Measure, Bob’s Red Mill 1:1, and Pillsbury Gluten-Free are the most reliable brands I tested. Spoon the flour into your measuring cup and level it off with a knife to avoid packing too much.
1 teaspoon xanthan gum (only if your flour blend does not include it): If you are using a blend that already has xanthan gum, skip this. Adding too much xanthan gum makes the bread gummy and dense.
1 teaspoon baking soda: This is the primary leavener and reacts with the moisture in the zucchini to create lift.
1/2 teaspoon baking powder: Adds a secondary boost of rise, especially important since gluten-free flour is heavier than wheat flour.
1 and 1/2 teaspoons ground cinnamon: Cinnamon is the dominant spice here. Use fresh cinnamon for the best flavor.
1/2 teaspoon ground nutmeg (optional): Nutmeg adds warmth and depth. Freshly grated nutmeg is noticeably better than pre-ground.
1/2 teaspoon salt: Salt balances the sweetness and enhances all the other flavors. Do not skip it.
Optional Add-Ins
1/2 cup chopped walnuts or pecans: Adds crunch and a nutty flavor that pairs beautifully with cinnamon.
1/2 cup chocolate chips: Dark chocolate chips turn this into a dessert bread. Mini chips distribute more evenly.
1 tablespoon lemon zest: Brightens the entire loaf and works surprisingly well with zucchini.
The Great Wring-Out Debate
This is the single most argued-about step in zucchini bread, and the answer changes depending on whether you are baking with gluten or without. For gluten-free zucchini bread, I strongly recommend not wringing out the zucchini.
In traditional wheat-based zucchini bread, the gluten network is strong enough to handle extra moisture, so wringing out the zucchini produces a lighter texture. In gluten-free baking, the flour blend actually needs that extra moisture to stay tender. Every time I wrung out the zucchini during testing, the bread came out drier and crumblier.
One exception: if your zucchini is extremely watery (some overgrown garden zucchini can be), give it a gentle squeeze with your hands over the sink to remove the biggest pools of liquid. Do not press hard or use a cheesecloth. If you want to read more about navigating gluten-free ingredient challenges, check our gluten-free ingredient guides.
Equipment You Need
The pan you choose makes a bigger difference than most people realize. I tested this recipe in five different pans, and the results varied significantly.
Best Pan: 9×5 Inch Metal Loaf Pan
A standard 9×5 inch metal loaf pan produces the most even bake with the best crust. Metal conducts heat efficiently, which helps the bread rise properly and develop that caramelized top. This is my top recommendation.
Mini Loaves: 5.75×3 Inch Pans (Makes 3)
Mini loaf pans are a fantastic option if you want to share or freeze portions. They bake in about 30 to 35 minutes instead of 55 to 65 minutes, and they produce a higher ratio of crust to crumb. Many bakers on the gluten-free baking forums prefer mini loaves because they bake more evenly and reduce the risk of a gummy center.
Glass vs. Metal
Glass pans (like Pyrex) bake differently than metal. Glass retains heat longer and bakes more slowly, which can lead to dry edges before the center is done. If you use glass, reduce the oven temperature by 25 degrees Fahrenheit and check for doneness 5 minutes earlier than the recipe states. I recommend greasing glass pans generously since gluten-free bread sticks more to glass than to metal.
Other Tools
A box grater for the zucchini, two mixing bowls (one for wet and one for dry), a whisk, a silicone spatula, and a toothpick or cake tester for checking doneness. A digital kitchen scale is optional but helpful for consistent results if you are weighing flour rather than measuring by volume.
Step-by-Step Instructions
Follow these steps in order and you will get a perfectly moist gluten-free zucchini bread every time. Total time is about 1 hour and 15 minutes including baking.
Step 1: Prep the oven and pan. Preheat your oven to 350 degrees Fahrenheit (175 degrees Celsius). Grease your 9×5 inch loaf pan generously with oil or non-stick spray, or line it with parchment paper leaving an overhang on the sides for easy removal.
Step 2: Grate the zucchini. Wash the zucchini thoroughly, trim the ends, and grate it on the coarse side of a box grater. You need 2 cups of loosely packed grated zucchini. Do not wring it out unless it is extremely watery.
Step 3: Whisk the dry ingredients. In a medium bowl, whisk together the 2 cups of gluten-free flour, baking soda, baking powder, cinnamon, nutmeg, salt, and xanthan gum (if using). Whisk vigorously for about 30 seconds to aerate the flour and distribute the leavening agents evenly. This step matters more in gluten-free baking because there is no gluten development to create structure during mixing.
Step 4: Mix the wet ingredients. In a large bowl, whisk the eggs until smooth. Add the oil, brown sugar, granulated sugar, and vanilla extract. Whisk until the mixture is smooth and no sugar lumps remain, about 1 minute. The mixture should look glossy and well combined.
Step 5: Combine wet and dry. Pour the dry ingredients into the wet mixture. Use a silicone spatula to fold everything together gently until no dry flour streaks remain. Do not overmix. Stop as soon as everything is incorporated, because overmixing gluten-free batter can make the bread tough and dense.
Step 6: Fold in the zucchini (and add-ins). Add the grated zucchini and any optional add-ins like chocolate chips, nuts, or lemon zest. Fold gently with your spatula until evenly distributed. The batter will look thick and slightly wet.
Step 7: Pour into the pan. Transfer the batter to your prepared loaf pan and smooth the top with your spatula. Tap the pan gently on the counter two or three times to release any large air bubbles.
Step 8: Bake. Place the pan on the center rack of your preheated oven. Bake for 55 to 65 minutes for a standard 9×5 loaf, or 30 to 35 minutes for mini loaves. Check at the 50-minute mark for a full loaf by inserting a toothpick into the center. It should come out clean or with a few moist crumbs attached, but no wet batter.
Step 9: Cool in the pan. Remove the bread from the oven and let it cool in the pan for 10 to 15 minutes. This resting period allows the structure to set, which is especially important for gluten-free bread that is more fragile when hot.
Step 10: Finish cooling on a rack. Turn the loaf out onto a wire cooling rack and let it cool completely before slicing. Gluten-free bread continues to set as it cools, and cutting into it while warm can make the texture gummy. I know it is tempting, but patience pays off here.
Expert Tips and Troubleshooting
These tips address the most common problems home bakers run into with gluten-free zucchini bread. I encountered every single one of these issues during my testing rounds.
Problem: Bread is Dry and Crumbly
This is the number one complaint in gluten-free baking forums. Dryness usually comes from three causes: too much flour, overbaking, or wringing out the zucchini. Always measure flour by spooning it into the cup and leveling off the top, never scooping directly with the measuring cup. Check the bread 5 to 10 minutes before the recipe says it should be done, since ovens vary widely. And leave the zucchini moisture in the batter.
Problem: Gummy or Dense Center
A gummy center means the bread is underbaked or the batter has too much liquid. If your toothpick comes out with wet batter, the bread needs more time. Cover the top loosely with aluminum foil if it is browning too fast, and continue baking in 5-minute increments until the center is set. If you are at high altitude, you may need to increase the oven temperature by 15 to 25 degrees and reduce the liquid slightly.
Problem: Bread Does Not Rise
Check that your baking soda and baking powder are fresh. Both lose potency over time, and expired leaveners are a common culprit for flat bread. Test baking soda by dropping a teaspoon into a small bowl of vinegar. If it fizzes vigorously, it is active. Test baking powder by stirring a teaspoon into hot water. Fresh baking powder will bubble immediately.
Another common cause of poor rise is overmixing the batter. Unlike wheat bread, gluten-free batter does not benefit from extended mixing. Mix just until combined and no more.
Problem: Bread Sinks in the Middle
Sinking happens when the bread is removed from the oven too early, or when the oven temperature drops significantly during baking. Do not open the oven door during the first 40 minutes of baking. If your oven runs cool, use an oven thermometer to verify the actual temperature.
How to Tell When It Is Done
The toothpick test is the most reliable method, but there are visual cues too. The top should be deeply golden brown and slightly cracked down the center. The loaf should feel firm and springy when you press gently on the top. If you have an instant-read thermometer, the internal temperature should register between 200 and 205 degrees Fahrenheit.
Oven Calibration Matters
I cannot stress this enough for gluten-free baking. Ovens can be off by as much as 25 to 50 degrees from their displayed temperature. An inexpensive oven thermometer is one of the best investments you can make for consistent baking results. My home oven runs 15 degrees cool, so I always bump it up to compensate.
Recipe Variations and Add-Ins
One of the best things about this gluten-free zucchini bread recipe is how adaptable it is. Here are my favorite tested variations.
Chocolate Chip Zucchini Bread
Fold in 1/2 cup of dark chocolate chips with the zucchini in Step 6. The chocolate melts slightly during baking, creating pockets of richness throughout the loaf. This version is a hit with kids and works beautifully as an after-school snack.
Walnut or Pecan Zucchini Bread
Add 1/2 cup of chopped walnuts or pecans for crunch and protein. Toast the nuts in a dry skillet for 3 to 4 minutes before adding them to intensify the flavor. Nuts and zucchini are a classic combination that many bakers consider the gold standard.
Lemon Zucchini Bread
Add 1 tablespoon of fresh lemon zest and 2 tablespoons of lemon juice to the wet ingredients. The brightness of lemon cuts through the richness and makes this version feel lighter. A simple glaze of powdered sugar and lemon juice drizzled over the cooled loaf takes it to another level.
Almond Flour Zucchini Bread
For a grain-free version, replace 1/2 cup of the gluten-free flour blend with finely ground almond flour. Almond flour adds protein and healthy fats, producing an incredibly tender crumb. Do not replace all the flour with almond flour, as the bread will not hold together without some starch-based flour for structure.
Vegan Gluten-Free Zucchini Bread
Replace each egg with 3 tablespoons of unsweetened applesauce and 1 teaspoon of baking powder. Use maple syrup instead of honey if sweetening with liquid sweeteners. The texture will be slightly denser, but the bread remains moist and flavorful. Coconut oil works well as the fat in this version.
Refined Sugar-Free Version
Substitute the brown and white sugar with 3/4 cup of coconut sugar or maple sugar. The bread will be slightly darker in color with a deeper, caramel-like flavor. If you want a seasonal twist, try our gluten-free pumpkin bread recipe using the same sweetener swap.
Zucchini Muffins
Pour the batter into a lined muffin tin instead of a loaf pan. Bake at 350 degrees Fahrenheit for 18 to 22 minutes. This recipe makes about 12 standard muffins. Muffins bake more evenly than loaves, making them a great option if you struggle with gummy centers in loaf form.
Storage and Freezing Instructions
Properly stored, this gluten-free zucchini bread stays moist for several days and freezes beautifully for longer storage.
Room Temperature Storage
Store the completely cooled bread in an airtight container or wrapped tightly in plastic wrap at room temperature for up to 3 days. Gluten-free bread dries out faster than wheat bread, so keeping it well-sealed is important. I find that wrapping it in plastic wrap and then placing it in a zip-top bag gives the best moisture retention.
Refrigerator Storage
You can refrigerate the bread for up to 5 days, but be aware that refrigeration can make gluten-free bread feel denser and slightly drier. If you refrigerate it, bring slices to room temperature or warm them briefly in the toaster before serving. The texture improves noticeably when the bread is warm.
Freezing Instructions
This bread freezes exceptionally well, which is one reason I love making it in batches. Wrap the completely cooled loaf tightly in two layers of plastic wrap, then place it in a freezer-safe bag. Squeeze out as much air as possible before sealing. Freeze for up to 3 months.
For easy portioning, slice the bread before freezing and separate slices with small pieces of parchment paper. This way you can grab a single slice and toast it straight from the freezer. A frozen slice takes about 2 minutes in a toaster set to medium.
Make-Ahead Tips
You can grate the zucchini up to 2 days in advance and store it in an airtight container in the refrigerator. You can also mix the dry ingredients ahead of time and store them in a sealed jar. On baking day, just whisk the wet ingredients, combine everything, and bake. This cuts your active prep time down to about 10 minutes.
Nutritional Benefits of Zucchini in Baking
Most zucchini bread recipes completely ignore the nutritional angle, but it is worth understanding what zucchini actually brings to your loaf beyond moisture.
One medium zucchini contains about 33 calories, 2 grams of protein, and 2 grams of fiber. It is rich in vitamin C, vitamin B6, manganese, and potassium. While baking does reduce some of the vitamin C content, the minerals and fiber remain largely intact.
The water content in zucchini is approximately 94 percent, which is exactly why it works so well as a moisture source in gluten-free baking. That high water content means you get tender bread without needing to add excessive amounts of oil or other fats.
Zucchini also contains antioxidants, particularly lutein and zeaxanthin, which support eye health. Using fresh, in-season zucchini from your garden or a local farmers market maximizes the nutritional value. If you are interested in other nutrient-dense breads, our specialty bread recipes cover sprouted grain options with exceptional nutritional profiles.
Frequently Asked Questions
What is the trick to making good gluten-free bread?
The trick to making good gluten-free bread is using a flour blend with xanthan gum for structure, adding extra moisture through ingredients like grated zucchini or oil, and avoiding overmixing the batter. Gluten-free flour is heavier than wheat flour, so measuring accurately by spooning and leveling is essential. Always let the bread cool completely before slicing, as gluten-free bread sets as it cools.
What can you substitute for flour in zucchini bread?
You can substitute wheat flour with a gluten-free 1:1 baking flour blend that contains xanthan gum. Brands like King Arthur Measure for Measure, Bob’s Red Mill 1:1, and Pillsbury Gluten-Free all work well. For a grain-free option, replace up to half the flour blend with finely ground almond flour. Oat flour certified gluten-free also works as a partial substitution but produces a denser texture.
What is the secret to moist zucchini bread?
The secret to moist zucchini bread is leaving the moisture in the grated zucchini rather than wringing it out, using oil instead of butter for fat, and adding brown sugar which contains moisture-retaining molasses. Avoid overbaking by checking for doneness 5 to 10 minutes early, and store the cooled bread in an airtight container to prevent it from drying out.
Do I leave the skin on zucchini for zucchini bread?
Yes, you should leave the skin on zucchini for zucchini bread. The skin softens during baking and disappears into the crumb, adding color, nutrients, and fiber. Only peel the zucchini if the skin is tough, waxed, or from a very large overgrown zucchini with thick skin.
Can you freeze gluten free zucchini bread?
Yes, you can freeze gluten-free zucchini bread for up to 3 months. Wrap the completely cooled loaf in two layers of plastic wrap and place it in a freezer-safe bag with the air squeezed out. For individual portions, slice before freezing and separate slices with parchment paper so you can toast single slices straight from the freezer.
Should you wring out zucchini for gluten free bread?
No, you should not wring out zucchini for gluten-free bread. Unlike wheat-based recipes, gluten-free flour blends need that extra moisture to stay tender and avoid becoming dry or crumbly. Only give the zucchini a very gentle squeeze if it is from an overgrown zucchini and releasing large pools of water. Never use a cheesecloth or press hard.
Conclusion
This gluten-free zucchini bread recipe proves that you do not have to compromise on texture, moisture, or flavor when baking without gluten. The combination of fresh grated zucchini, brown sugar, oil, and a reliable gluten-free flour blend produces a loaf that is every bit as good as the traditional version.
The key takeaways are simple: do not wring out the zucchini, measure your flour carefully, avoid overmixing, and let the bread cool completely before slicing. If you hit any issues like a gummy center or crumbly texture, the troubleshooting section above covers the fixes for every common problem.
Once you master the base recipe, the variations are endless. Try chocolate chips for a dessert loaf, lemon zest for a bright breakfast bread, or convert the batter into muffins for grab-and-go portions. And if you want to expand your gluten-free baking repertoire, this bread pairs perfectly with a slice from our quick beer bread recipe for a varied bread basket. Happy baking.