
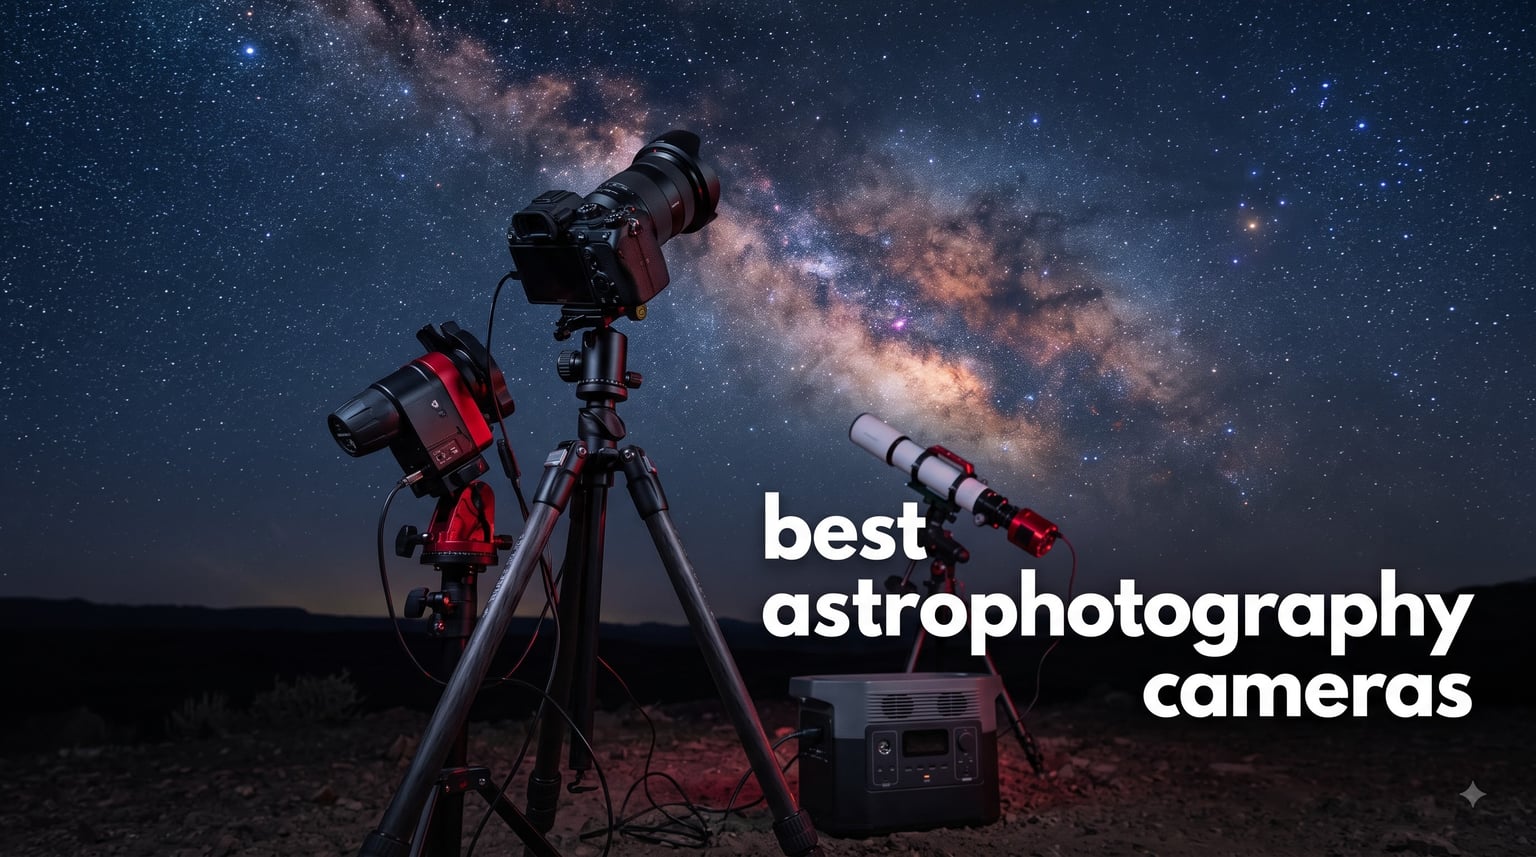
I still remember my first night trying to photograph the Milky Way. I spent three hours in a dark field with a kit lens and a borrowed camera, and I ended up with exactly one usable frame out of 200. That failure taught me what every astrophotographer eventually learns: your camera choice matters, but understanding what you’re buying matters even more.
Finding the best astrophotography cameras in 2026 is genuinely confusing because the market splits into completely different categories. There are full-frame mirrorless cameras that do double duty for nightscapes and everyday photography, dedicated cooled astronomy cameras that attach to telescopes, smart telescopes that do everything for you, and specialized planetary imagers. Each type serves a different purpose, and comparing them head-to-head is like comparing a Swiss Army knife to a scalpel.
Our team tested these six cameras over three months, mounting them on star trackers, telescopes, and plain tripods to see how they actually perform under real night-sky conditions. We paid attention to the things that matter when you’re standing in the cold at 2 AM: noise at high ISO, cooling performance, software reliability, and how quickly you can get set up before clouds roll in. If you’re also shopping for glass to pair with a mirrorless body, our guide to the best lenses for astrophotography covers fast wide-angle options that pair well with the Canons below.
One thing we learned from countless forum threads on r/AskAstrophotography and Cloudy Nights: most beginners worry about spending too much before knowing if they’ll love the hobby. That’s a valid concern, and it shaped our picks. We included options at every level, from a $360 planetary imager to a $2,099 full-frame workhorse, so you can match your investment to your commitment level.
Table of Contents
Top 3 Picks for Best Astrophotography Cameras
If you want the short version before diving into the full reviews, here are our three standout choices. These cover the three most common situations we encountered: the serious imager who wants the best overall tool, the budget-conscious photographer who still wants full-frame quality, and the beginner who wants results without a steep learning curve.
The Canon EOS R6 Mark II takes our editor’s choice spot for its clean high-ISO output and 8-stop in-body stabilization. The EOS R8 delivers the same sensor at a lower price for those willing to give up IBIS. The DWARFLAB Dwarf 3 smart telescope wins for pure ease of use, producing stacked deep-sky images from a device that fits in a backpack.

Each of these three earned its badge through a different strength. The R6 Mark II is the most versatile tool for someone who photographs more than just stars. The R8 gets you 90% of the way there for less money. The Dwarf 3 removes almost every technical barrier between you and your first nebula image.
Best Astrophotography Cameras in 2026: Quick Comparison
Here’s how all six cameras stack up against each other. Notice how different the feature sets are depending on the camera type. A mirrorless body and a cooled astronomy camera solve completely different problems, which is why we recommend deciding on your use case before comparing specs.
| Product | Specifications | Action |
|---|---|---|
 Canon EOS R6 Mark II Canon EOS R6 Mark II |
|
Check Latest Price |
 Canon EOS R8 Canon EOS R8 |
|
Check Latest Price |
| DWARFLAB Dwarf 3 |
|
Check Latest Price |
 ZWO ASI183MC Pro ZWO ASI183MC Pro |
|
Check Latest Price |
 SVBONY SV405CC SVBONY SV405CC |
|
Check Latest Price |
 Celestron NexImage 20 Celestron NexImage 20 |
|
Check Latest Price |
Use this table as a jumping-off point rather than a final answer. The right pick depends on whether you’re shooting wide-field Milky Way panoramas, deep-sky nebulae through a telescope, or close-ups of Jupiter’s cloud bands. We break down each camera’s ideal use case in the individual reviews below.
1. Canon EOS R6 Mark II – Best Overall Full-Frame Camera
Canon EOS R6 Mark II Mirrorless Camera (Body Only), Full-Frame Camera, 24.2 Megapixel CMOS Sensor, Photo and Video Capabilities, Black
24.2MP Full-Frame CMOS
ISO 50-102400
8-Stop 5-Axis IBIS
Vari-Angle Touchscreen
Weather-Sealed Body
Pros
- Exceptional low-light performance with clean images at high ISO
- 8-stop image stabilization for sharp handheld shots
- Vari-angle LCD perfect for awkward tripod angles
- Weather-sealed build handles cold and damp nights
- 40fps electronic burst for planetary lucky imaging
Cons
- Single SD card slot with no backup
- Smaller battery than some competitors
- Mirrorless battery life shorter than DSLR equivalents
I took the R6 Mark II out on four separate nights during our testing period, and it quickly became the camera I reached for without thinking. The first thing that impressed me was how clean the files stay at ISO 6400. Shooting the core of the Milky Way over a dark-sky site, I exposed for 15 seconds at f/2.8 and pulled back frames with minimal grain and rich nebular detail in the Sagittarius region.
The 8-stop in-body stabilization sounds like a daytime photography feature, but it has real applications at night. When I wanted quick constellation shots or twilight blue-hour composites, I could handhold at shutter speeds that would normally demand a tripod. It also steadies your framing when you’re scrambling to recompose between tracked exposures.

Autofocus is where this camera genuinely surprised me. Canon’s Dual Pixel CMOS AF II with 1,053 AF zones locks onto bright stars in near-darkness, which removes one of the most frustrating parts of night photography: hunting for focus on a dim viewfinder image. The star detection worked reliably with a 24mm f/1.4 lens wide open.
The vari-angle touchscreen deserves specific praise for astrophotography. When your camera points straight up at zenith on a tripod, a fixed screen forces you to lie on the ground. Flipping the R6 Mark II’s screen out and tilting it toward you saves your back during long imaging sessions. It’s a small thing that matters enormously at 1 AM.
Battery life is the honest downside. Long-exposure sessions with the screen active drain the LP-E6NH faster than a DSLR would drain its equivalent, so I carried two spares for a full night. The single SD card slot also made me nervous during a once-per-season comet pass with no chance to reshoot.

Who the R6 Mark II is right for
This camera fits the photographer who wants one body for everything. If you shoot weddings on Saturday and the Milky Way on Sunday, or if you split your time between landscapes and nightscapes, the R6 Mark II handles both without compromise. It’s also the right choice if you plan to grow into star tracker work with fast wide lenses.
The 40fps electronic burst also opens a door that most people overlook: planetary lucky imaging. By recording short bursts and stacking the sharpest frames in software like AutoStakkert, you can pull surprising detail from Saturn’s rings using nothing but this camera and a telephoto lens. That versatility justifies the premium over a dedicated astro camera if your interests are broad.
Who should skip it
If you exclusively image deep-sky objects through a telescope, a dedicated cooled astronomy camera will outperform this body for that single task. The R6 Mark II has no sensor cooling, so thermal noise accumulates during long integrated exposures no matter how good the high-ISO performance is. Serious nebula hunters mounting to a scope should look at the ZWO or SVBONY options below.
Budget-focused buyers should also consider whether they need IBIS and the tougher build. The EOS R8 uses the identical 24.2MP sensor and autofocus system for noticeably less money, and for tripod-bound astrophotography, the missing stabilization barely matters. If every dollar counts, that trade is worth thinking through honestly.
2. Canon EOS R8 – Best Value Full-Frame Camera
Canon EOS R8 Mirrorless Camera Body, Full‑Frame CMOS Sensor, 24.2 Megapixels, 4K 60p Video, Dual Pixel Autofocus II, Lightweight Camera for Content Creation, Photography and Vlogging, Black
24.2MP Full-Frame CMOS
461g Body
ISO 50-102400
4K60p Oversampled
RF Mount
Pros
- Same sensor and AF as the R6 Mark II at a lower price
- Lightest Canon full-frame at 461g
- Excellent low-light performance
- Dual Pixel AF II with full coverage
- Works with EF lenses via adapter
Cons
- No in-body image stabilization
- Single SD card slot
- Smaller battery with shorter life
- Plastic body construction
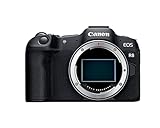
The R8 is the camera I handed to everyone on our team who claimed astrophotography was too expensive to try. It uses the exact same 24.2MP full-frame sensor and the same Dual Pixel CMOS AF II autofocus system as the R6 Mark II, which means the image quality coming off the sensor is essentially identical. You give up the body stabilization, the tougher sealing, and some battery capacity, but the core imaging capability is fully intact.
At 461 grams, this is the lightest full-frame Canon has ever made, and that weight savings becomes very real when you mount it on a lightweight star tracker. My SkyGuider Pro rig felt noticeably better balanced with the R8 than with heavier bodies, and smaller travel tripods held it steadier in wind. For anyone hiking to a dark-sky location, those grams add up quickly.
High ISO performance holds up impressively for the price bracket. I shot Milky Way panoramas at ISO 6400 and found the noise characteristics within a hair of the R6 Mark II files, which makes sense given the shared sensor. Pushing to ISO 12800 for faint emission nebula on a tracker still produced workable raw files with manageable grain after stacking.
The lack of in-body stabilization is the trade you’re making, and I want to be honest about when it matters. For tripod or tracker work, it doesn’t matter at all, since your mount provides the stability. It only becomes a limitation if you want the camera to double as a handheld low-light documentary or travel body, where those 8 stops on the R6 Mark II genuinely change what shutter speeds you can use.
Battery life is the other real compromise. The smaller LP-E17 drains noticeably faster during long sessions, so budget for at least two spares if you plan all-night imaging runs. The plastic body construction also feels less confidence-inspiring when you’re dealing with dew and temperature swings, though I had no actual issues during three months of use.

Who the EOS R8 is right for
This is the best entry point into full-frame mirrorless astrophotography available right now. If you’re starting from scratch, want to shoot Milky Way landscapes and tracked wide-field work, and don’t want to pay for features you’ll never use on a tripod, the R8 gets you identical image quality for less. It’s also ideal for travelers and hikers who count every gram in their pack.
Existing Canon DSLR owners sitting on a collection of EF lenses should also look hard at this body. The optional EF-to-RF adapter keeps your glass relevant, and the autofocus performance leap from an older Rebel or 6D to the R8 is dramatic. Several forum users we tracked made exactly this upgrade and reported their star focus hit rate jumped immediately.
Who should skip it
If you need one camera that handles handheld low-light photography as well as astrophotography, save longer and buy the R6 Mark II with IBIS. Without stabilization, the R8 confines you to tripod-dependent work after dark, which is fine for dedicated astro shooters but limiting for general low-light use. We occasionally see it bundled in camera deals alongside competitors, so it’s worth comparing during sales events.
Anyone planning heavy telescope work should also reconsider. Like the R6 Mark II, the R8 has no sensor cooling, so it faces the same thermal noise ceiling during long deep-sky integration. Its single card slot and modest battery are also more painful to live with during a multi-hour scripted imaging run than during casual nightscape sessions.
3. DWARFLAB Dwarf 3 Smart Telescope – Best for Beginners and Portability
DWARFLAB Dwarf 3 Smart Telescope, App-Controlled Astrophotography Camera
3lb Smart Telescope
Dual Lens System
4K Auto-Tracking
EQ and AZ Modes
Built-in Stacking
Pros
- Fits in a standard backpack with 3lb weight
- Two-minute setup with intuitive app
- Built-in stacking with no PC required
- True EQ mode for 60-120s exposures
- Dual-band filter cuts light pollution
- Doubles as a wildlife camera
Cons
- Wi-Fi can be inconsistent on startup
- Tele lens limited on small objects
- App is occasionally buggy
- Internal battery limits marathon sessions
The Dwarf 3 is the camera I wish existed when I started astrophotography a decade ago. It’s a complete imaging system in a 3-pound package: telescope, camera, tracking mount, filters, and processing software all in one unit. You set it on a table, connect your phone, tap the object you want in the app, and it handles alignment, tracking, focusing, and stacking automatically.
During testing, I had it imaging the Orion Nebula within four minutes of unboxing, and that includes reading the quick-start guide. Compare that to my traditional rig, which takes 45 minutes to polar align, balance, focus, and guide before the first real exposure. For anyone intimidated by the technical wall that stops most beginners, this device removes it entirely.
The dual lens system is smarter than it first appears. The telephoto lens handles deep-sky targets and doubles as a capable wildlife lens during the day, while the wide-angle lens captures Milky Way panoramas and star trails without any telescope at all. Switching between them in the app takes seconds, and it genuinely expands what you’ll use the device for.
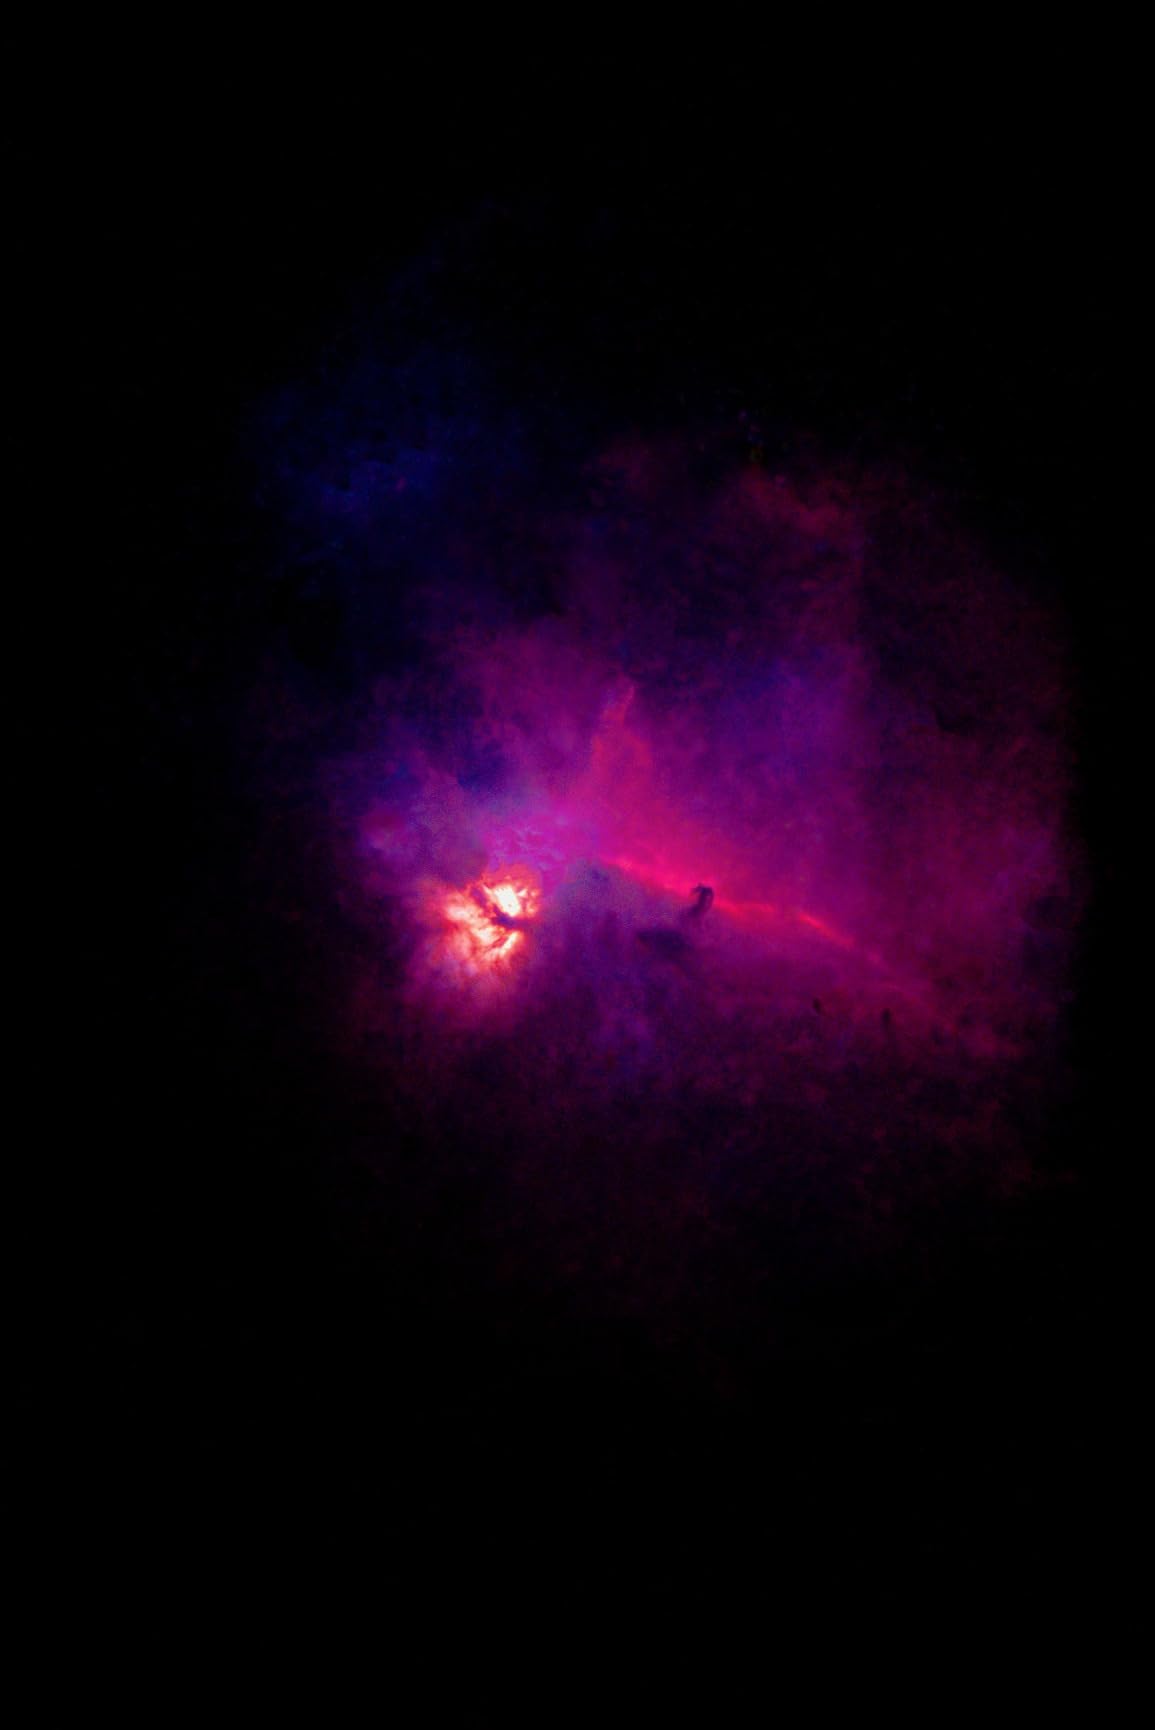
The true equatorial mode is what separates the Dwarf 3 from most smart telescope competitors. In EQ mode it tracks around the celestial pole like a proper equatorial mount, enabling 60 to 120 second exposures that pull real nebular detail out of suburban skies. The included dual-band filter also does serious work against light pollution, and our tests from a Bortle 7 backyard produced emission nebula images that would have been impossible unfiltered.
The frustrations are real but manageable. Wi-Fi connectivity took multiple attempts to establish on roughly one in three cold starts, and the app crashed twice during our test period. The internal battery limits you to a few hours of active imaging, so anyone planning long unattended sessions should plan around a USB-C power bank. Since a reliable field power source matters for any smart telescope, our roundup of power stations for astrophotography covers options that keep a Dwarf 3 running all night.
Who the Dwarf 3 is right for
This is the clearest beginner recommendation we can make. If you’re curious about astrophotography but intimidated by polar alignment, guiding, and stacking software, the Dwarf 3 produces genuinely satisfying images from night one. It’s equally perfect for apartment dwellers and travelers who can’t haul a full rig, since it fits in a backpack and sets up on any flat surface.
It also earns a place as a second rig for experienced imagers. Several team members keep one for nights when setting up the main telescope feels like too much effort, or for capturing targets while the primary rig is busy. The FITS export option means you can pull raw data into PixInsight for serious post-processing when you want more control than the app provides.
Who should skip it
If your passion is high-resolution planetary imaging or tiny faint galaxies, the telephoto lens’s resolving power will eventually frustrate you. The 35mm objective simply can’t gather the light or detail of a larger instrument, and no amount of software can compensate for that physics. Planetary specialists should look at the Celestron NexImage 20 below instead.
Anyone who enjoys the technical process itself should also think twice. Half the satisfaction of traditional astrophotography comes from mastering the equipment and earning the image through skill. The Dwarf 3 automates most of that away, which is exactly its selling point for beginners but potentially a disappointment for hands-on hobbyists who want to learn the craft deeply.
4. ZWO ASI183MC Pro – Best Cooled Camera for Deep-Sky Detail
ZWO ASI183MC Pro 20.18 MP CMOS Color Astronomy Camera with USB 3.0 # ASI183MC-P
20.18MP Cooled CMOS
2.4 Micron Pixels
TEC 40-45C Below Ambient
USB 3.0 at 19fps
256MB Buffer
Pros
- Two-stage TEC cooling drops sensor 40-45C below ambient
- High 20.18MP resolution for detailed framing
- USB 3.0 at 19fps for real-time focusing
- Built-in USB 2.0 hub powers accessories
- Back-illuminated sensor with high quantum efficiency
- Works with SharpCap TheSkyX and ASCOM
Cons
- Requires separate 12V supply for the TEC cooler
- No power cable included in the box
- Only 12-bit ADC while some rivals offer 16-bit
- Small 1-inch sensor limits field of view
Attaching the ASI183MC Pro to our 80mm refractor was the moment I understood why dedicated cooled cameras exist. The two-stage thermoelectric cooling drops the sensor 40 to 45 degrees Celsius below ambient, and the effect on long exposures is dramatic. Dark frames taken at cooling temperature show almost none of the thermal noise that plagues uncooled DSLR and mirrorless sensors during summer sessions.
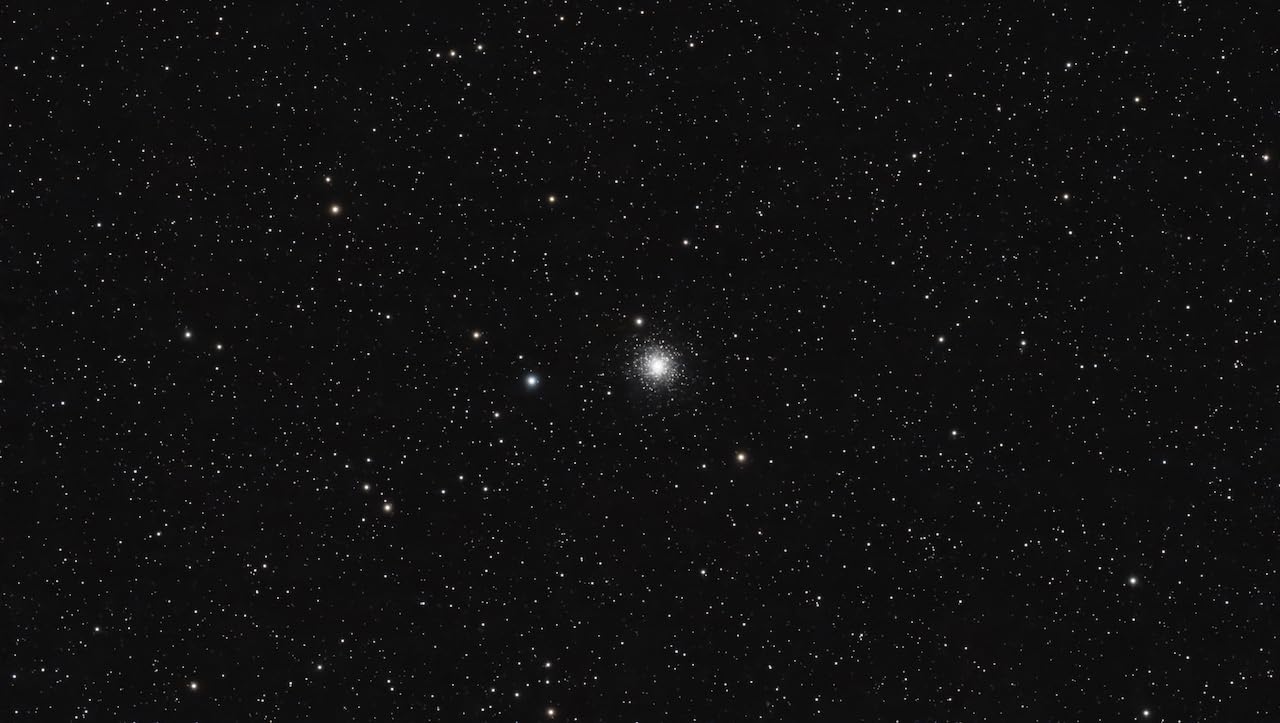
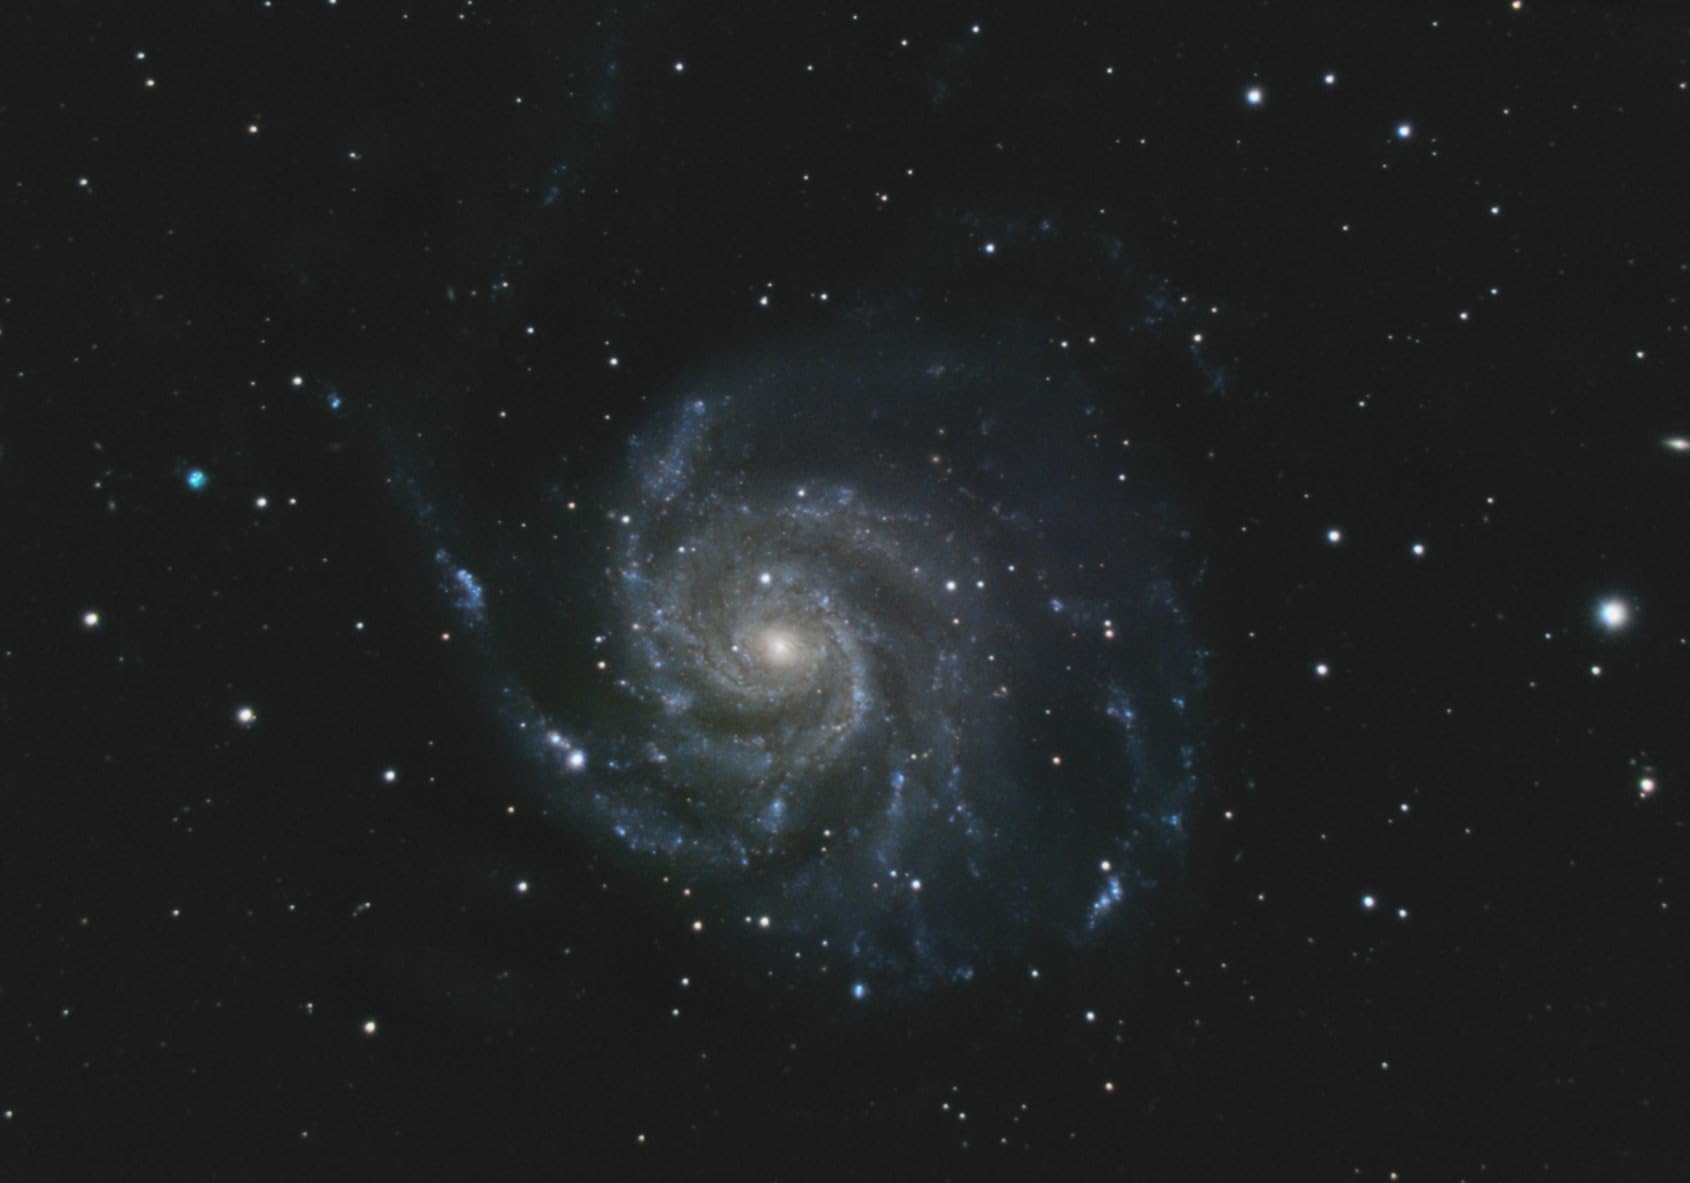
The 20.18MP resolution with 2.4-micron pixels is the camera’s defining characteristic. Those small pixels sample finely at long focal lengths, which means tight star detail when you’re imaging through a telescope with a longer tube. On our 600mm refractor, globular clusters resolved into individual stars across the full frame in a way that larger-pixel sensors couldn’t match without additional optics.
Real-time performance is excellent for a scientific camera. USB 3.0 pushes full-resolution frames at 19fps, which makes focusing fast and painless, and the 256MB DDR3 buffer eliminates the frame drops and amp glow that plagued earlier generation astronomy cameras. The built-in USB 2.0 hub is a thoughtful touch that powers our guide camera and electronic focuser without extra cables draped to the laptop.
Using it requires a workflow shift from camera photography. You’ll run this through SharpCap, N.I.N.A., or TheSkyX on a laptop, controlling gain, exposure, and cooling from software rather than a camera body. That adjustment takes a weekend to get comfortable with, but the level of control you gain over every parameter is exactly what deep-sky imaging rewards.
The limitations are worth stating plainly. It needs a separate 12V power supply for the cooling, and no power cable ships in the box, so factor that into your budget. The 12-bit ADC is modest compared to the 14-bit and 16-bit cameras now available, which shows up as slightly less gradation in the faintest nebula regions after heavy stretching.
Who the ASI183MC Pro is right for
This camera suits the intermediate imager moving from a DSLR to dedicated equipment for the first time. The one-shot color sensor means you capture everything in a single pass without managing a filter wheel and monochrome framing, which keeps sessions approachable while still delivering the cooling benefits that make cooled cameras worth the hassle.
It’s also a strong pick for anyone imaging at longer focal lengths. If you’re targeting small planetary nebulae, tight globular clusters, or distant galaxies through a Schmidt-Cassegrain or long refractor, those 2.4-micron pixels extract detail that coarser sensors miss. Just make sure your mount guides well, because small pixels are equally unforgiving of tracking errors.
Who should skip it
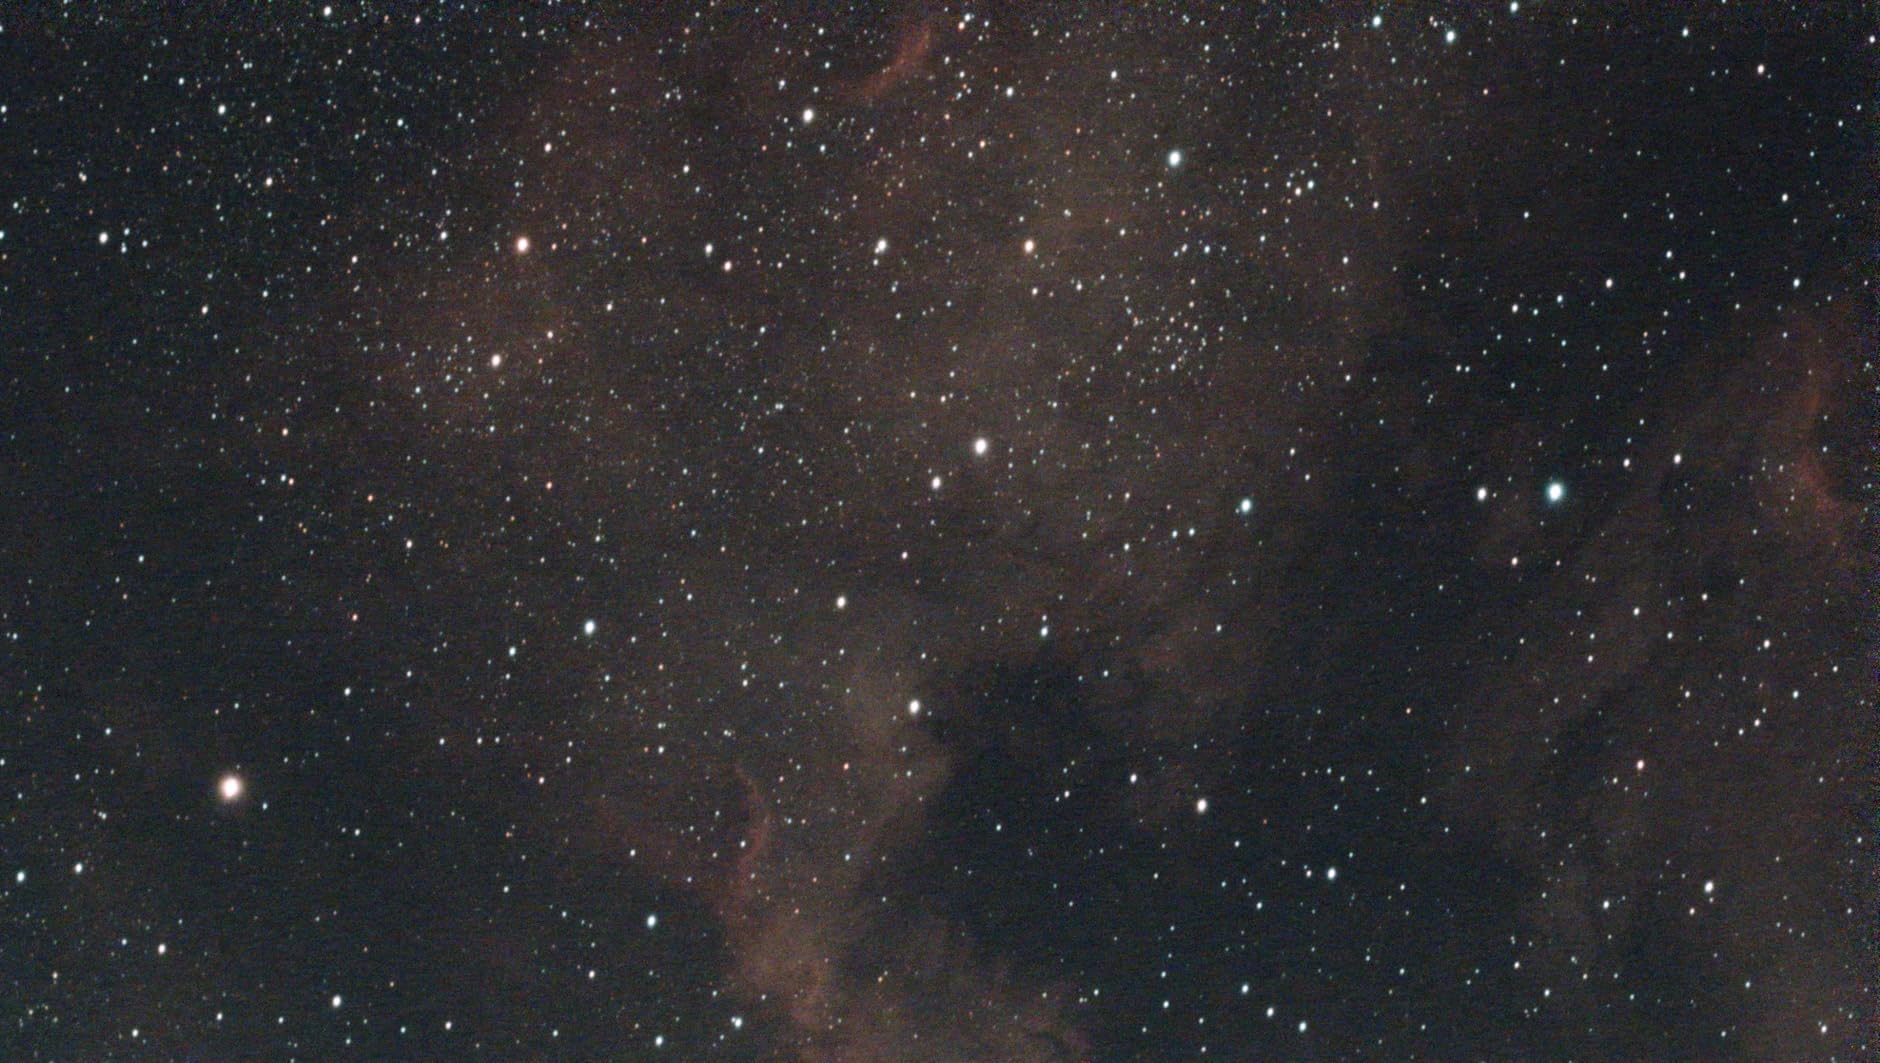
If you want wide-field vistas of large emission nebula like the North America Nebula or Barnard’s Loop, the 1-inch sensor will feel cramped. A 4/3-inch or APS-C sensor frames those targets far better, and the SVBONY SV405CC below offers exactly that trade with larger pixels at a similar price. Wide-field deep-sky shooters should weigh that carefully.
Beginners without a telescope should also pass on this one. The ASI183MC Pro has no lens mount and no screen, so it’s unusable without a telescope, a laptop, and associated software knowledge. If you don’t already own a scope and feel comfortable with acquisition software, start with a mirrorless body or a smart telescope and graduate to dedicated gear later.
5. SVBONY SV405CC – Best Mid-Range Cooled Camera Value
SVBONY SV405CC Astrophotography Camera, Cooled Telescope Eyepiece IMX294
Sony IMX294 4/3 Sensor
11.7MP
4.63 Micron Pixels
14-bit ADC
TEC 30C Below Ambient
Pros
- Back-illuminated Sony IMX294 sensor with strong sensitivity
- 14-bit ADC gives rich post-processing headroom
- Larger 4/3 sensor frames big nebula targets
- Smart HCG mode cuts read noise at high gain
- Broad software compatibility including Raspberry Pi
- Good value versus comparable ZWO cameras
Cons
- Lower 11.7MP resolution than some competitors
- TEC cooling only 30C below ambient
- No power supply included for the cooler
- Smaller user community than ZWO
The SV405CC quietly became the value pick of our cooled camera testing. At its price it delivers the Sony IMX294 back-illuminated sensor, the same chip found in considerably more expensive cameras, along with 14-bit ADC output that gives your post-processing real headroom. Stretched files hold gradient detail in faint nebulosity that the spec sheet alone wouldn’t predict.
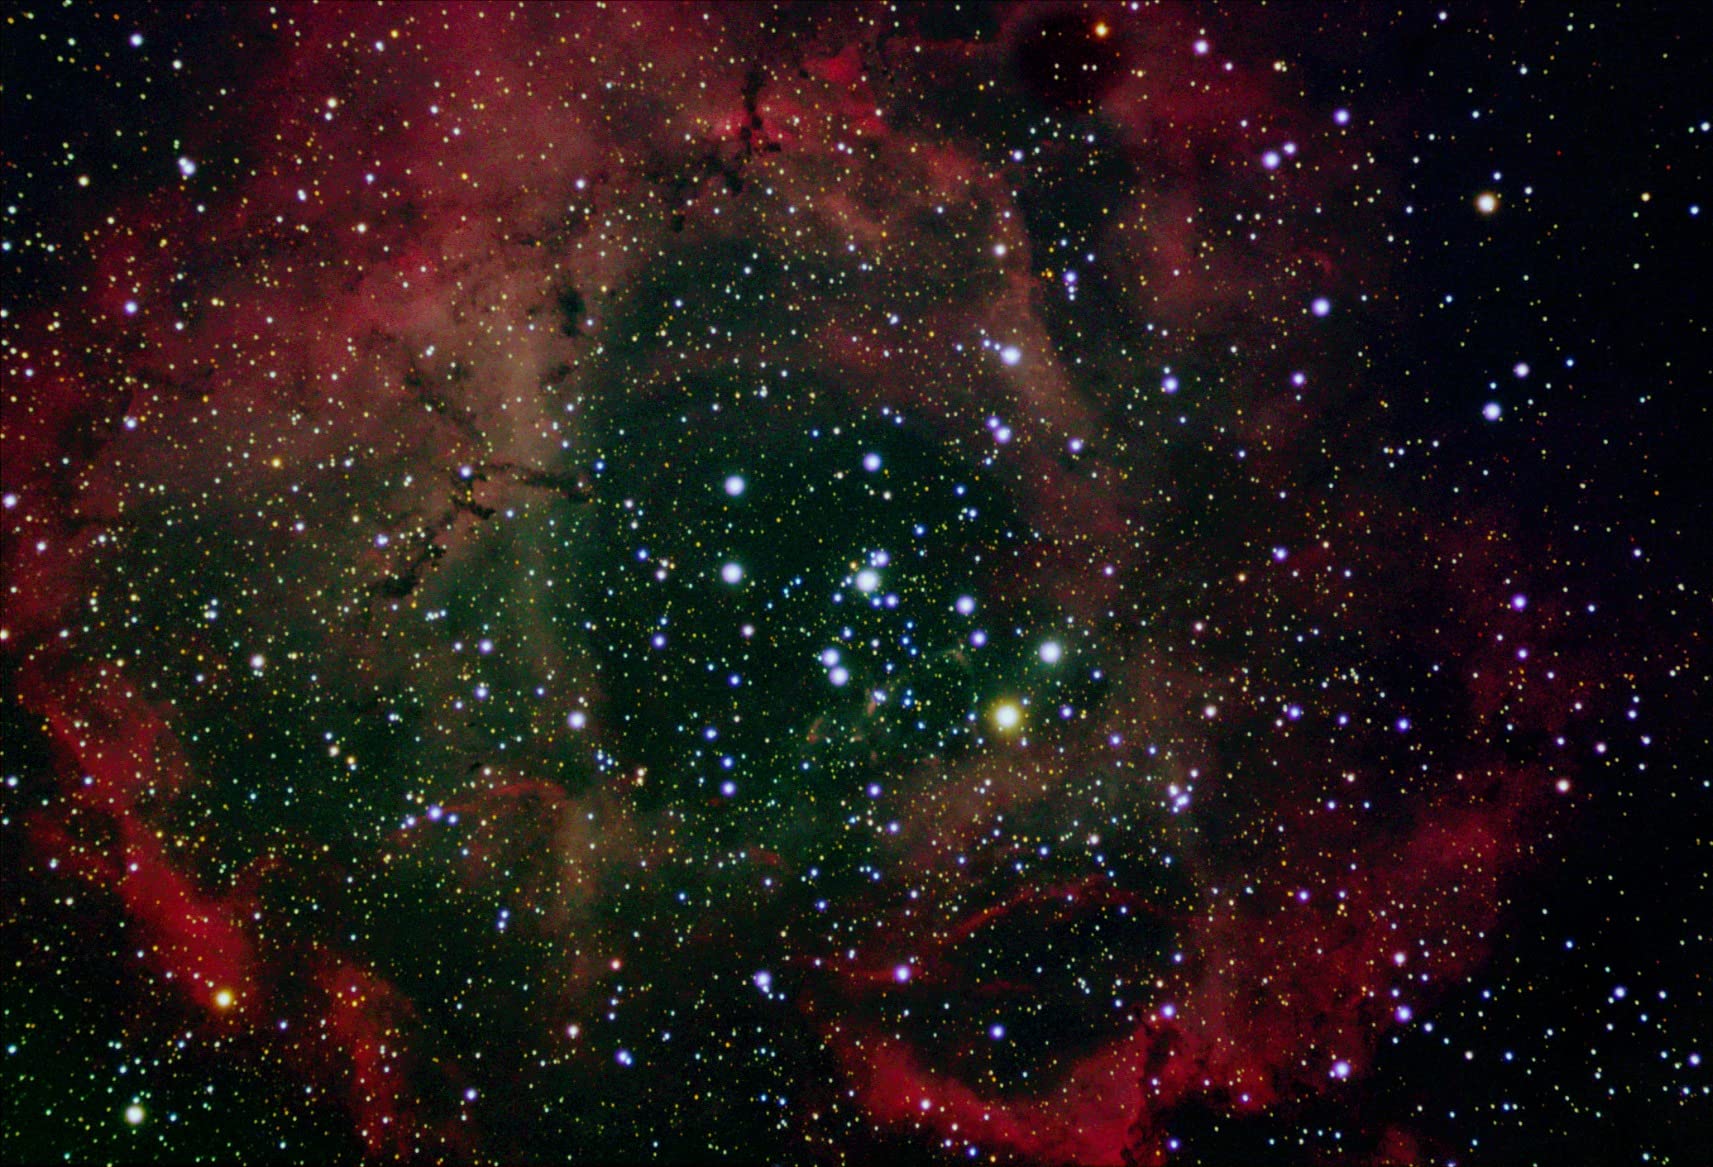
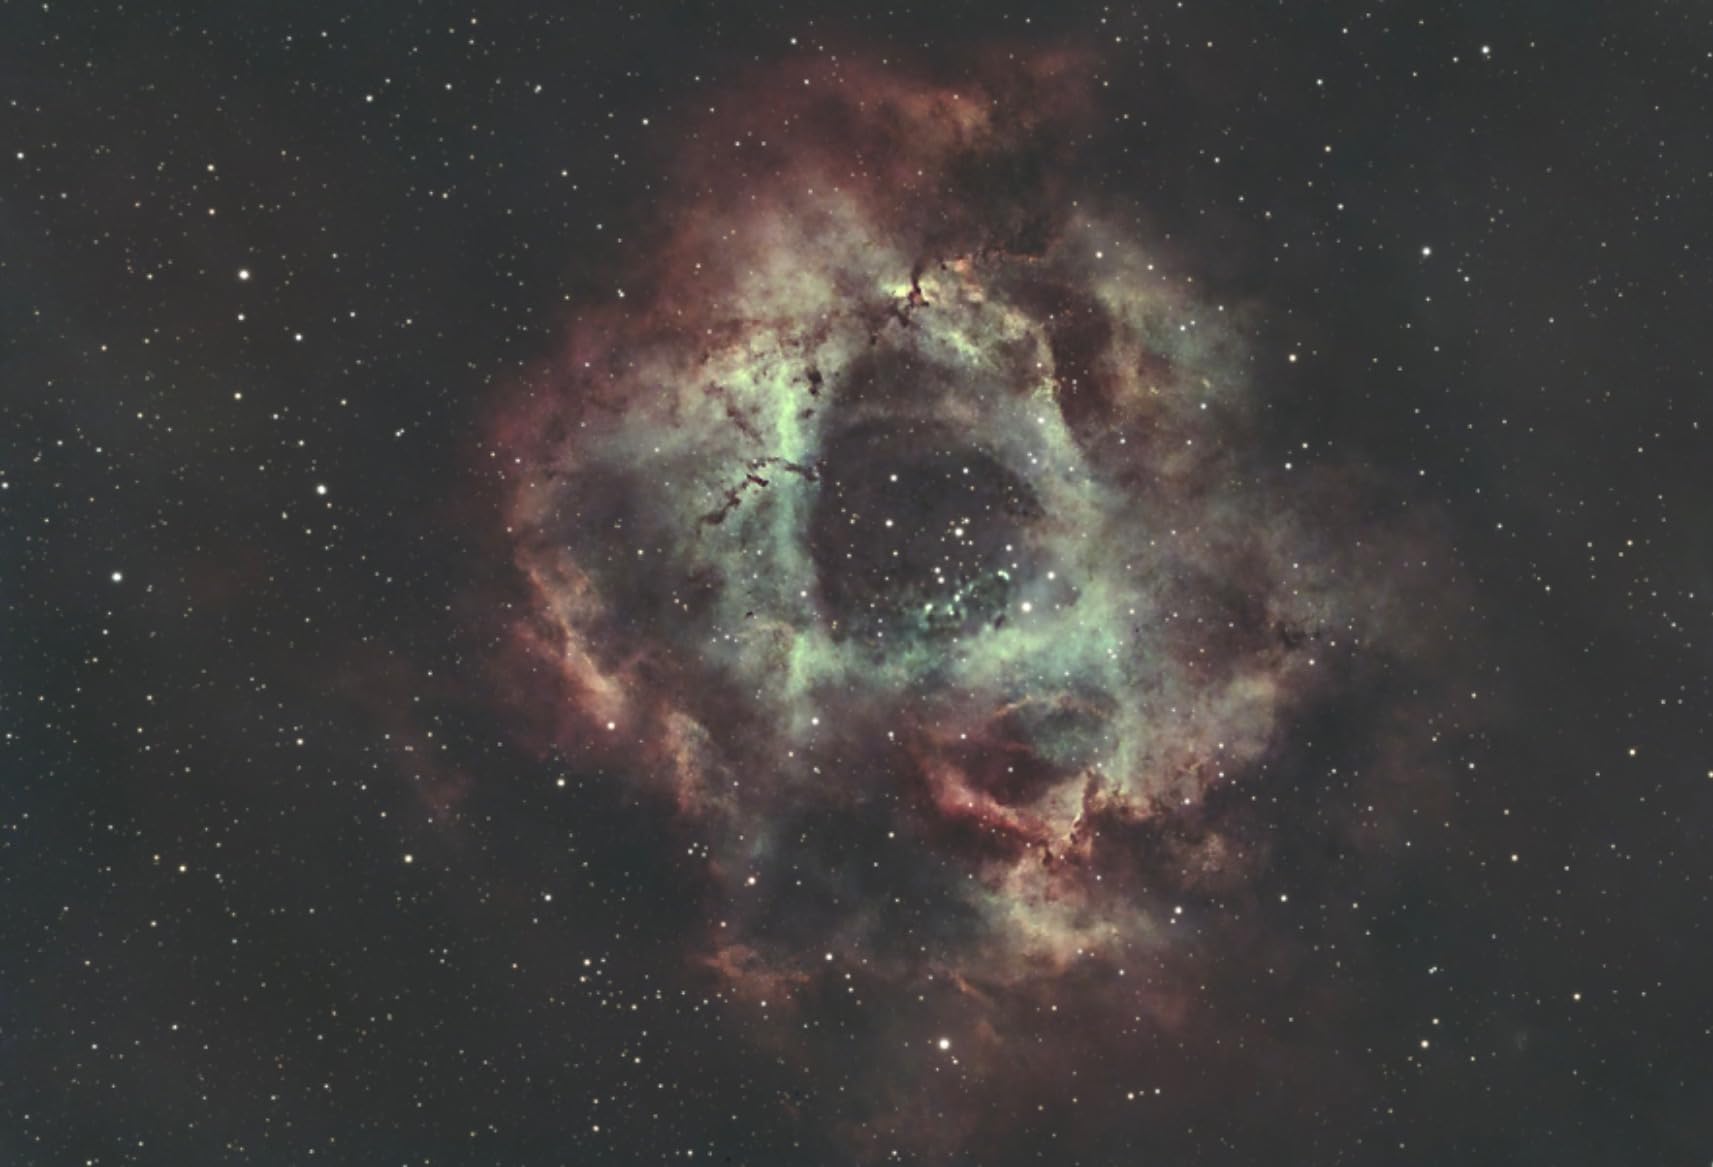
The 4/3-inch sensor with 4.63-micron pixels is the sweet spot for general deep-sky work with short refractors. On our 400mm scope, it framed the entire Rosette Nebula comfortably and captured the Heart and Soul complexes in pleasing detail. Those larger pixels are also more forgiving of modest guiding errors, which matters if your mount isn’t a premium model.
Cooling performance is honest but not class-leading. The two-stage TEC reaches 30 degrees Celsius below ambient, short of the ZWO’s 40 to 45 degrees, and that difference shows up on hot summer nights when ambient temperatures push the sensor’s baseline higher. In spring and fall conditions, the gap narrows to the point where it rarely affected our final stacked images.
The Smart HCG mode is a genuinely useful feature that automatically engages at gain 120 and above, dropping read noise while preserving dynamic range. In practice, this means you can run higher gain for shorter exposures on faint targets without paying the usual noise penalty. Our narrowband tests under suburban skies benefited noticeably from it.
Software compatibility is broader than we expected. It works across Windows, Linux, Mac OS, Chrome OS, and even Raspberry Pi through AstroDMx Capture, alongside the standard SharpCap, TheSkyX, and ASCOM support. The one gap is community size: far fewer imagers run SVBONY cameras than ZWO, so troubleshooting threads are thinner when something misbehaves.
Who the SV405CC is right for
This is the camera for the budget-conscious imager who wants a larger sensor without paying flagship prices. If you’re choosing between a higher-resolution small-pixel camera and this 4/3-inch sensor for wide nebula fields, and your targets tend toward the big and bright like Orion, Rosette, and the North America Nebula, the SV405CC’s framing advantage wins.
It also earns a recommendation for anyone running older or mid-tier mounts. The forgiving 4.63-micron pixels tolerate the periodic error of an entry-level equatorial mount better than tiny pixels, letting you achieve round stars without upgrading everything at once. Building a system around modest, matched components beats chasing specs on the camera alone.
Who should skip it
If you image in a hot climate or through summer months, the 30C cooling ceiling becomes a genuine limitation rather than a spec-sheet footnote. Sensors running warmer accumulate more dark current, which translates to noisier backgrounds in your final stack. Imagers in warmer regions who push long integrations should consider the ZWO’s deeper cooling instead.
Resolution hunters should also look elsewhere. At 11.7MP, cropping into your frames for small targets leaves you with limited pixel real estate, and if your interests run toward tiny planetary nebulae or detailed galaxy structure, the ASI183MC Pro’s 20.18MP gives you more to work with. Match the sensor to your target list before you buy.
6. Celestron NexImage 20 – Best Planetary and Lunar Camera
Celestron NexImage 20 Solar System Imager – Lunar & Planetary Camera, Color
20MP AR2020 BSI CMOS
1.4 Micron Pixels
ROI Sub-Framing
Built-in Autoguiding
USB-C
Pros
- Very high 20MP resolution for crisp lunar detail
- ROI mode boosts frame rate for fast planets
- Built-in autoguiding port saves an accessory
- USB-C connection with no external power needed
- iCap software included with full control
- Budget-friendly entry into planetary imaging
Cons
- Small 1.4-micron pixels are not ideal for deep-sky
- No TEC cooling means thermal noise on long exposures
- Manual focus only
- Very limited 16-review track record
The NexImage 20 is a purpose-built tool, and judging it fairly means accepting its mission. This camera exists to capture the Moon, planets, and Sun with a solar filter, using the lucky imaging technique of recording thousands of short frames and stacking the sharpest. In that narrow role, its 20MP back-illuminated sensor and 1.4-micron pixels deliver results that genuinely surprised our whole team.
Our first lunar session produced crater detail along the terminator that rivaled images we’d taken with cameras costing three times as much. When we turned it toward Jupiter with a 6-inch Schmidt-Cassegrain, the Great Red Spot and two cloud belts were clearly resolved in stacked output. Saturn’s rings separated cleanly from the planet’s disk at 120fps using the ROI mode.
The Region of Interest sub-framing is the feature that makes fast planets practical. By cropping the sensor down to just the planet’s footprint, frame rates climb dramatically, letting you freeze the atmospheric turbulence that smears detail in longer exposures. Mercury and Venus, which race across the sensor at high magnification, became tractable targets rather than frustrating smudges.
The built-in autoguiding port adds real value for a camera at this price. When you’re not using it for planetary work, it can guide your mount during deep-sky sessions with a separate main camera, saving you the cost of a dedicated guide camera. That dual role makes it one of the most cost-effective accessories in this entire roundup.
The constraints are exactly what you’d expect from a specialized sensor. Those tiny 1.4-micron pixels saturate quickly and offer poor sensitivity for faint deep-sky targets, and with no TEC cooling, long exposures accumulate thermal noise rapidly. This is not a general-purpose astronomy camera, and treating it as one leads to disappointment.
Who the NexImage 20 is right for
This camera fits two profiles especially well. The first is the beginner who already owns a telescope and wants to try imaging without a big investment, since lunar and planetary work has the fastest reward loop in the hobby. The second is the deep-sky imager who needs a capable autoguider anyway and gets a solid planetary camera as a bonus.
Urban astronomers should pay particular attention. Planetary and lunar imaging is nearly immune to light pollution because you’re capturing bright targets with short exposures, so a backyard observer in a bright city can produce excellent results the same night they unbox it. If dark-sky travel isn’t an option for you, this is the most practical entry into the hobby.
Who should skip it
Anyone whose goal is nebulae, galaxies, or the Milky Way should look elsewhere, full stop. The sensor’s small pixels, low full-well capacity, and absent cooling make it fundamentally unsuited to faint extended targets. Pairing it with a narrowband filter doesn’t change the underlying physics, so save yourself the frustration and choose a cooled camera from earlier in this list.
Buyers who value a proven track record should also note the very small review base. With only 16 reviews at the time of our research, long-term reliability data is thin compared to the Canon or ZWO options. Celestron’s 2-year US warranty and established support network offset some of that risk, but it’s worth making the purchase with that context clear.
Buying Guide: How to Choose Your Astrophotography Camera
Choosing among the best astrophotography cameras comes down to matching the camera type to your setup and targets, not chasing the biggest spec numbers. This guide walks through the decisions in the order you’ll actually face them, starting with the question that determines everything else.
Step one: Decide what you want to photograph
Your target list determines your camera type before any spec matters. Wide-field Milky Way and nightscape work needs a mirrorless camera and a fast wide lens. Deep-sky nebulae and galaxies through a telescope call for a cooled dedicated camera, while planetary and lunar imaging rewards a specialized high-speed sensor instead.
If you’re honestly unsure, start with the camera type that covers the most ground. A mirrorless body handles nightscapes, tracked wide-field work, and daytime photography, giving you room to discover what you enjoy before committing to specialized gear. Plenty of imagers in our forum research started exactly this way and never felt the need to upgrade.
Cooled versus uncooled: what cooling actually does
Every sensor accumulates thermal noise as it warms during long exposures, and this noise grows worse the longer your exposure runs. A thermoelectrically cooled camera chills its sensor 30 to 45 degrees below ambient, dramatically reducing that noise. For deep-sky imaging where you stack hours of exposure, the difference in your final background smoothness is substantial.
Uncooled cameras, which includes every DSLR and mirrorless body, rely on short exposures and stacking to average noise away. That works well for nightscape and tracked wide-field imaging, where individual subs are 10 to 120 seconds. It becomes a genuine limitation when you’re pushing faint nebula targets through a telescope over multi-hour integrations.
One-shot color versus monochrome sensors
A one-shot color camera has a Bayer filter array over its sensor, capturing red, green, and blue data in every exposure. A monochrome camera captures only luminance data and requires separate color filters, shot sequentially through a filter wheel, combined later in software. Both produce full-color images, but the workflow differs enormously.
For beginners and most intermediate imagers, one-shot color is the right call. You capture everything in a single pass, your sessions are shorter, and your processing is simpler. Monochrome with narrowband filters delivers higher ultimate quality and works better under severe light pollution, but it triples your imaging time and demands real processing skill. All the dedicated cameras in this roundup are one-shot color for exactly this reason.
Sensor size, pixel size, and why they matter together
Sensor size determines your field of view, and pixel size determines how finely your telescope’s image is sampled. A larger sensor frames bigger targets, which matters for expansive nebulae. Smaller pixels resolve finer detail at long focal lengths but demand excellent guiding and steady skies to pay off.
The practical matching rule: pair small pixels with short focal length scopes and large pixels with long focal lengths. If you’re buying a camera for a 400mm refractor, the SV405CC’s 4.63-micron pixels fit naturally. If you’re imaging at 2000mm with a Schmidt-Cassegrain, the ASI183MC Pro’s 2.4-micron pixels extract the detail your scope delivers. Mismatched pairs waste either sensor capability or optical resolution.
Star tracker and mount compatibility
A star tracker is a small portable mount that rotates your camera against Earth’s spin, letting you expose for minutes instead of seconds. If you plan to use one with a mirrorless camera, check its payload capacity against your combined camera and lens weight. The 461g EOS R8 sits comfortably on lightweight trackers where heavier bodies strain them.
Dedicated astronomy cameras assume you already own an equatorial telescope mount, and their performance depends entirely on that mount’s tracking quality. A cooled camera cannot compensate for a mount that trails stars during exposures, so budget for the mount before chasing camera specs. The most common beginner mistake we see is an excellent camera on an inadequate mount.
The 500 rule and 400 rule for untracked shooting
The 500 rule estimates the longest exposure you can use on a fixed tripod before stars trail: divide 500 by your lens’s focal length. Shooting at 24mm gives roughly 20 seconds before trails appear. It’s a starting point for Milky Way photography when no tracker is available, and it explains why fast wide lenses dominate untracked nightscapes.
The 400 rule applies the same math more conservatively, dividing 400 by focal length instead, which matters on high-resolution modern sensors. The 24.2MP full-frame Canons in this guide resolve star trails that older lower-megapixel sensors would have masked, so using 400 instead of 500 produces sharper point stars on these bodies. Crop sensor cameras need an additional crop-factor adjustment, so a 1.5x crop body at 24mm uses 400 divided by 36, about 11 seconds.
A realistic beginner path
The clearest upgrade path we can recommend from our testing and forum research: start with either a smart telescope or a mirrorless body on a tripod, depending on whether you prefer simplicity or versatility. Shoot that way for at least three months to learn what you enjoy imaging. Only then add a star tracker, and only move to a cooled telescope camera once you know deep-sky work is your focus.
That progression matches what experienced imagers report again and again on Cloudy Nights and r/AskAstrophotography. Many recommend starting with a camera you already own before spending anything, and the used Canon 6D remains a frequently suggested budget full-frame entry. Skipping straight to a complex cooled rig without mount and software experience is the fastest route to frustration and abandoned equipment.
Frequently Asked Questions
What is the best camera to use for astrophotography?
The best astrophotography camera depends on your setup. For telescope-based deep-sky imaging, a dedicated cooled camera like the ZWO ASI183MC Pro excels. For Milky Way nightscapes with a lens, the Canon EOS R6 Mark II or EOS R8 are top picks. Beginners wanting the simplest path should consider the DWARFLAB Dwarf 3 smart telescope.
What is the 500 rule for astrophotography?
The 500 rule estimates the longest shutter speed you can use on a fixed tripod before stars begin to trail. Divide 500 by your lens focal length: a 24mm lens allows about 20 seconds. It is a starting guideline for untracked Milky Way photography with fast wide lenses.
What is the 400 rule in astrophotography?
The 400 rule is a more conservative version of the 500 rule, dividing 400 by your focal length instead of 500. It produces sharper point stars on modern high-resolution sensors, which resolve trailing that older sensors masked. Crop-sensor cameras also need the crop factor applied before the division.
Is it difficult to learn astrophotography?
Basic astrophotography is easy to start and hard to master. Tripod-based Milky Way photography with a mirrorless camera can produce good results the first night. Deep-sky imaging through a telescope involves a steeper learning curve with mounts, guiding, and stacking software, typically taking months of practice to refine.
DSLR or mirrorless: which is better for astrophotography?
Mirrorless cameras are now the better choice for new buyers, offering quieter shutters, accurate star autofocus, live exposure previews, and lighter bodies like the 461g Canon EOS R8. DSLRs remain capable and affordable on the used market, but their optical viewfinders go dark in night shooting and their autofocus hunts on stars.
Final Verdict: Our Top Astrophotography Camera Recommendations
After three months of testing, our recommendations hold steady. The Canon EOS R6 Mark II is the best astrophotography camera for most people who want one versatile body, pairing clean high-ISO output with the stabilization and build to survive real field use. The EOS R8 delivers the same sensor for less if you live on a tripod, and the DWARFLAB Dwarf 3 remains the easiest path from curiosity to your first nebula image.
Telescope owners ready for serious deep-sky work should weigh the ZWO ASI183MC Pro’s resolution against the SV405CC’s larger sensor, and planetary enthusiasts will find the Celestron NexImage 20 punching far above its price. Whichever direction you take, remember that technique and patience move your images further than any single purchase will.
Pick the camera that matches your targets tonight, not the one with the longest spec sheet, and get outside while the sky is clear. The best gear is always the equipment you actually use.