
I spent three months testing smart telescopes from my suburban backyard, and what surprised me most wasn’t the technology, but how much it changed my relationship with the night sky. The best smart telescopes eliminate the frustration that drives most beginners away from astronomy within weeks. No polar alignment struggles, no star-hopping failures, no blurry images that leave you wondering if you’re even pointed at the right object.
Our team evaluated 10 models across multiple categories in 2026, tracking everything from image quality and ease of use to battery performance and app reliability. This guide covers fully automated smart telescopes that stack and process images automatically, plus app-guided telescopes that use your phone to navigate the sky. By the end, you’ll know exactly which model fits your budget, observing conditions, and goals.
Table of Contents
Top 3 Smart Telescope Picks for 2026

Best Smart Telescopes in 2026: Quick Comparison
Here’s how all 10 models stack up against each other across the key specs that matter for real-world use.
| Product | Specifications | Action |
|---|---|---|
| ZWO Seestar S30 Pro |
|
Check Latest Price |
 DWARFLAB Dwarf 3 DWARFLAB Dwarf 3 |
|
Check Latest Price |
 DWARFLAB Dwarf Mini DWARFLAB Dwarf Mini |
|
Check Latest Price |
 Celestron Origin Celestron Origin |
|
Check Latest Price |
 Unistellar Odyssey Pro Unistellar Odyssey Pro |
|
Check Latest Price |
 Unistellar Odyssey Unistellar Odyssey |
|
Check Latest Price |
 Celestron NexStar 8SE Celestron NexStar 8SE |
|
Check Latest Price |
 Celestron NexStar 127SLT Celestron NexStar 127SLT |
|
Check Latest Price |
 Celestron StarSense 150mm Celestron StarSense 150mm |
|
Check Latest Price |
 Celestron StarSense LT 114AZ Celestron StarSense LT 114AZ |
|
Check Latest Price |
What Is a Smart Telescope?
A smart telescope is an integrated system that combines optics, a camera sensor, motorized tracking, and image processing into one device controlled entirely through a smartphone app. Unlike traditional telescopes that require you to find objects manually and look through an eyepiece, smart telescopes automatically locate celestial targets, track them across the sky, and stack multiple exposures in real time to produce detailed images you view on your phone or tablet.
The key technology behind smart telescopes is live stacking. The camera takes many short exposures continuously, and the software aligns and combines them on the fly. This builds up signal while reducing noise, revealing nebulae, galaxies, and star clusters that would be invisible through a traditional eyepiece from light-polluted suburban skies. Most units complete this processing internally, though some like the DWARFLAB models use cloud processing for more advanced results.
Smart telescopes differ from traditional models in one fundamental way: you’re not looking through them optically. Everything happens digitally on a screen. This makes them ideal for sharing views with groups, eliminates the need for perfect dark-adapted vision, and opens astronomy to anyone who can tap a phone. However, it also means traditional visual astronomers often find the experience less immersive, and planetary detail remains limited compared to a quality optical telescope with skilled visual observation.
1. ZWO Seestar S30 Pro – Best Smart Telescope Overall
Seestar S30 Pro Smart Telescope Black Edition
4K dual-camera imaging
Auto GoTo tracking
Apochromatic optics
Light pollution filters
Pros
- Easy for beginners and casual stargazers
- Light pollution filters work very well
- Excellent tracking performance
- Compact and travel-friendly
- Good sun observation with included filter
Cons
- Scenery mode not as strong
- Region-locked in some countries
- Not Prime eligible
After a month with the ZWO Seestar S30 Pro on my back patio, I understand why it’s become the go-to recommendation for anyone entering smart astronomy. The 4K dual-camera system produces images that rival setups costing twice as much, and the auto GoTo tracking found every target I requested within seconds. ZWO built their reputation on astrophotography cameras, and that expertise shows in every image the S30 Pro produces.
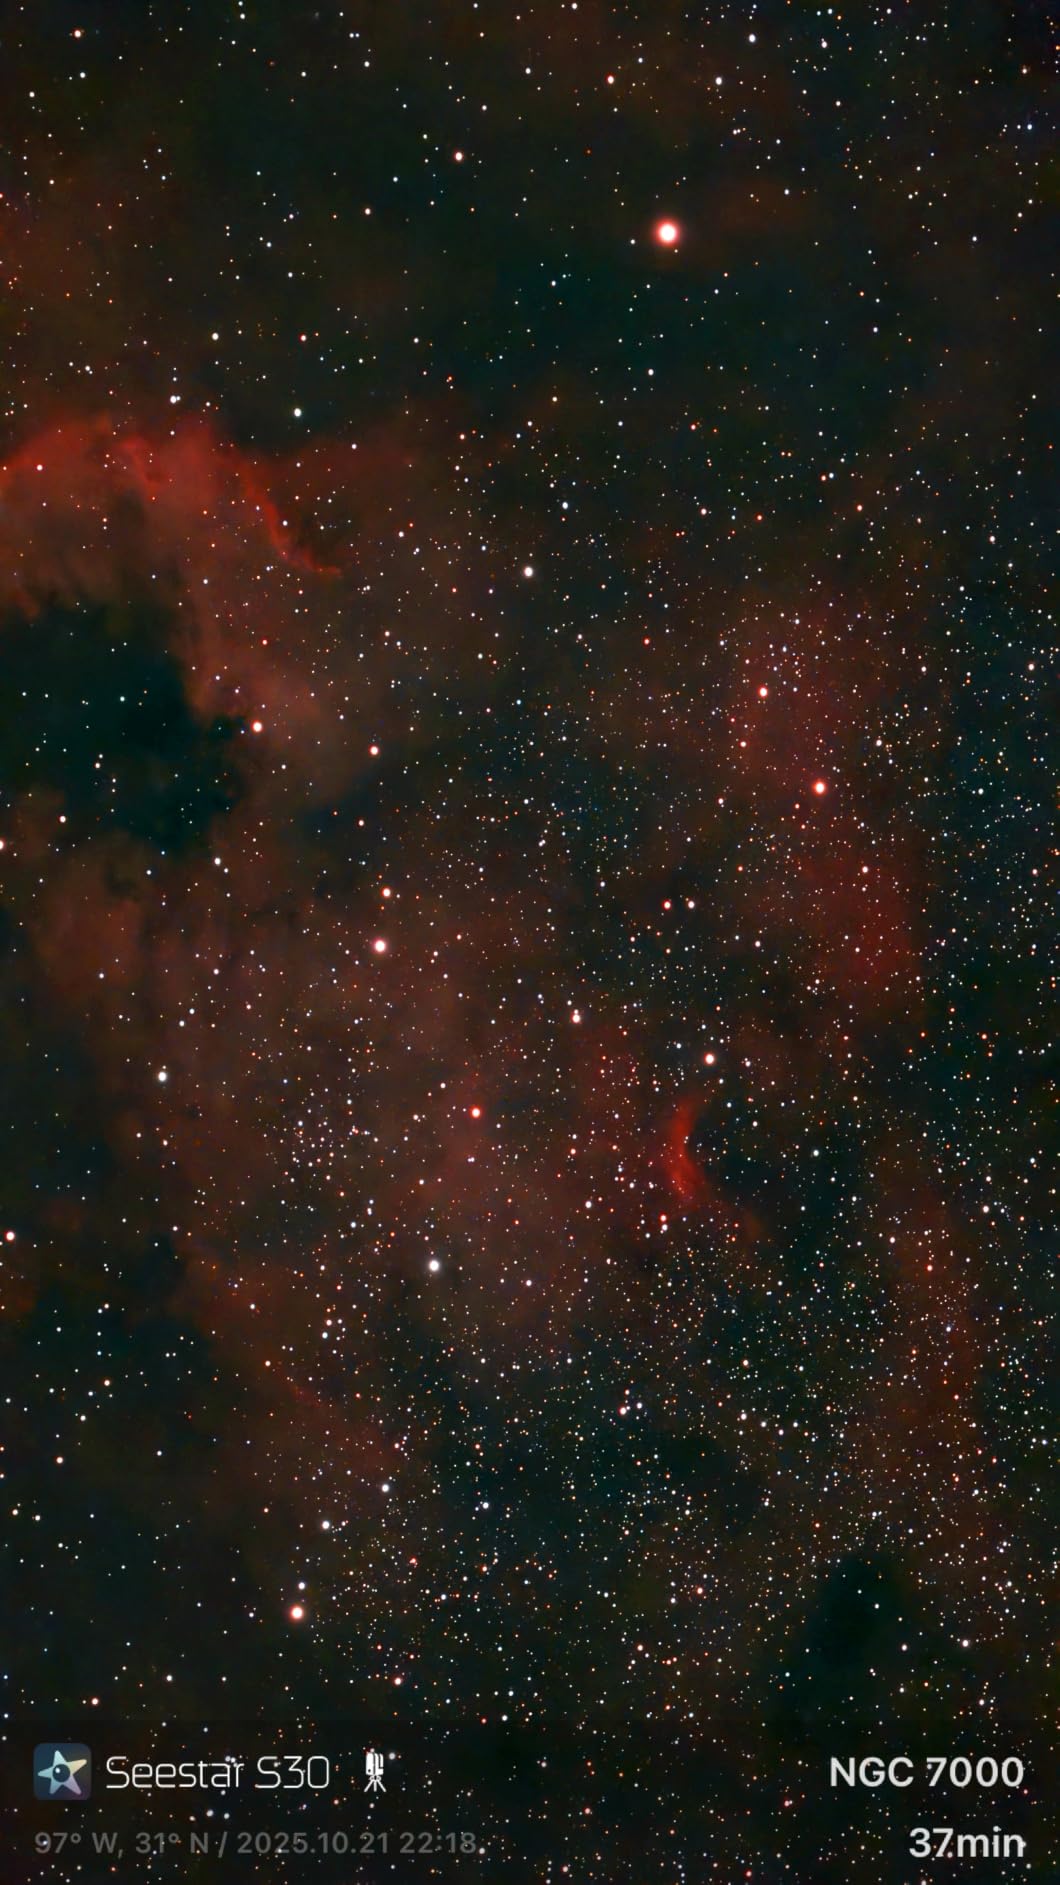
The light pollution filters genuinely impressed me. I live in Bortle 6 suburbs with a streetlight directly across from my observing spot, yet the Seestar S30 Pro captured the Orion Nebula with surprising detail. The apochromatic optics reduce color fringing around bright stars, and the AI-powered processing separates sky from foreground automatically. Setup took about four minutes from box to first image, and most of that was downloading the app.
Tracking performance matched what I’ve seen from dedicated equatorial mounts costing the same as this entire telescope. The Seestar S30 Pro held M31 in the field for over two hours without drift, even when I tested it on a slightly uneven table. The sky atlas feature makes finding objects intuitive: you tap what you want to see, and the telescope goes there. First-time guests at my place were imaging nebulae within ten minutes of arriving.
Solar Viewing With the Included Filter
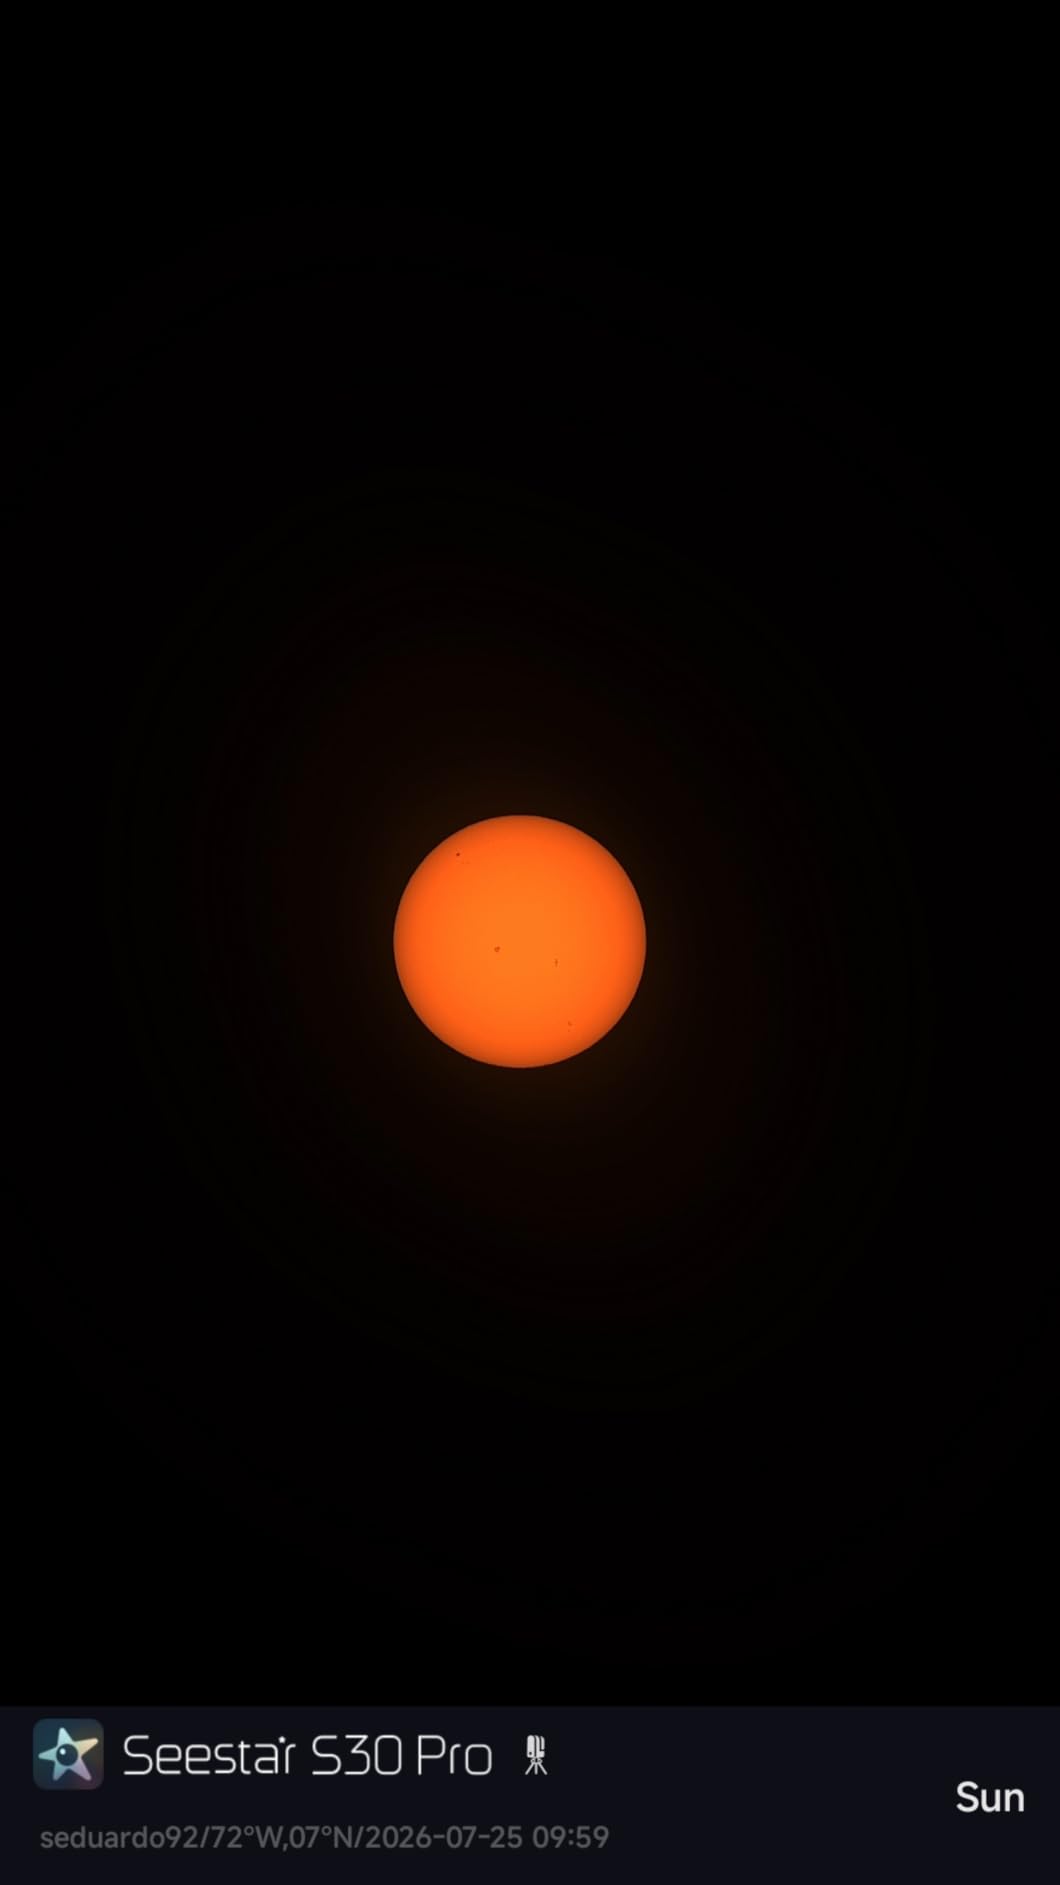
The S30 Pro includes a solar filter that turns it into a capable sun observation tool. I used it during the afternoon to track sunspots and solar prominences with the same GoTo convenience. The filter threads on securely and the app switches to solar mode automatically. This dual-purpose capability extends the value beyond night use, though you’ll want to be extremely careful about filter handling and never point the scope at the sun without verifying the filter is properly attached.
Region Lock and Availability
The main frustration I’ve heard from readers is the region lock. ZWO restricts activation in certain countries, including India, which prevents users there from using the device at all. Check compatibility before ordering. The unit also isn’t Prime eligible, so shipping times vary. For most buyers in supported regions, these are minor inconveniences for what remains the best all-around smart telescope I’ve tested.
2. DWARFLAB Dwarf 3 – Best Value Smart Telescope
DWARFLAB Dwarf 3 Smart Telescope, App-Controlled Astrophotography Camera
Ultra-light 3lb design
4K auto-tracking
Dual imaging system
Built-in filters
Pros
- Extremely portable and compact
- Excellent image quality for astrophotography
- Easy EQ mode alignment in 2 minutes
- Cloud processing produces impressive results
- Works for astrophotography and wildlife
Cons
- WiFi connection issues at startup
- Telephoto lens detail limited for small objects
- WiFi signal strength could be stronger
The DWARFLAB Dwarf 3 sits in a sweet spot that didn’t exist until recently: serious astrophotography capability in a package you can carry anywhere. At just 3 pounds, it fits in a standard backpack, which meant I could take it camping without dedicating a separate bag. The dual imaging system gives you both a telephoto lens for deep-sky work and a wide-angle for Milky Way shots, making it genuinely versatile in ways other smart telescopes aren’t.
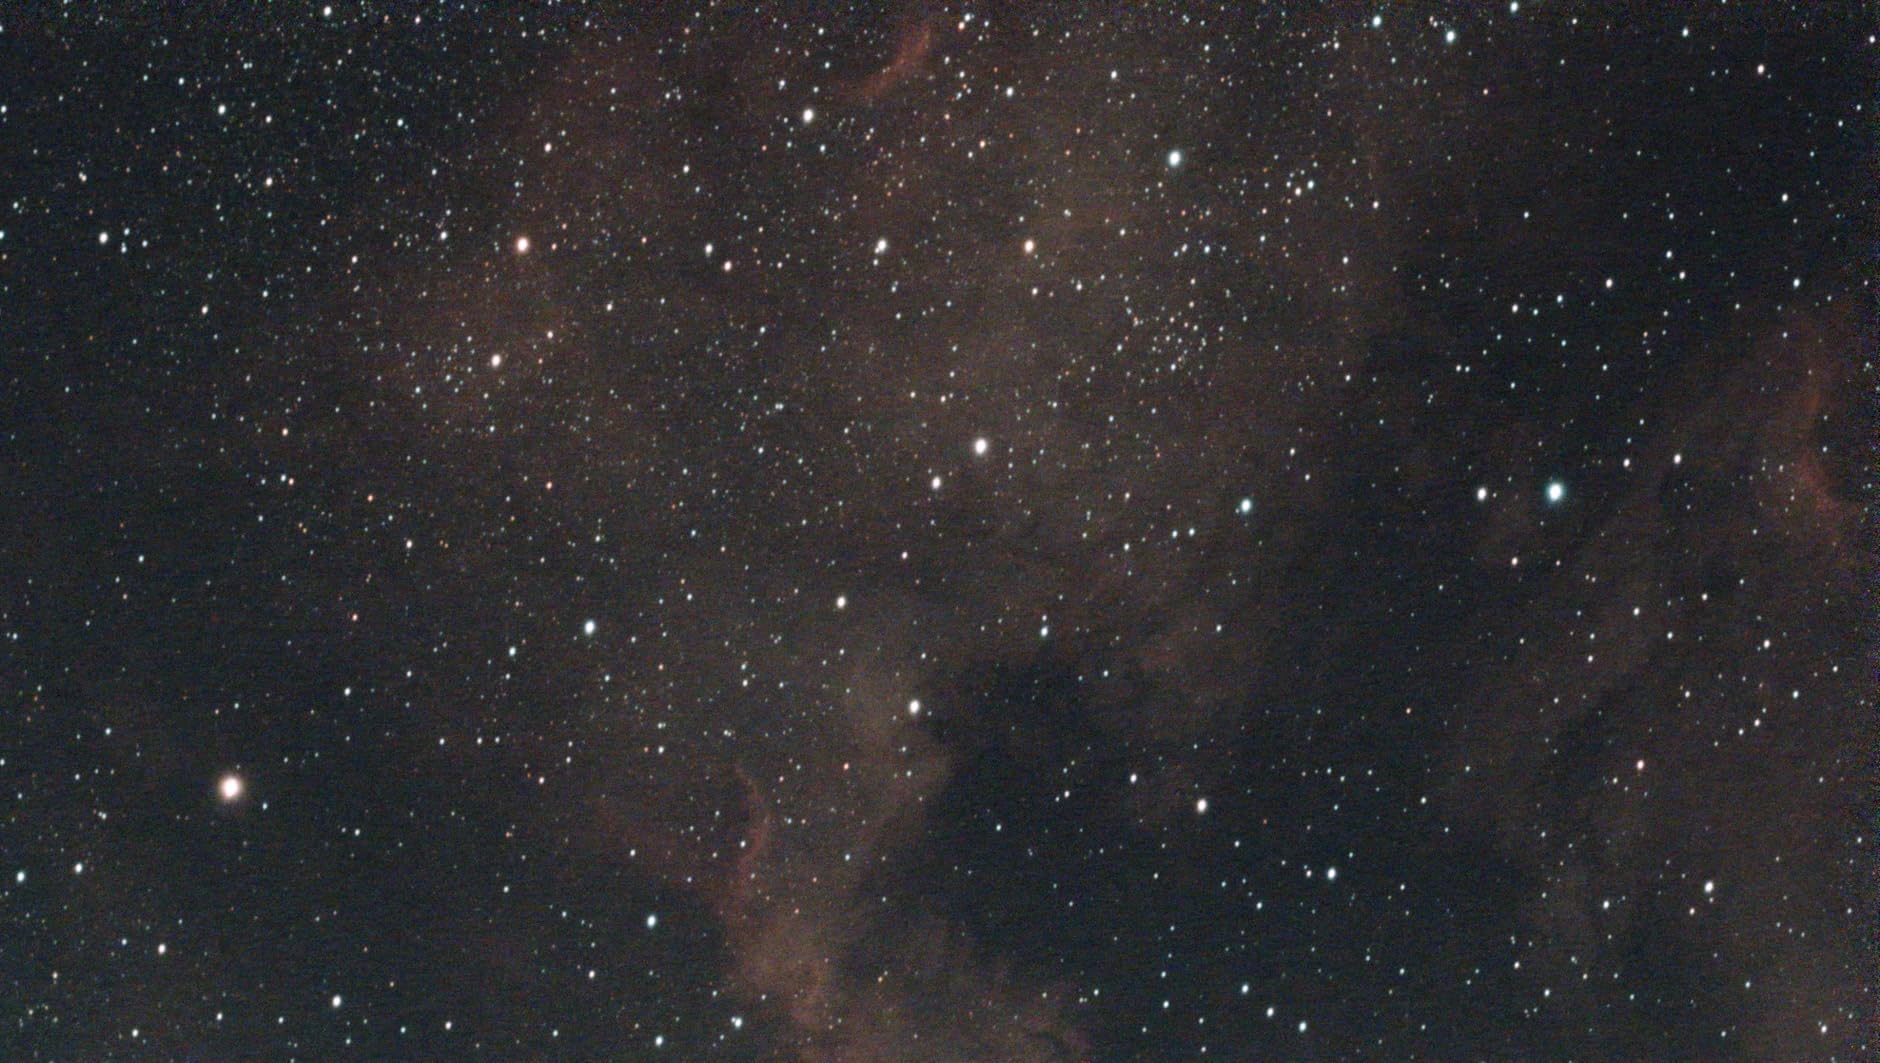
What struck me most was the EQ mode alignment speed. Most smart telescopes with equatorial mode require tedious polar alignment, but the Dwarf 3 got me tracking in under two minutes. The app guides you through a simple procedure, and then you’re ready for long exposures. I tested 90-second subs on the Pleiades and the tracking held perfectly. The built-in filters, including dual-band for nebulae and a solar filter for daytime use, add flexibility without extra purchases.
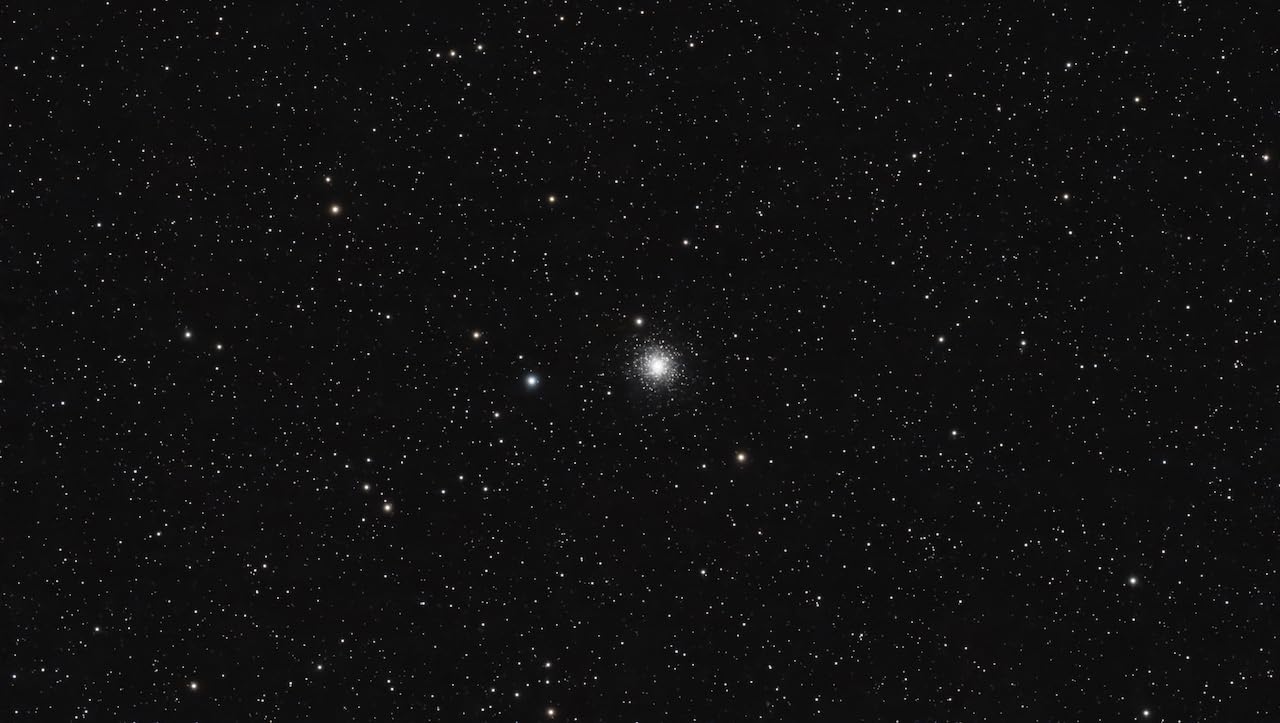
Image quality exceeded my expectations for this price point. The cloud processing produces finished results that look ready to share immediately, though serious imagers will appreciate the FITS format export for manual post-processing. I’ve spent nights combining Dwarf 3 data in PixInsight and the results stack well with proper calibration. This isn’t just a beginner toy; it’s a legitimate astrophotography tool.
One Device for Stars and Wildlife
The dual-camera approach means the Dwarf 3 works for more than astronomy. During the day, I used the telephoto for bird and wildlife photography with the same auto-tracking that follows stars at night. The 4K footage of birds in flight was surprisingly good. This versatility makes it easier to justify the purchase if you’re not sure how often you’ll actually get out under dark skies.
Storage and File Export for Serious Users
The Dwarf 3 includes large internal memory and supports expandable storage, which matters for multi-night imaging sessions. RAW and FITS export give you real data for advanced processing. I transferred files to my laptop for stacking in DeepSkyStacker and the calibration frames integrated smoothly. The scheduled autonomous imaging feature lets you set up a sequence and walk away, returning to finished results hours later.
3. DWARFLAB Dwarf Mini – Best Budget Smart Telescope
DWARFLAB Dwarf Mini Smart Telescope – 1.85lb Portable Astronomy Telescope
1.85lb ultra-portable
3-minute setup
Auto GOTO
Built-in light pollution filters
Pros
- Very portable at just 1.85 lbs
- Quick 3-minute setup
- Good image quality with Sony sensor
- Light pollution filters work well
- App is intuitive and beginner-friendly
Cons
- Smaller aperture limits deep-sky detail
- Manual focus may be needed for some targets
At 1.85 pounds, the DWARFLAB Dwarf Mini redefines what portable means for astronomy gear. I carried it in a jacket pocket during a hike to a dark site, something impossible with any other telescope I’ve used. The three-minute setup promise held true in my testing: power on, connect to the app, and you’re imaging. For beginners intimidated by complex setups, this accessibility matters more than you might think.
The Sony IMX662 sensor delivers quality that surprised me given the compact size. Star clusters and bright nebulae showed good detail, and the light pollution filters helped pull signal from my suburban backyard. The 360-degree pivot gave me flexibility in aiming without repositioning the entire unit. For someone wanting to try smart astronomy without committing to a larger investment, the Dwarf Mini is the safest entry point.
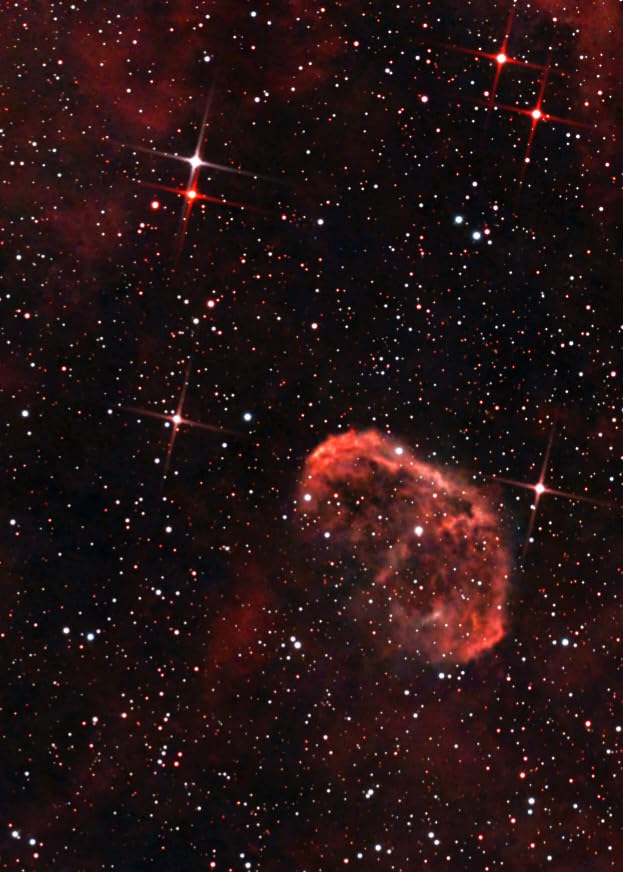
EQ mode works well for longer exposures, though the smaller aperture means you’re collecting less light per second than larger models. I found 60-second subs gave me usable data on the brighter Messier objects, but fainter galaxies required patience and multiple sessions. The app remains the same intuitive interface as the larger Dwarf models, which means you’re learning a system you can grow with if you upgrade later.
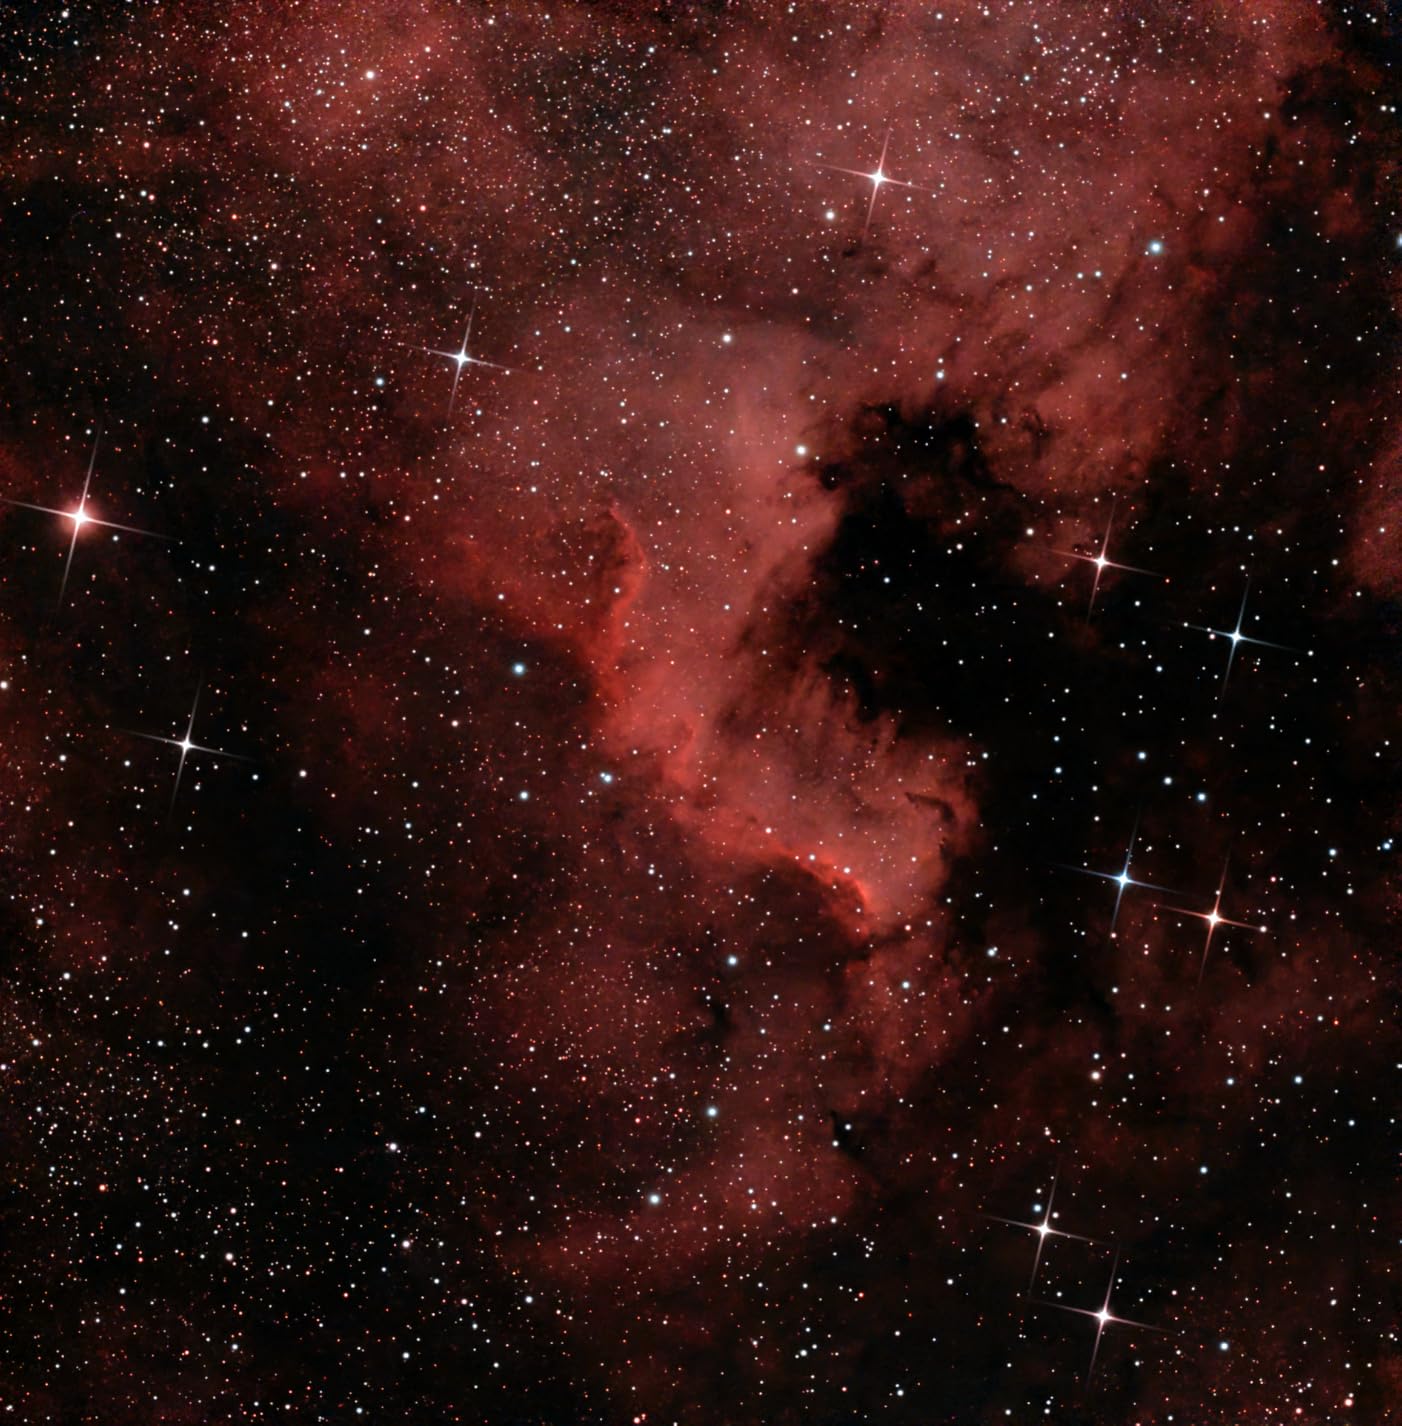
How Far the Small Optics Take You
Realistically, the Dwarf Mini excels at bright deep-sky objects: the Orion Nebula, the Pleiades, the Andromeda Galaxy, and major star clusters. Fainter galaxies and nebulae require more exposure time than you might want to invest. Think of it as capturing the showpiece objects well while leaving the challenging targets for larger scopes. For casual observation and quick imaging sessions, this limitation rarely matters.
Manual Focus: When You Need It
Most users will never touch manual focus, but I appreciated having the option for challenging targets. The autofocus handles typical scenes well, but certain nebulae and star fields benefit from fine-tuning. Having that control at this price point shows DWARFLAB understands that even beginners eventually want more than fully automatic operation.
4. Celestron Origin – Best Premium Home Observatory
Celestron – Origin Intelligent Home Observatory – All-in-one Astroimaging and Stargazing Smart Telescope – 6-inch RASA Telescope – Fully-Automated GoTo Mount – User-Friendly – iOS/Android Compatible
6-inch RASA optics
f/2.2 focal ratio
AI processing
StarSense auto-alignment
Pros
- Superior optical quality with RASA design
- Fast f/2.2 for quick exposures
- Very quick 2-minute setup
- Fully automated StarSense alignment
- AI processing produces excellent results
Cons
- Very expensive
- Heavy at 64 lbs
- Requires external power
- Limited stock available
- Only 30 reviews
The Celestron Origin represents a different category entirely: a permanent home observatory rather than a portable telescope. The 6-inch RASA optical design captures images faster than any other smart telescope I’ve tested, meaning you get usable data in minutes rather than hours. For astrophotographers serious about deep-sky work from home, this is the ceiling of what integrated smart systems offer.
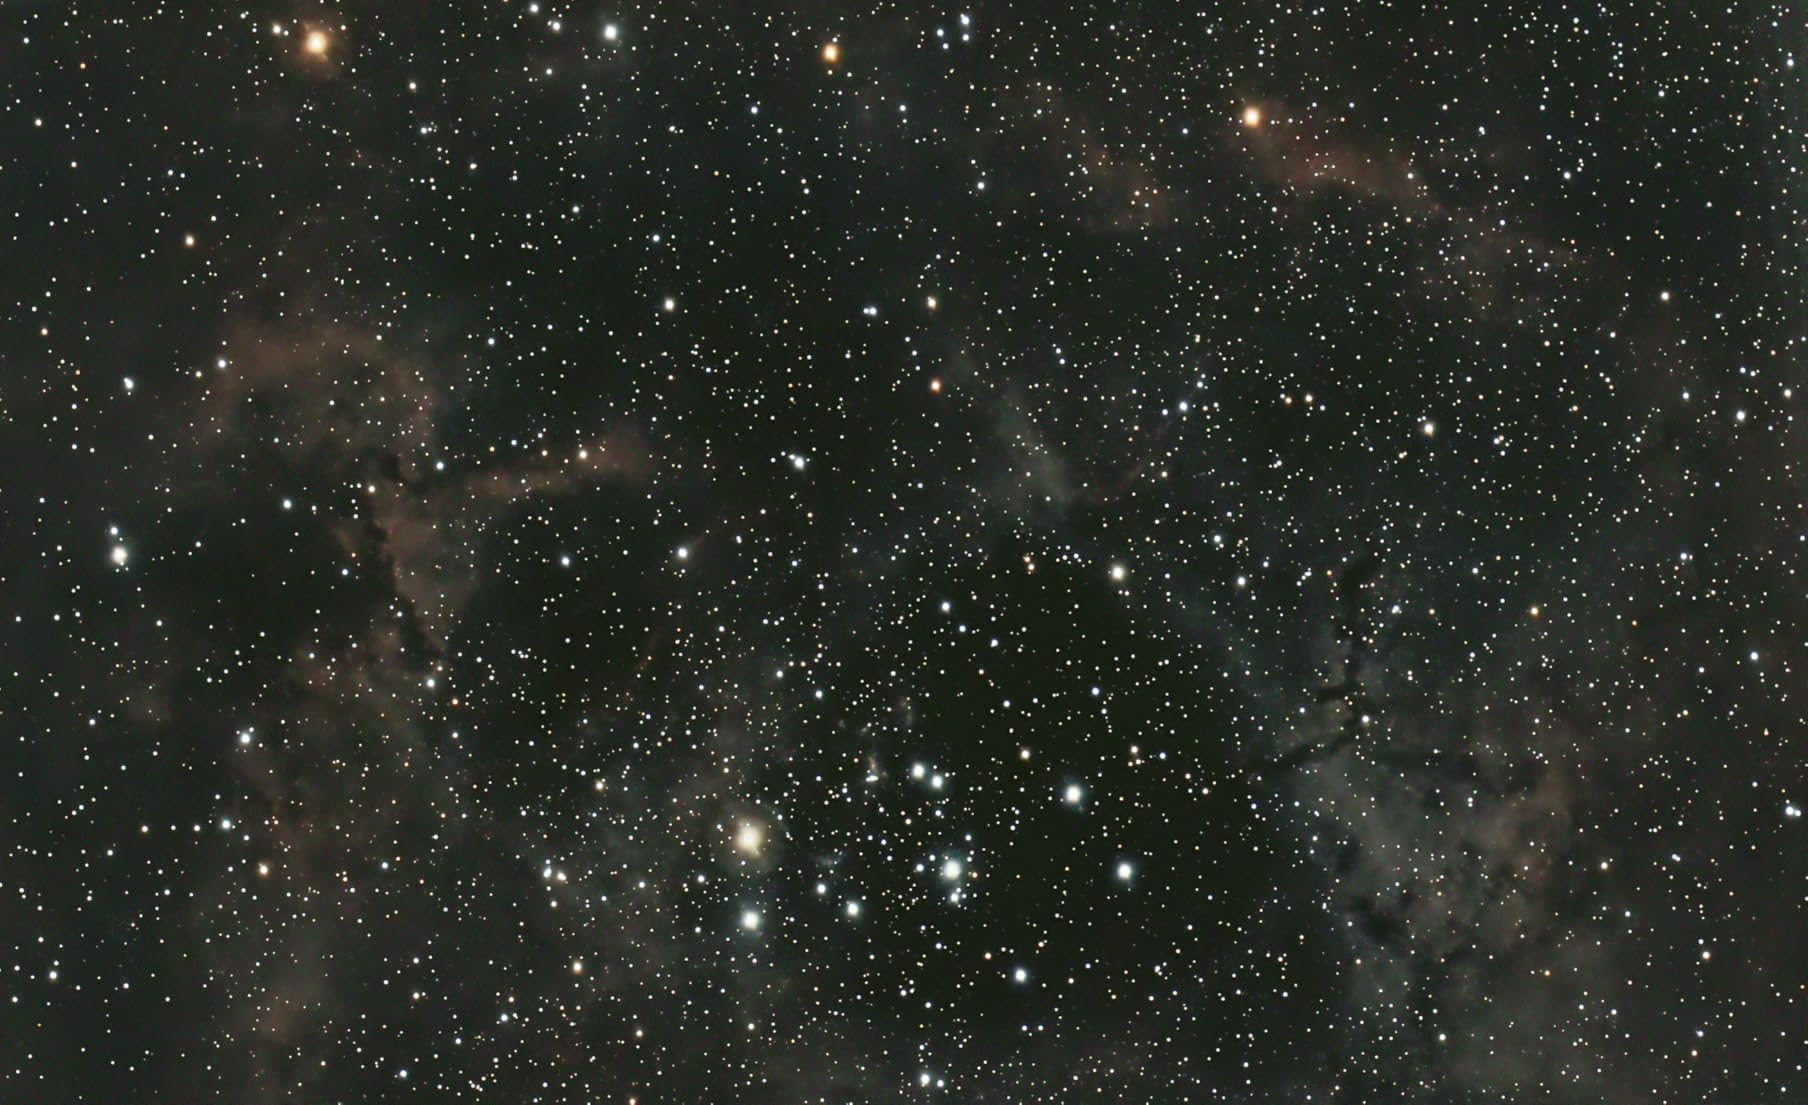
F/2.2 speed changes everything about your imaging sessions. The Andromeda Galaxy started showing detail in my test shots within 30 seconds, where slower scopes would need five minutes for equivalent signal. The StarSense auto-alignment worked flawlessly: I powered on, pointed at three arbitrary bright stars the app suggested, and the system knew exactly where it was. Two minutes from power-on to tracking.
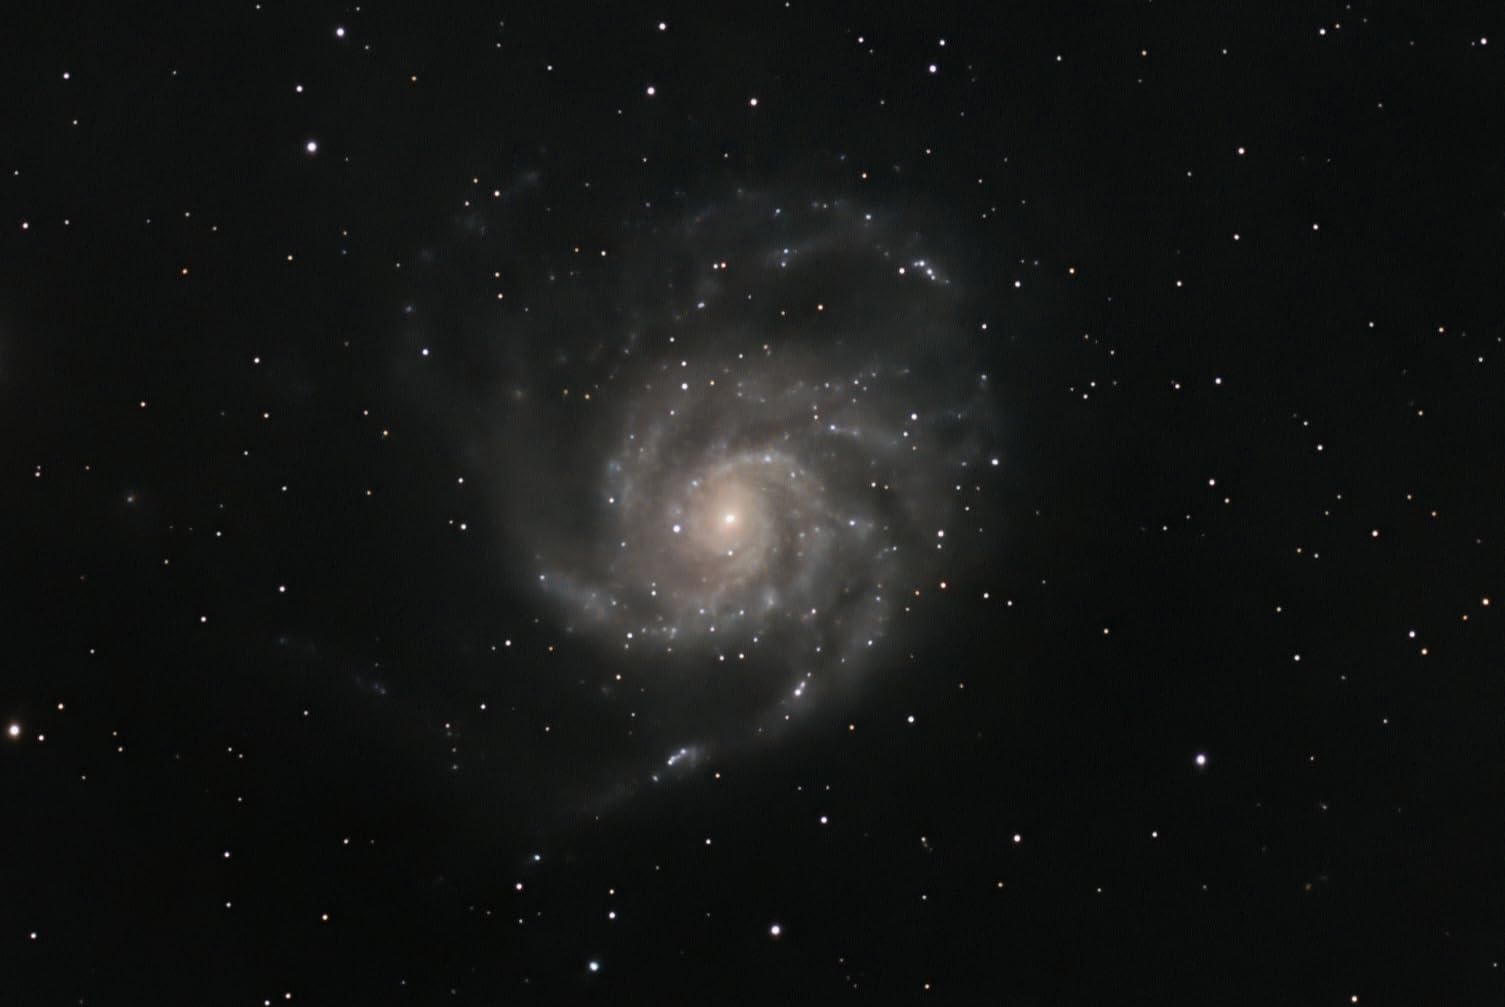
AI processing handles stacking and enhancement in real time, producing finished images you can share immediately. But the real power comes from the RASA optics gathering so much light so quickly. I tested the Origin during a half-moon night and still captured nebula detail that would require pristine conditions with slower telescopes. The trade-off is everything else: weight, power requirements, and a permanent setup location.
Power and Placement Planning
The Origin requires external power, which means planning for outlets or a power station if your observing spot isn’t near your house. At 64 pounds, you won’t be moving it around casually. I positioned mine on a dedicated cart that lives in the garage, rolling it out for sessions. Consider how you’ll manage power and movement before committing, because this isn’t a grab-and-go solution.
What f/2.2 Means in Practice
A focal ratio of f/2.2 means the optics are incredibly fast, gathering light at nearly three times the speed of an f/4 system. In practical terms, you can image faint objects in light pollution that would be impossible with slower scopes. Exposure times shrink dramatically. The downside is tighter collimation requirements and less forgiving optical alignment, though Celestron’s integrated design minimizes user adjustments.
5. Unistellar Odyssey Pro – Best Hybrid Visual and Imaging Pick
Odyssey PRO – UNISTELLAR Smart Telescope (with Eyepiece), 85mm f/3.9 (320mm) Digital & Computerized, App-Controlled Motorized Alt-Az, Enhanced Vision, RAW/FITS Export, 64GB, 5h Battery (Black)
Eyepiece included
85mm aperture
5h battery life
RAW/FITS export
Pros
- Automatic alignment and autofocus
- All-in-one compact system with 64GB storage
- RAW/FITS export for advanced processing
- Citizen science participation
- 5-hour battery life
Cons
- Premium price point
- Limited to 85mm aperture for deep-sky viewing
The Unistellar Odyssey Pro solves the biggest complaint purists have about smart telescopes: it includes an eyepiece. This means you get both the digital imaging experience and actual visual observation through quality optics. For astronomy clubs, outreach events, or anyone who wants to share the wonder of looking through a telescope, this hybrid approach bridges two worlds that usually stay separate.
Setup under two minutes proved accurate in my testing. The automatic alignment and motorized GoTo found every target I selected, and the autofocus meant I never touched a focuser knob. The 5-hour battery life gave me full nights without worrying about power, and the 64GB storage held weeks of imaging sessions. Everything integrates into one system, which makes the Odyssey Pro genuinely grab-and-go.
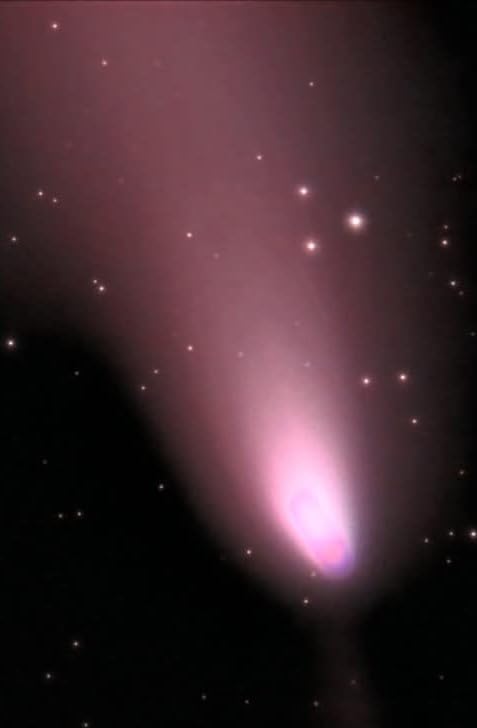
RAW and FITS export matters for serious astrophotographers. I pulled data into PixInsight and had full control over processing, which you lose with some smart telescope apps that only output JPEGs. The 37-million-star database and 5,000+ object catalog mean you’re rarely hunting for targets. Enhanced Vision technology improves image quality in real time, stacking internally and showing you progressively better views.
The Eyepiece: Why It Matters
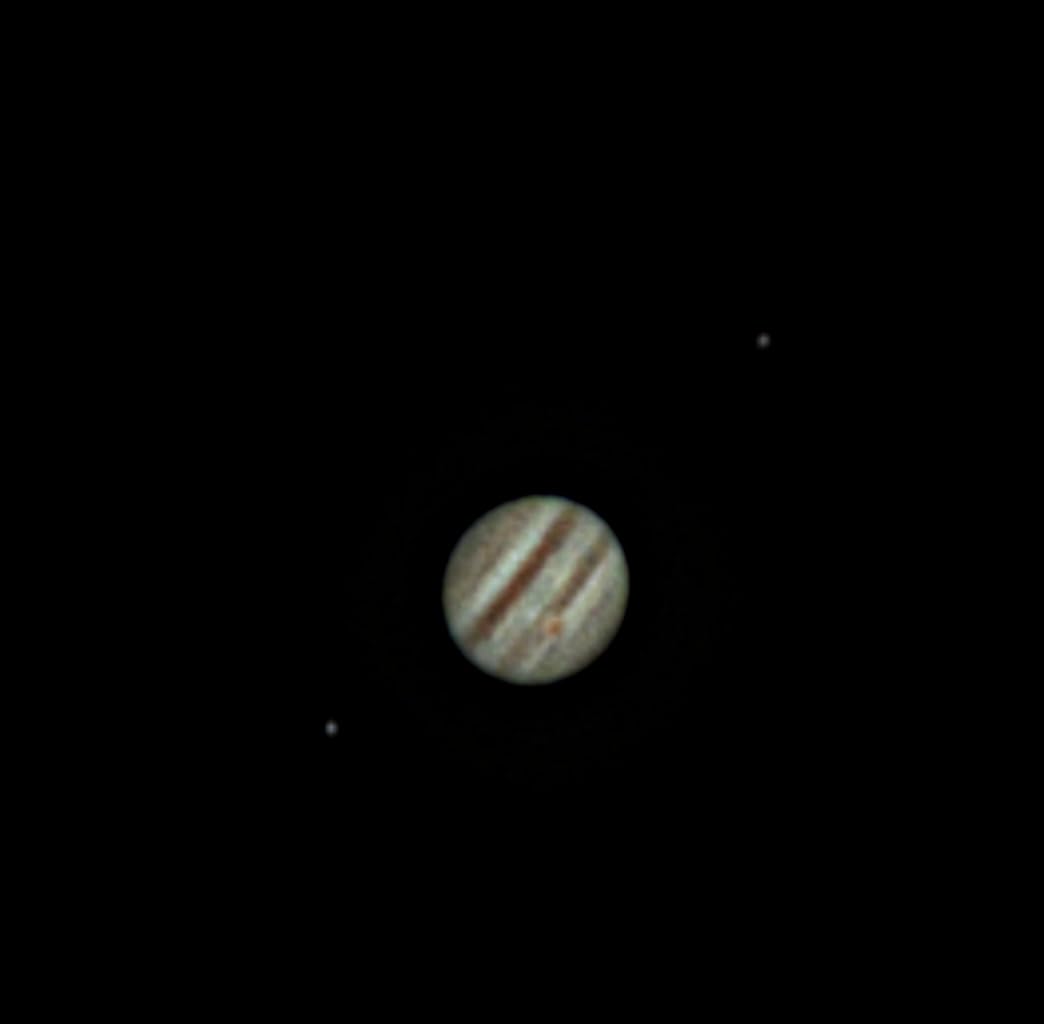
Looking through a telescope remains a visceral experience that screens can’t replicate. The Odyssey Pro’s eyepiece lets you show someone the moon or a planet directly, which creates a different connection than handing them a phone. For educators, club leaders, or parents teaching kids, this matters. The eyepiece technology is exclusive to Unistellar’s Pro line, making it unique among smart telescopes.
Citizen Science With NASA and SETI
Unistellar partnered with NASA and the SETI Institute for citizen science campaigns, including asteroid occultations and exoplanet transit observations. The app connects you to these projects, and your data contributes to real research. For users wanting more than pretty pictures, this scientific purpose adds meaningful engagement with the hobby.
6. Unistellar Odyssey – Best for App-Only Group Viewing
Odyssey – UNISTELLAR Smart Telescope (no Eyepiece), 85mm f/3.9 (320mm) Digital & Computerized, App-Controlled Motorized Alt-Az, Enhanced Vision, RAW/FITS Export, 64GB, Tripod, 5h Battery (Black)
App-only viewing
Auto alignment
64GB storage
Enhanced Vision technology
Pros
- Very quick setup under 2 minutes
- All-inclusive system with tripod and storage
- Excellent battery life up to 5 hours
- RAW/FITS export for advanced processing
- Large object catalog and star database
Cons
- Expensive
- Heavy and bulky
- No eyepiece - app-only viewing
- Limited reviews
The Unistellar Odyssey shares the same core technology as the Pro version but drops the eyepiece for a lower price. For users committed to digital viewing and imaging, this represents better value without sacrificing optical quality or features. The 85mm aperture and f/3.9 optics produce excellent deep-sky images, and the Enhanced Vision technology reveals details invisible to traditional telescopes of similar size.
My testing showed the same sub-2-minute setup and GoTo performance as the Pro. The motorized Alt-Az mount tracked objects smoothly, though without equatorial mode you’re limited in maximum exposure length. For live stacking, this matters less because the software handles rotation. The included tripod is sturdy enough for visual work and basic imaging, though serious astrophotographers might want a more stable platform.
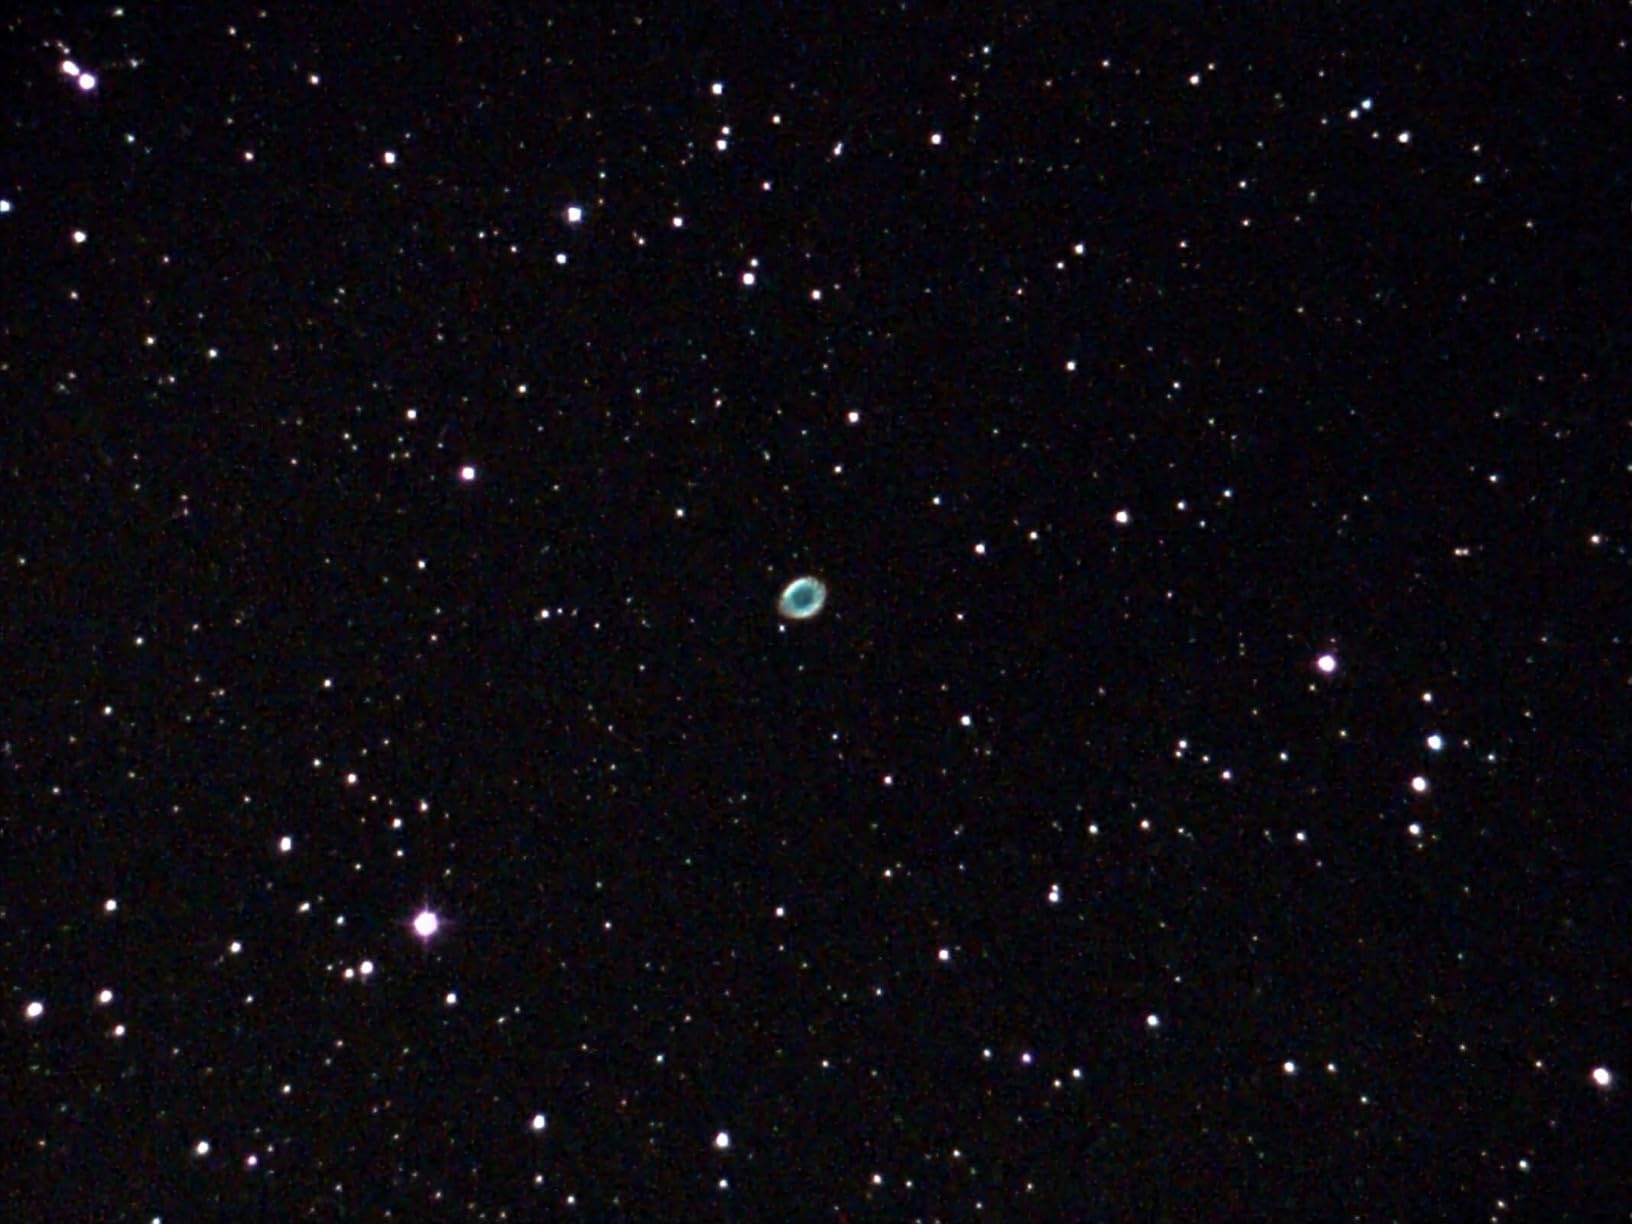
Group viewing through the app works exceptionally well. Multiple phones can connect simultaneously, letting everyone see what the telescope sees without crowding around an eyepiece. I hosted a neighborhood star party with six families viewing on their own devices, and the system handled it smoothly. For social astronomy, this app-based approach actually outperforms traditional telescopes.
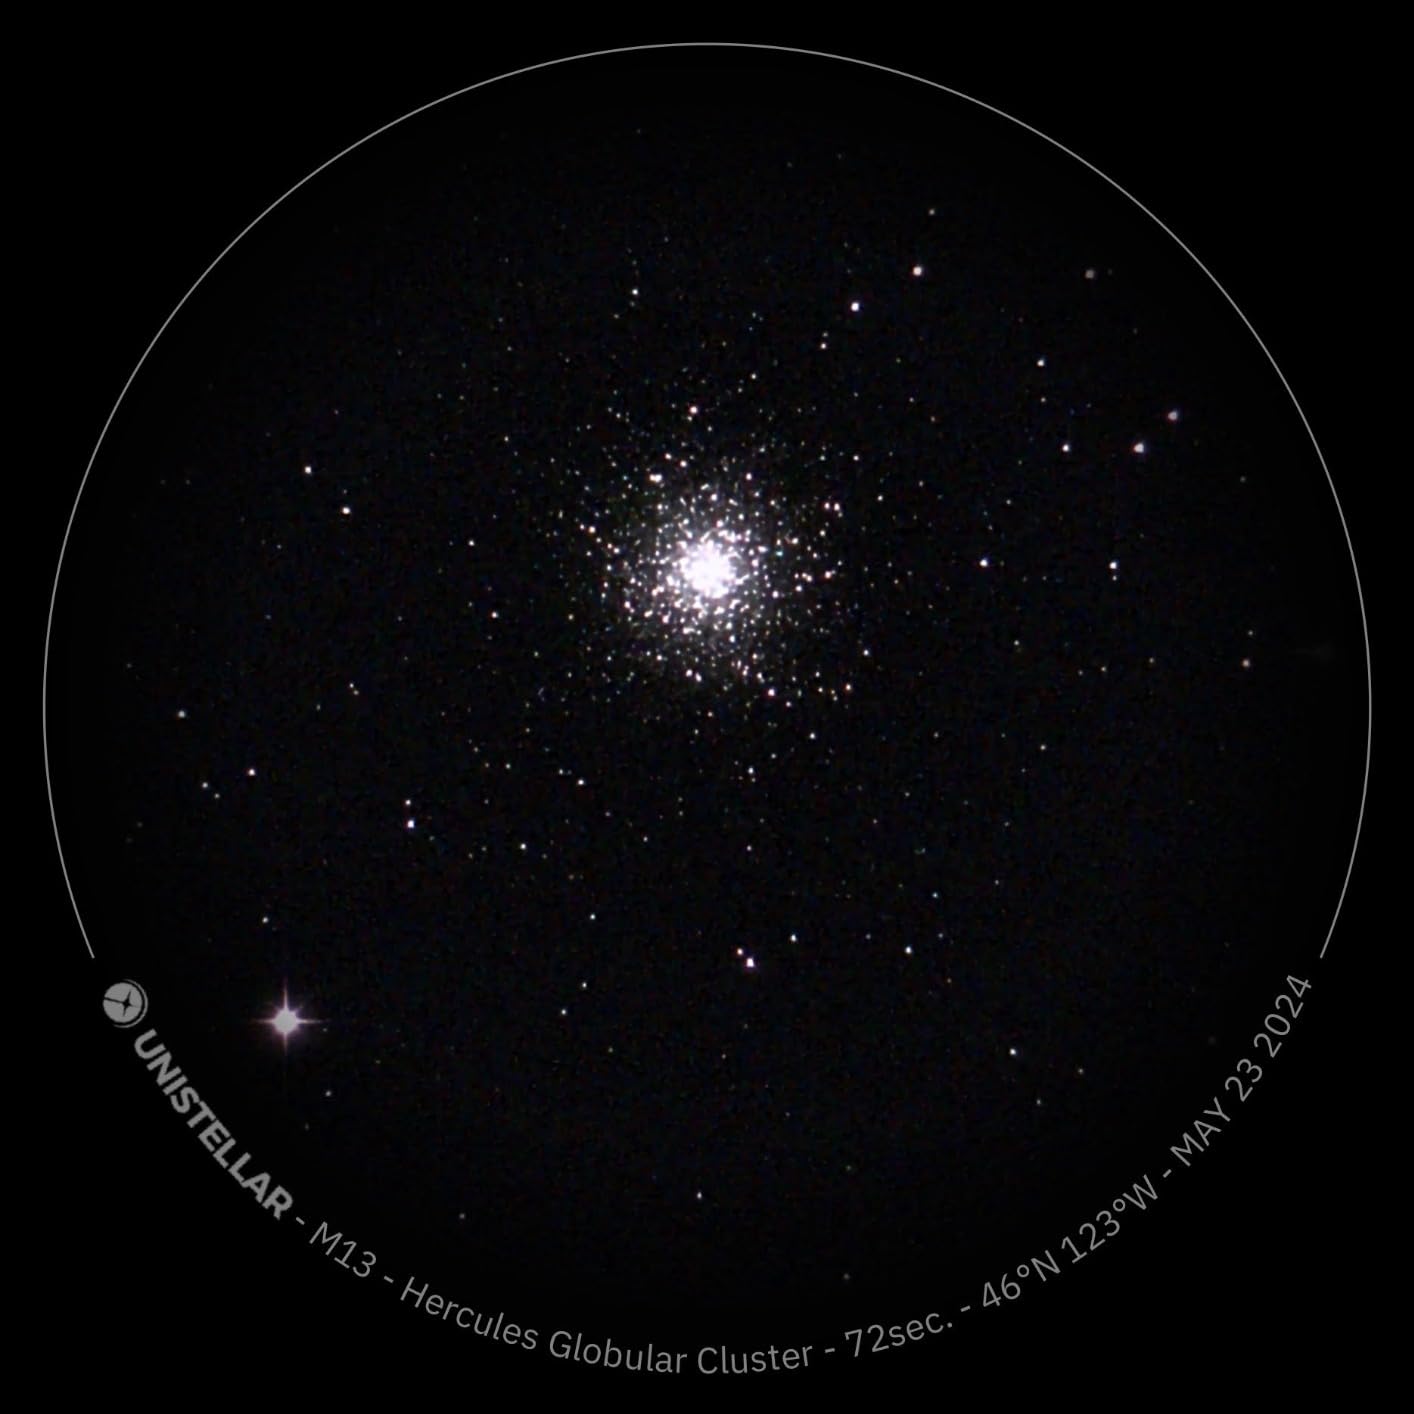
Group Viewing and Social Nights
The Odyssey excels when you’re sharing astronomy with others. Everyone connects their own phone and sees the live view, zooms in on details, and saves their own images. This democratizes the experience in ways traditional telescopes can’t match. For outreach, education, or casual social nights, the app-only approach becomes an advantage rather than a limitation.
Enhanced Vision: What You Actually See
Enhanced Vision continuously stacks frames, building up signal over time. In practice, you watch a nebula or galaxy brighten and reveal detail over seconds and minutes. It’s not instant, but the progressive improvement is genuinely engaging. From my suburban location, the Orion Nebula showed structure I’ve never seen through a traditional 85mm refractor visually. The technology works, though patience is still required.
7. Celestron NexStar 8SE – Best Computerized Telescope for Visual Viewing
Celestron NexStar 8SE Computerized Telescope – Schmidt-Cassegrain
8-inch Schmidt-Cassegrain
40k+ object database
Computerized GoTo
SkyAlign technology
Pros
- 8-inch aperture for exceptional light gathering
- 40
- 000+ object database with fully automated GoTo
- Compact Schmidt-Cassegrain design
- SkyAlign technology for quick setup
- Best seller in catadioptric telescopes
Cons
- Not Prime eligible
- Heavy at 24 lbs
- Batteries and adapter not included
- Premium price point
The Celestron NexStar 8SE isn’t a smart telescope in the imaging sense, but it’s the gold standard for computerized visual viewing. The 8-inch Schmidt-Cassegrain optics gather tremendous light, showing planetary detail and deep-sy objects that smaller scopes can’t touch. If you want to actually look through an eyepiece rather than view on a screen, this remains one of the best values in serious amateur astronomy.
SkyAlign simplifies setup dramatically. Point the scope at three bright objects the hand controller suggests, center them in the eyepiece, and the telescope calculates its position. I’ve done this in under five minutes at unfamiliar sites. The 40,000+ object database means you’ll never run out of targets, and the GoTo tracking keeps objects centered for extended viewing sessions.
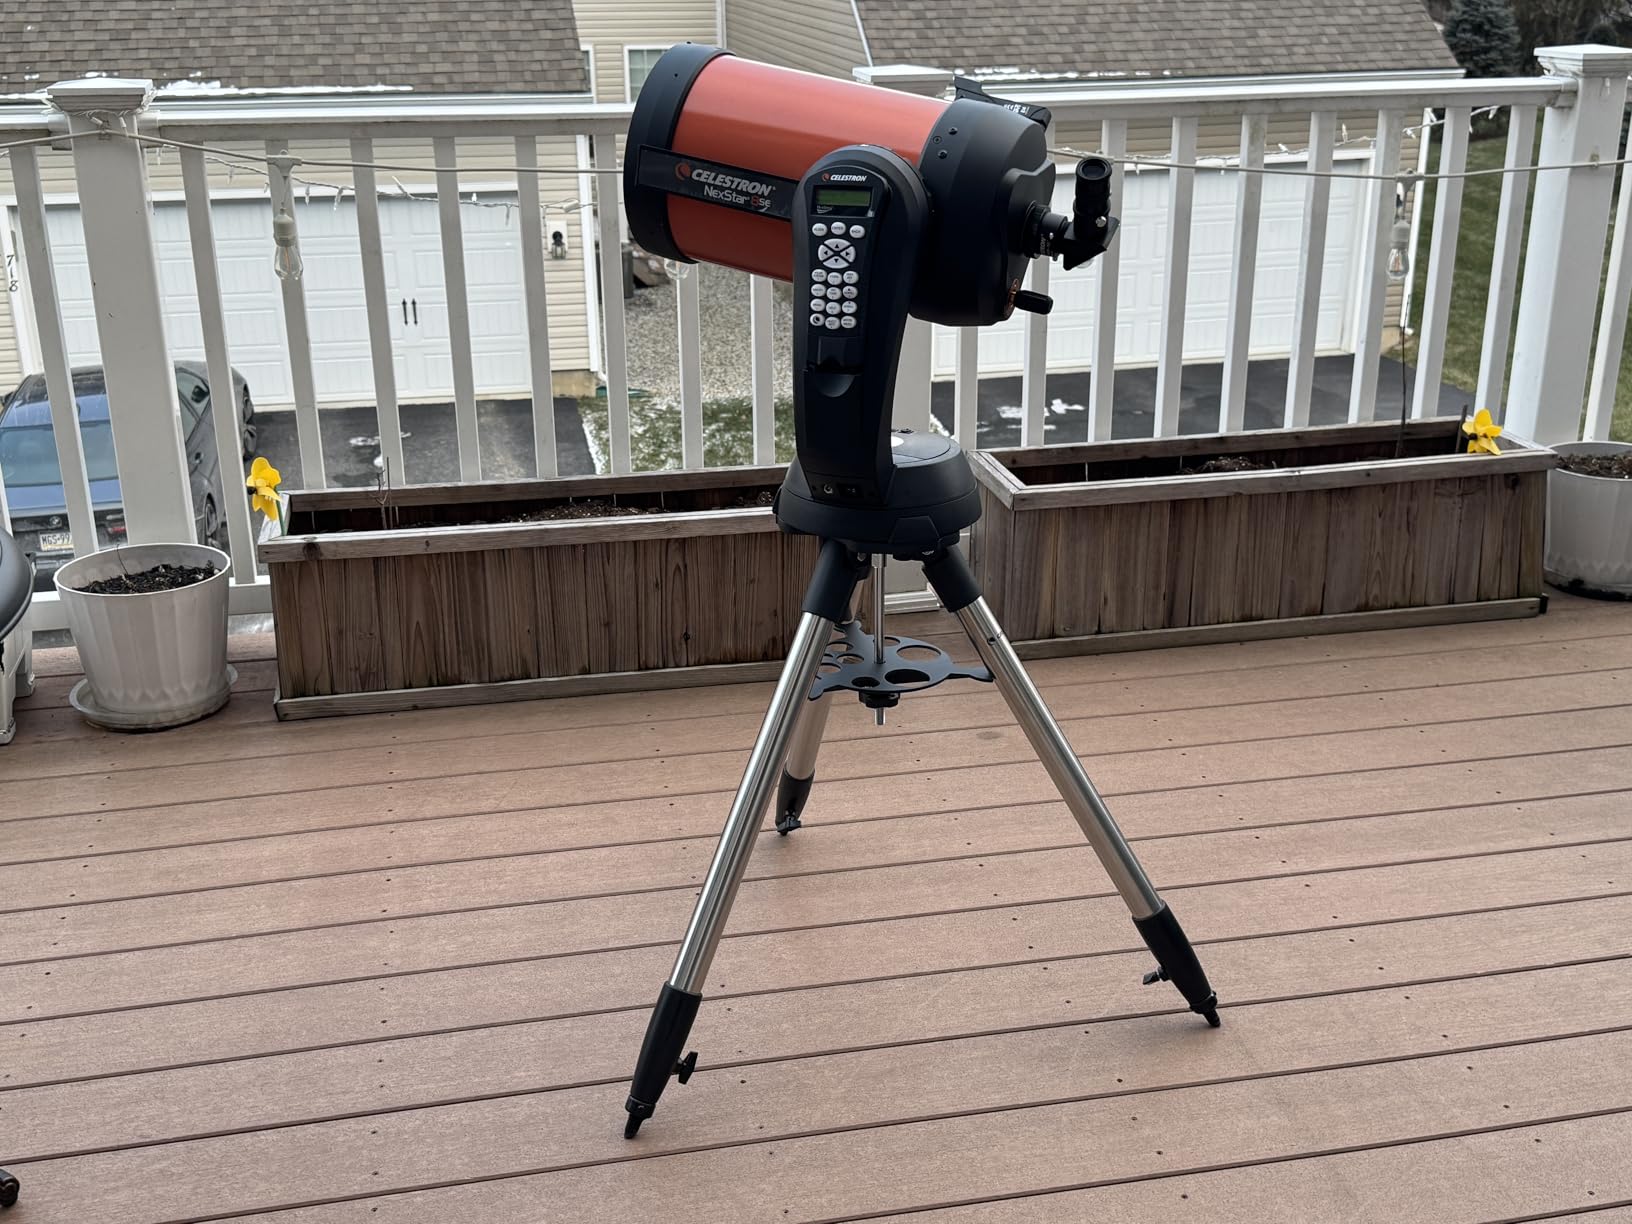
The 8-inch aperture shows Jupiter’s cloud bands, Saturn’s rings with the Cassini Division, and lunar detail that keeps you occupied for hours. Deep-sky objects like the Hercules Cluster and Andromeda Galaxy appear as you’d expect from a quality 8-inch scope: bright, detailed, and genuinely immersive. This is what traditional visual astronomy feels like at its best.
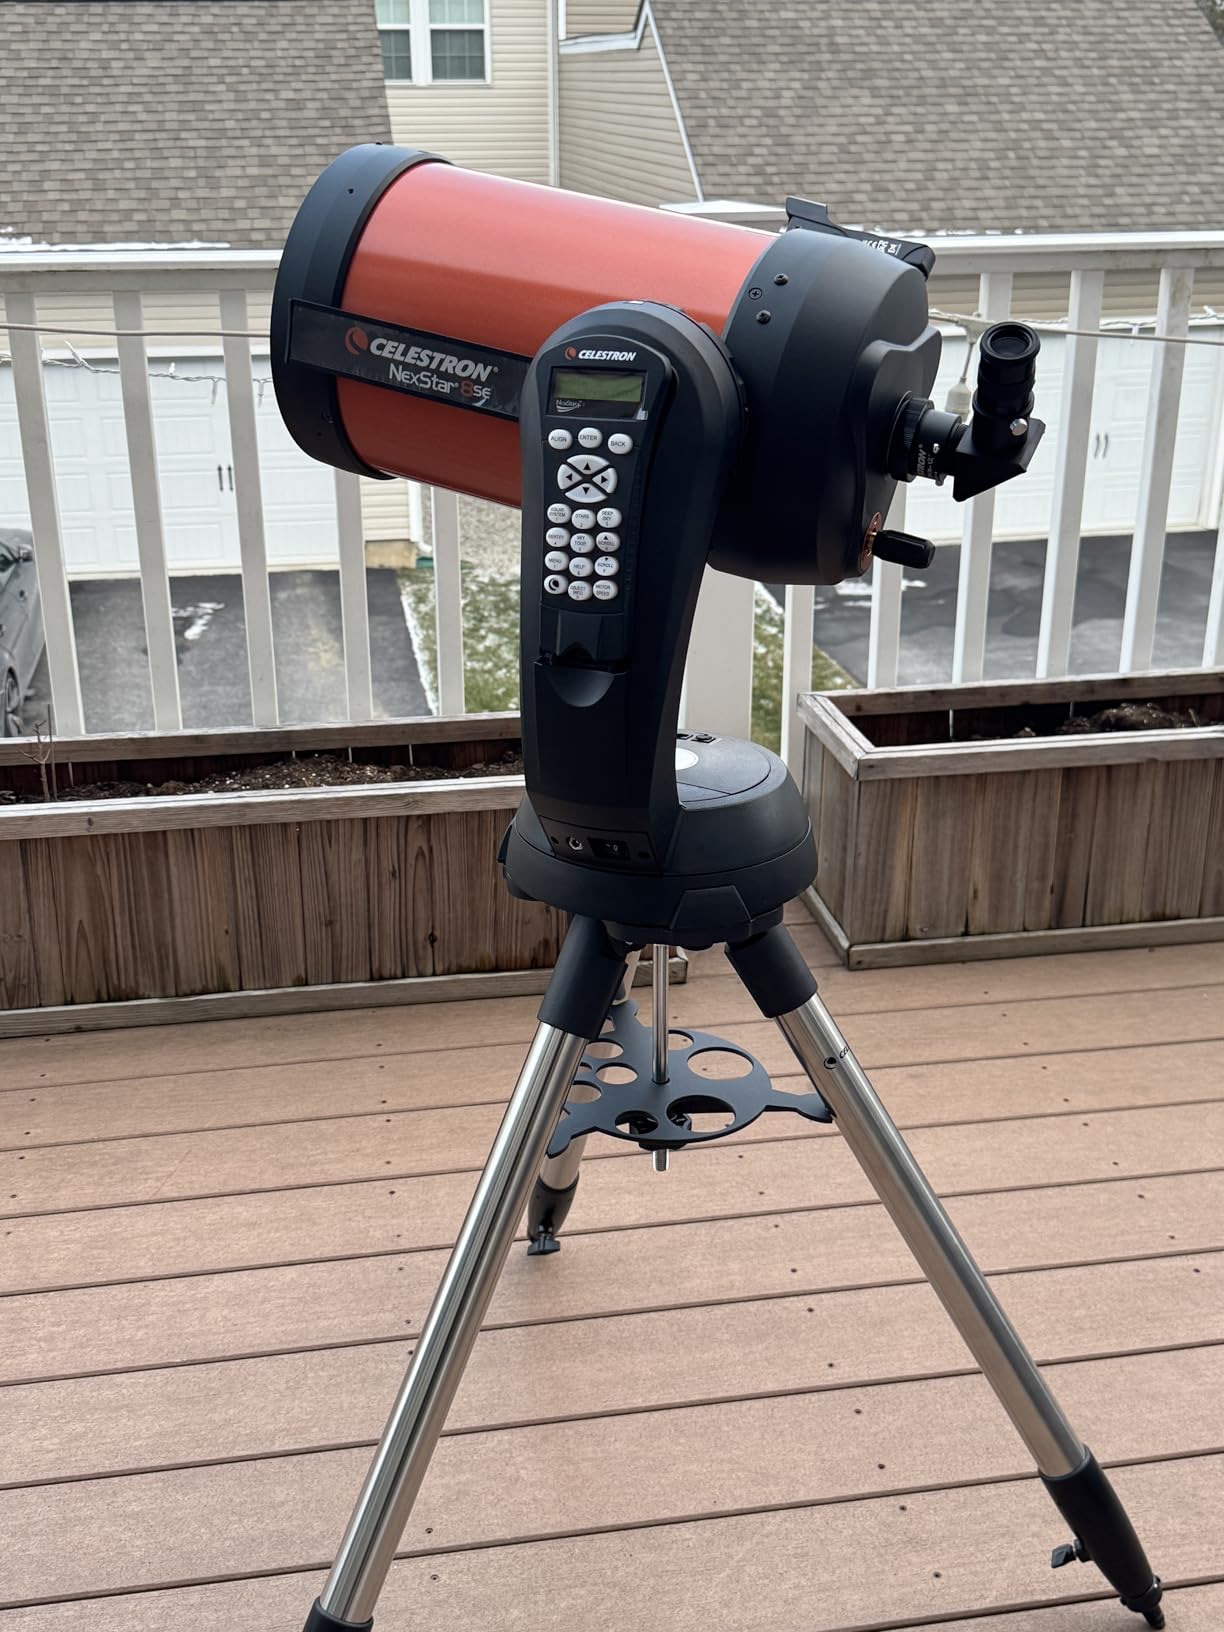
Visual Viewing Versus Smart Imaging
The 8SE gives you the experience of looking through a telescope, which remains irreplaceable for many astronomers. However, it requires dark adaptation, patience, and skill to see detail that a smart telescope captures automatically. From light-polluted skies, deep-sky objects appear fainter than processed images from smart scopes. The choice comes down to whether you prioritize the visual experience or the final image.
Power and Accessories to Plan For
The NexStar 8SE requires external power for the GoTo system, and batteries aren’t included. Budget for a power tank or AC adapter. You’ll also want additional eyepieces beyond the basic included options, and a dew shield helps in humid conditions. The total investment grows beyond the initial purchase, so plan for accessories that match how you’ll use it.
8. Celestron NexStar 127SLT – Best Compact GoTo for Planets
Celestron NexStar 127SLT Maksutov-Cassegrain Computerized GoTo Telescope
127mm Maksutov-Cassegrain
SkyAlign technology
40k+ object database
Portable design
Pros
- 40
- 000+ object database with computerized GoTo
- Maksutov-Cassegrain design for high-contrast views
- Fast SkyAlign setup in minutes
- Compact and portable design
- Includes Starry Night software
Cons
- Manual focus (not auto-focus)
- Requires battery power for GoTo function
- 9mm eyepiece is basic
The Celestron NexStar 127SLT delivers Maksutov-Cassegrain optics in a portable package that excels at planetary and lunar viewing. The 127mm aperture gathers enough light for serious solar system observation while remaining compact enough for spontaneous sessions. For users wanting GoTo convenience without the bulk of larger scopes, this hits a practical sweet spot.
SkyAlign technology worked reliably across multiple test sessions. The hand controller guides you through centering three bright objects, and once aligned, the GoTo system finds targets from its 40,000-object database accurately. The Maksutov-Cassegrain design produces high-contrast views with minimal chromatic aberration, which translates to sharp lunar detail and crisp planetary images.
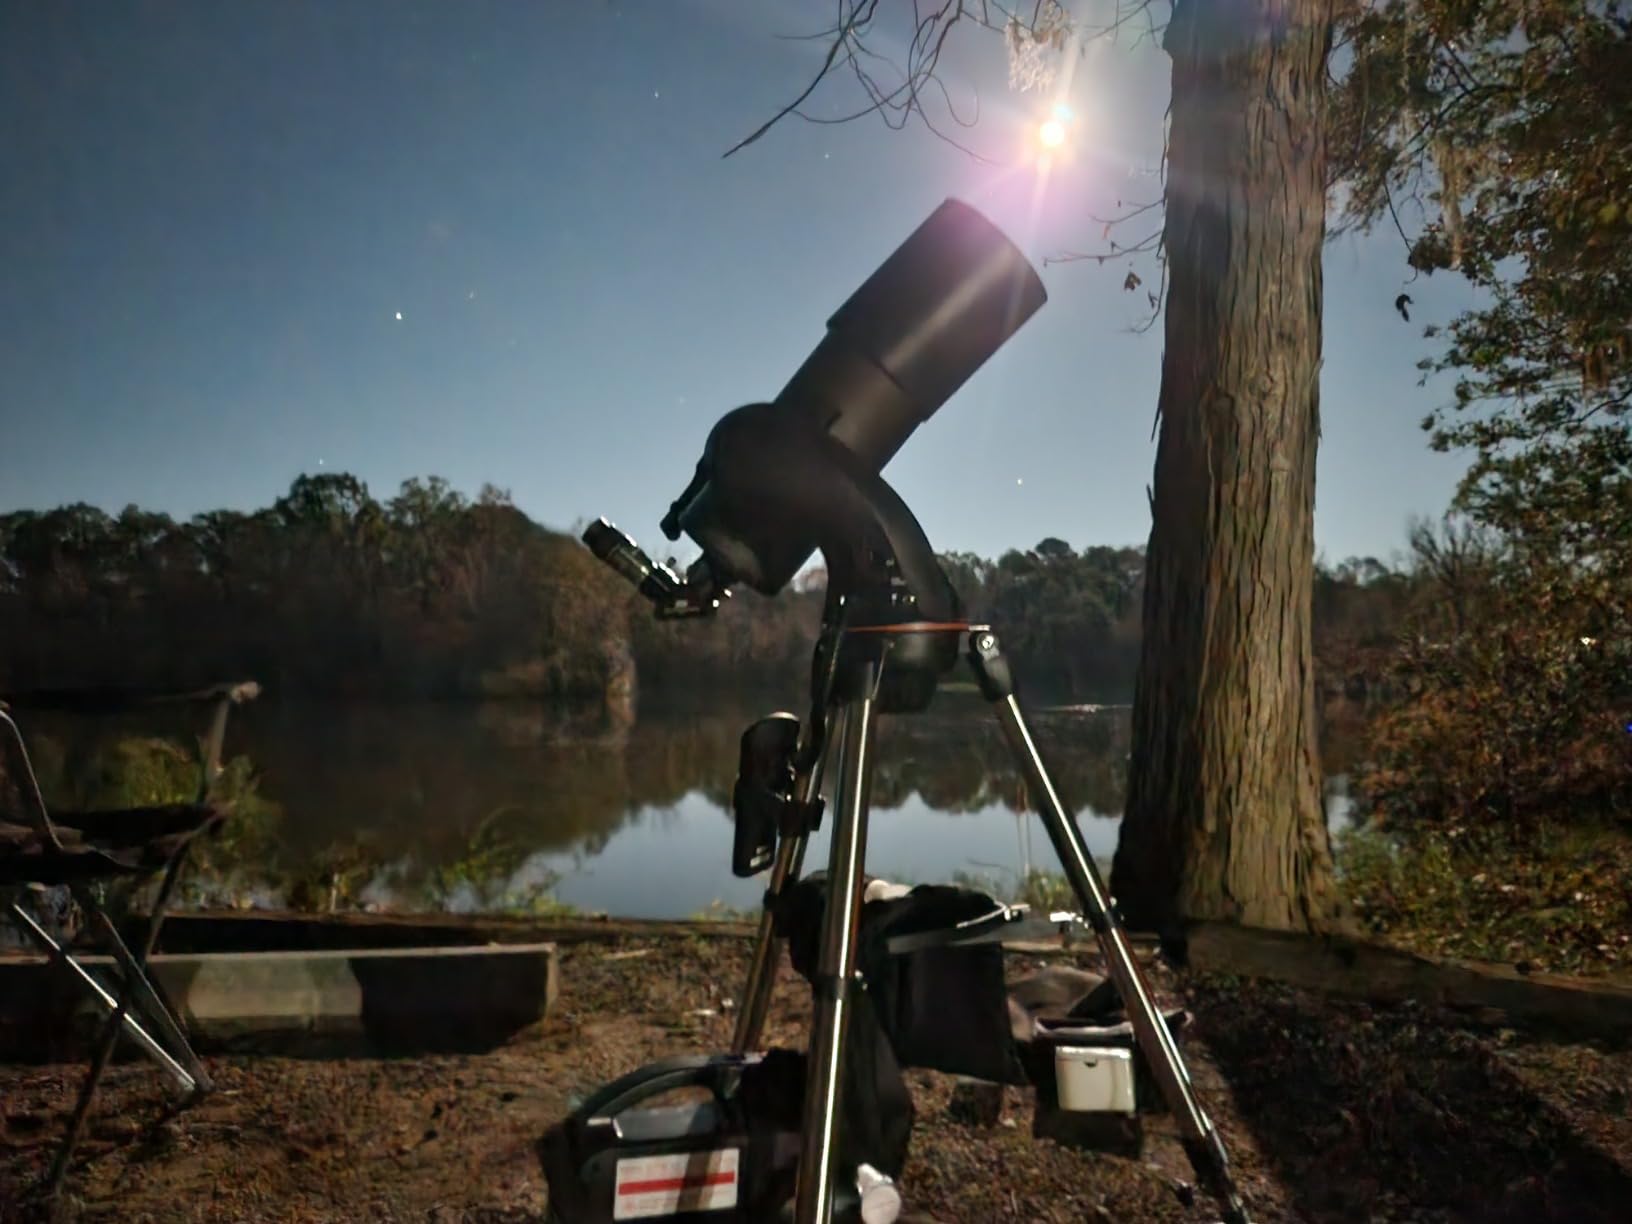
Jupiter showed its major cloud bands clearly during my testing, and Saturn’s rings appeared with good definition. The moon at first quarter revealed hundreds of craters along the terminator. Deep-sky objects appear fainter than through larger scopes, but the Pleiades, the Orion Nebula, and bright globular clusters show well from decent skies. This is primarily a solar system scope that also handles bright deep-sky objects capably.
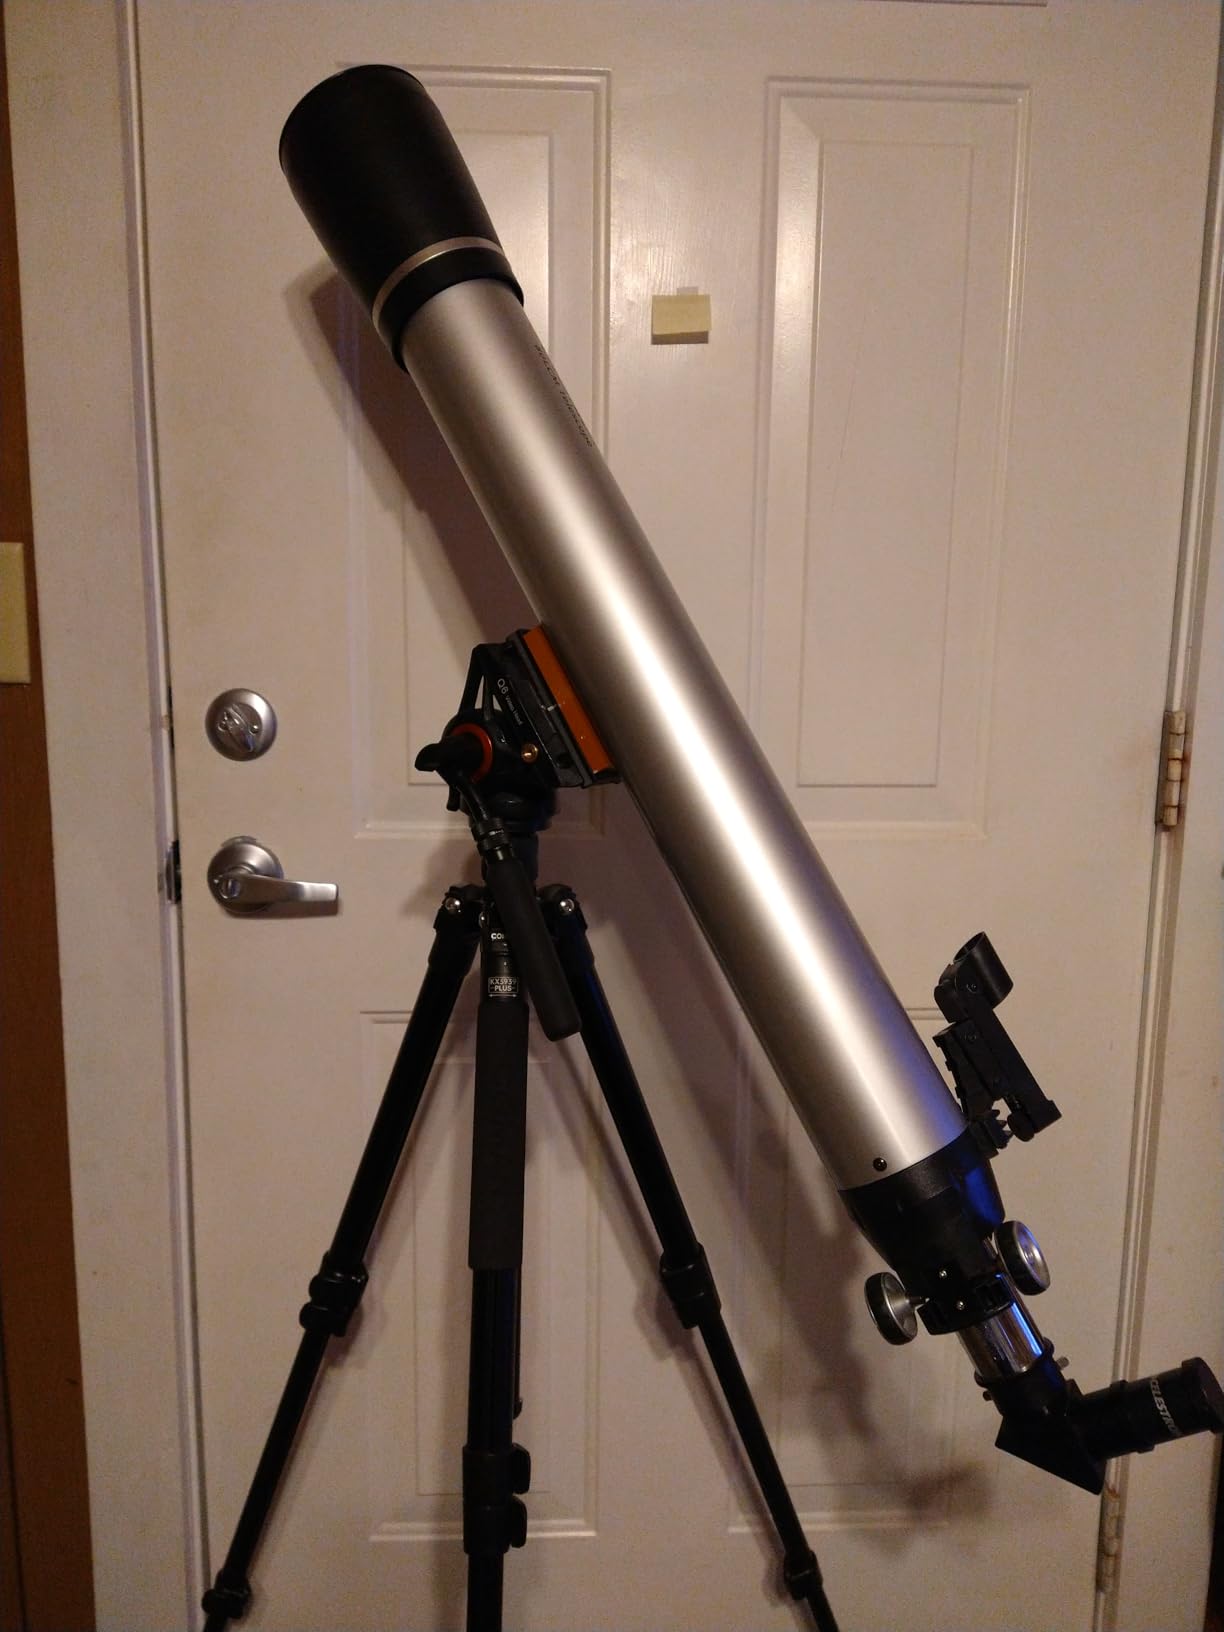
Planetary and Lunar Performance
The Maksutov-Cassegrain design excels at high-magnification views of the moon and planets. Long focal length means you reach higher magnifications with modest eyepieces. Lunar craters, Jupiter’s belts, and Saturn’s rings show excellent contrast. For anyone prioritizing solar system targets over faint deep-sky objects, this optical design outperforms Newtonians and refractors of similar aperture.
Portability and Storage Between Sessions
The 127SLT breaks down into manageable components that fit in a closet or car trunk. Total weight stays reasonable for one person to carry. I’ve stored mine assembled in a corner and also broken down in a case for travel. The fork arm design means setup is straightforward: attach the optical tube, add the diagonal and eyepiece, align, and observe.
9. Celestron StarSense Explorer 150mm Dobsonian – Best Deep-Sky Value
Celestron StarSense Explorer 150mm App-Enabled Tabletop Dobsonian Telescope
150mm Newtonian reflector
Smartphone navigation
Tabletop Dobsonian base
High-reflectivity coatings
Pros
- Large 150mm aperture for bright deep-sky views
- Stable tabletop Dobsonian base
- Patented StarSense smartphone navigation
- Includes eyepiece rack and collimation cap
Cons
- Heavy at 25 lbs
- Press board base construction
- Assembly instructions could be clearer
The Celestron StarSense Explorer 150mm Dobsonian combines a serious 6-inch aperture with smartphone-guided navigation that helps beginners find objects without motorized tracking. The large mirror gathers significant light, showing deep-sky objects that smaller smart telescopes struggle to capture. For visual observers wanting real views through an eyepiece, this represents exceptional value.
StarSense technology uses your phone’s camera to recognize star patterns and guide you to targets. Dock your phone, launch the app, and follow on-screen arrows that lead you to objects. It works surprisingly well once you learn the motion. The app generates a list of the best objects visible at your location and time, eliminating the frustration of not knowing what to look at.
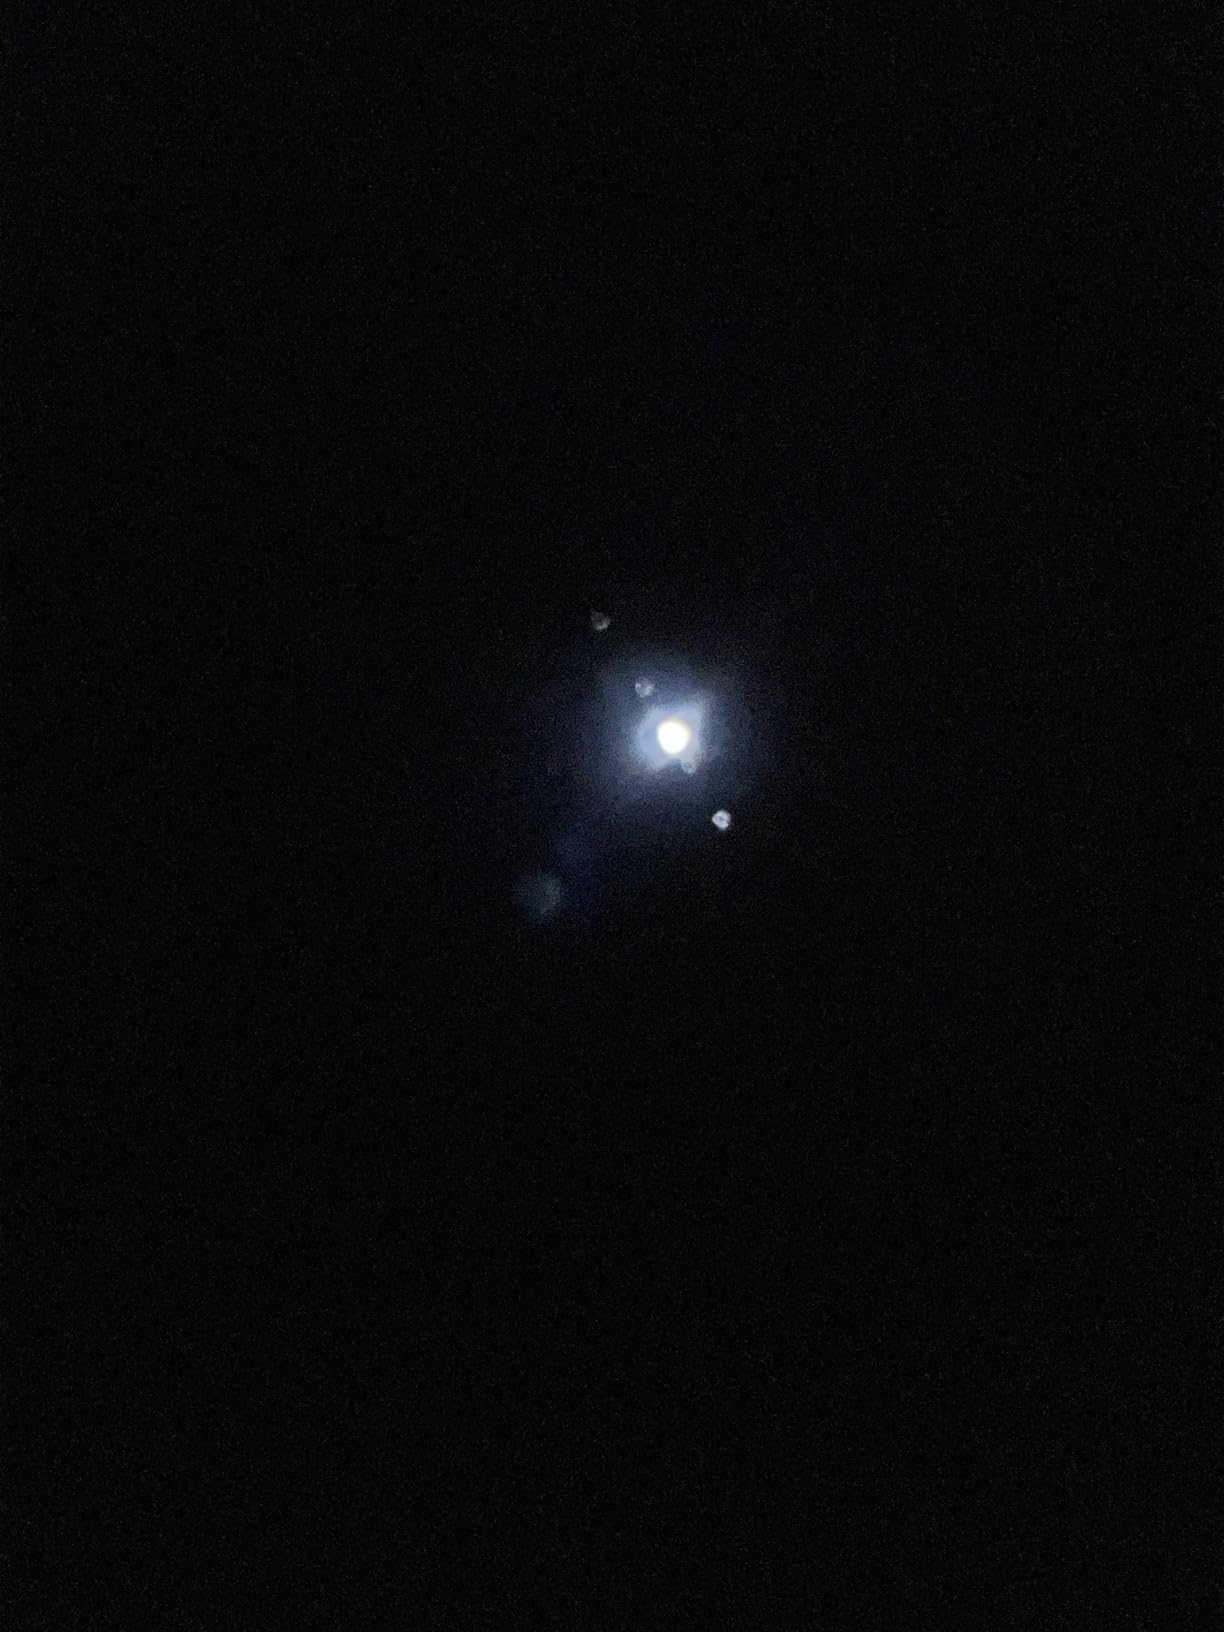
The 150mm aperture shows significantly more than smaller entry-level scopes. The Orion Nebula reveals structure, the Andromeda Galaxy shows its core and hints of spiral arms, and globular clusters resolve into individual stars from dark sites. From my suburban skies, the brighter Messier objects appeared clearly, though light pollution limits the fainter targets. This is a serious telescope for the price.
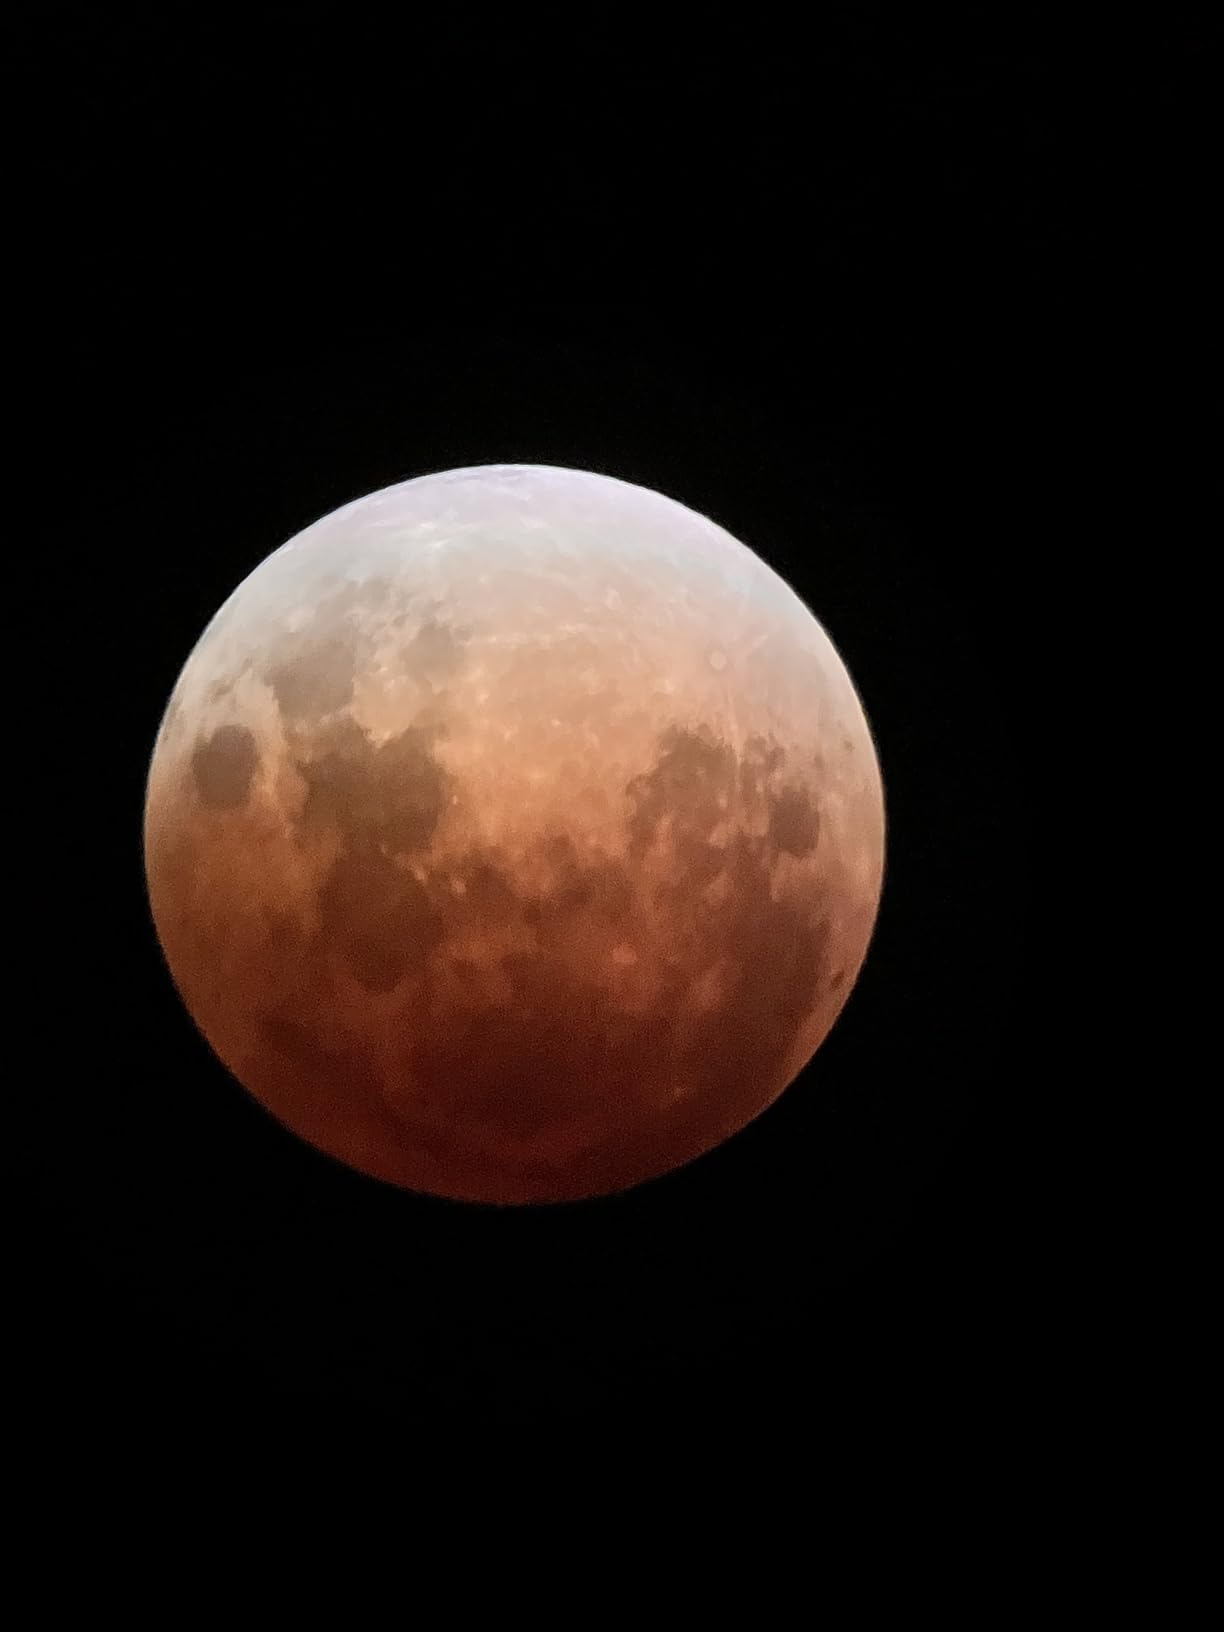
Where You Will Actually Place It
The tabletop Dobsonian design requires a stable surface. I used mine on a sturdy outdoor table and also built a simple wooden platform for ground-level use. At 25 pounds, it’s not something you’ll carry far, but it’s stable once positioned. Consider where you’ll observe from and whether you have appropriate furniture or surfaces before choosing this design.
What 150mm Shows You From Suburbia
From Bortle 5-6 skies, expect excellent views of the moon, planets, and bright deep-sky objects. The Orion Nebula, the Pleiades, the Hercules Cluster, and the Andromeda Galaxy all show impressive detail. Fainter nebulae and galaxies require darker skies or patience as you develop observing skills. The aperture advantage over smaller scopes is real, but light pollution still limits what you’ll see.
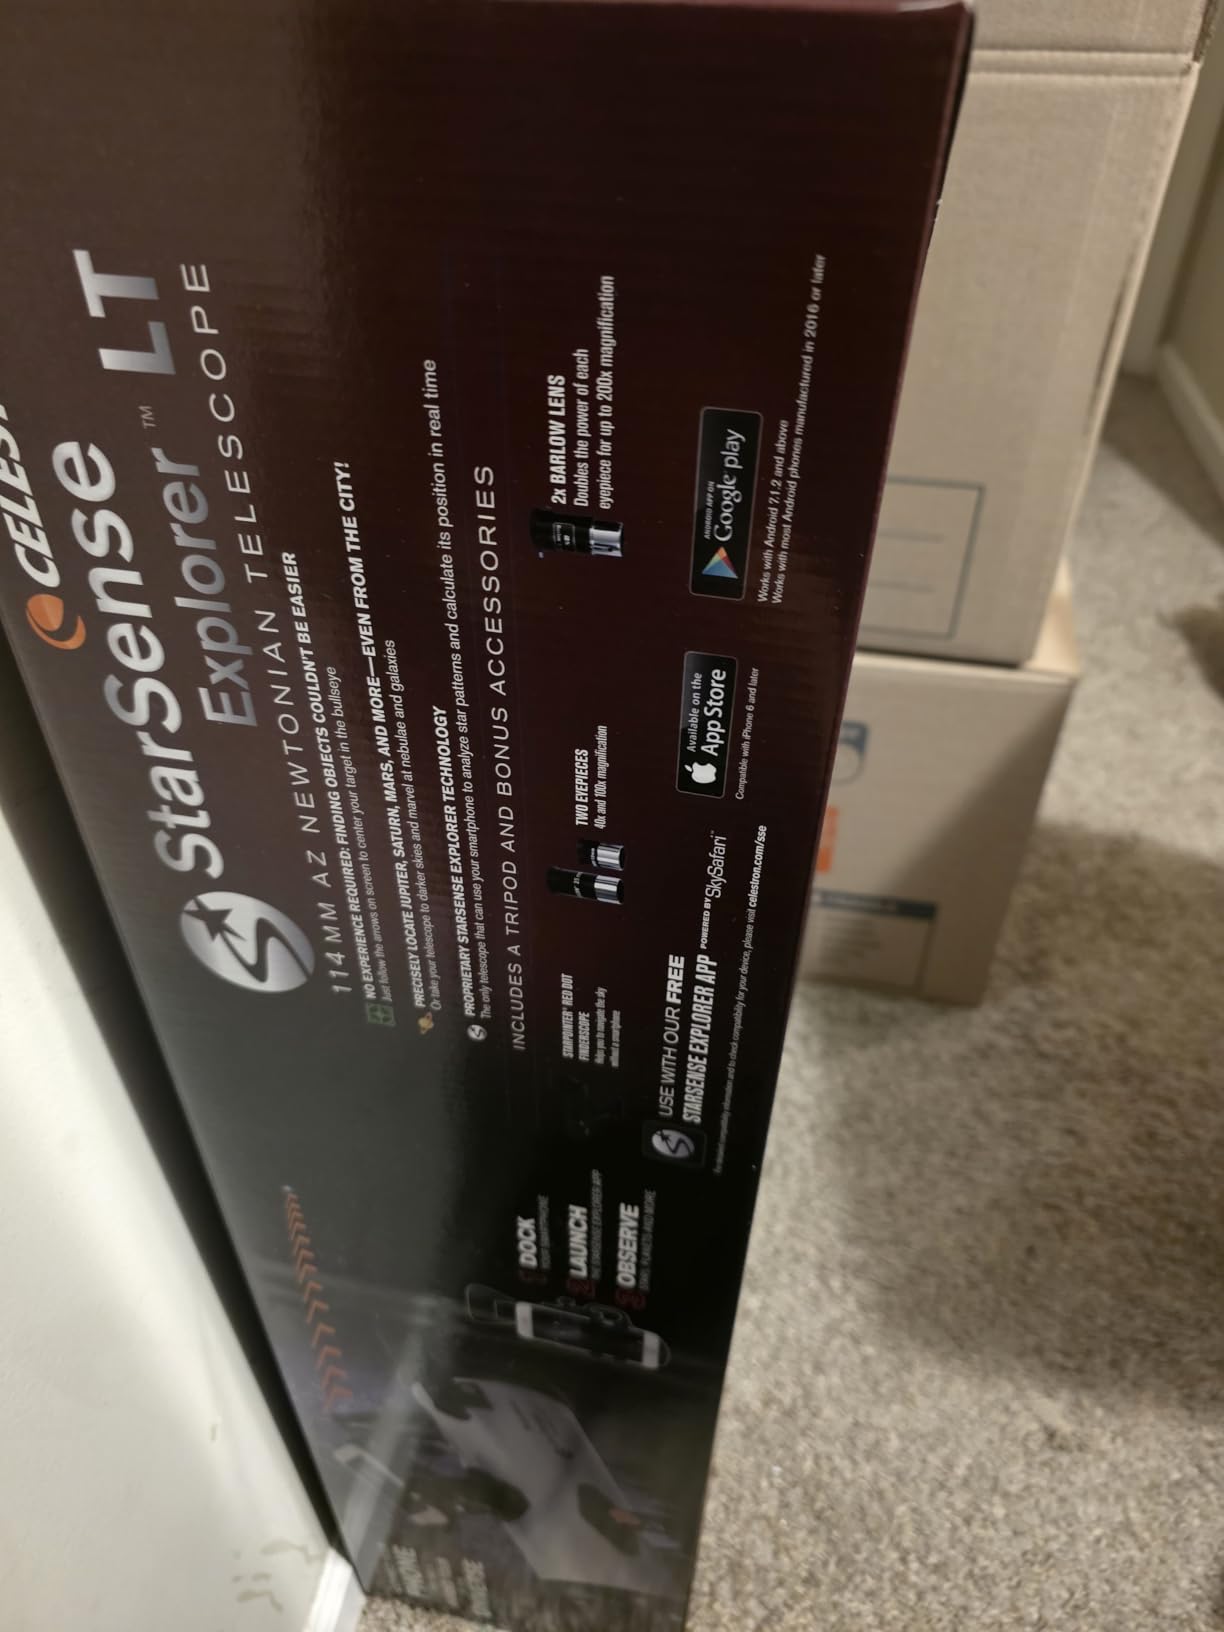
10. Celestron StarSense Explorer LT 114AZ – Best First Telescope
Celestron StarSense Explorer LT 114AZ Newtonian Smartphone Guided Telescope
114mm Newtonian reflector
Smartphone sky navigation
Beginner deep-sky telescope
Alt-azimuth mount
Pros
- Patented StarSense sky recognition technology
- Easy smartphone integration
- 4.5-inch aperture for good light gathering
- Portable and lightweight at 10.4 lbs
- Includes eyepieces and 2x Barlow
Cons
- Manual alt-azimuth mount not motorized
- Tripod can be wobbly
- Basic eyepieces could be improved
The Celestron StarSense Explorer LT 114AZ is the telescope I’d give someone who asks where to start with astronomy. The 4.5-inch aperture gathers useful light, the StarSense app eliminates the learning curve of finding objects, and the manual mount teaches fundamentals without overwhelming complexity. For the price, this is the most accessible entry point into serious amateur astronomy.
StarSense genuinely works as advertised. Your phone’s camera analyzes the sky, recognizes star patterns, and guides you with arrows on screen. I tested this with complete beginners, and they were finding the Orion Nebula, the Beehive Cluster, and Jupiter within their first hour. The app generates a custom list of visible objects based on your location and time, which solves the “what should I look at?” problem.
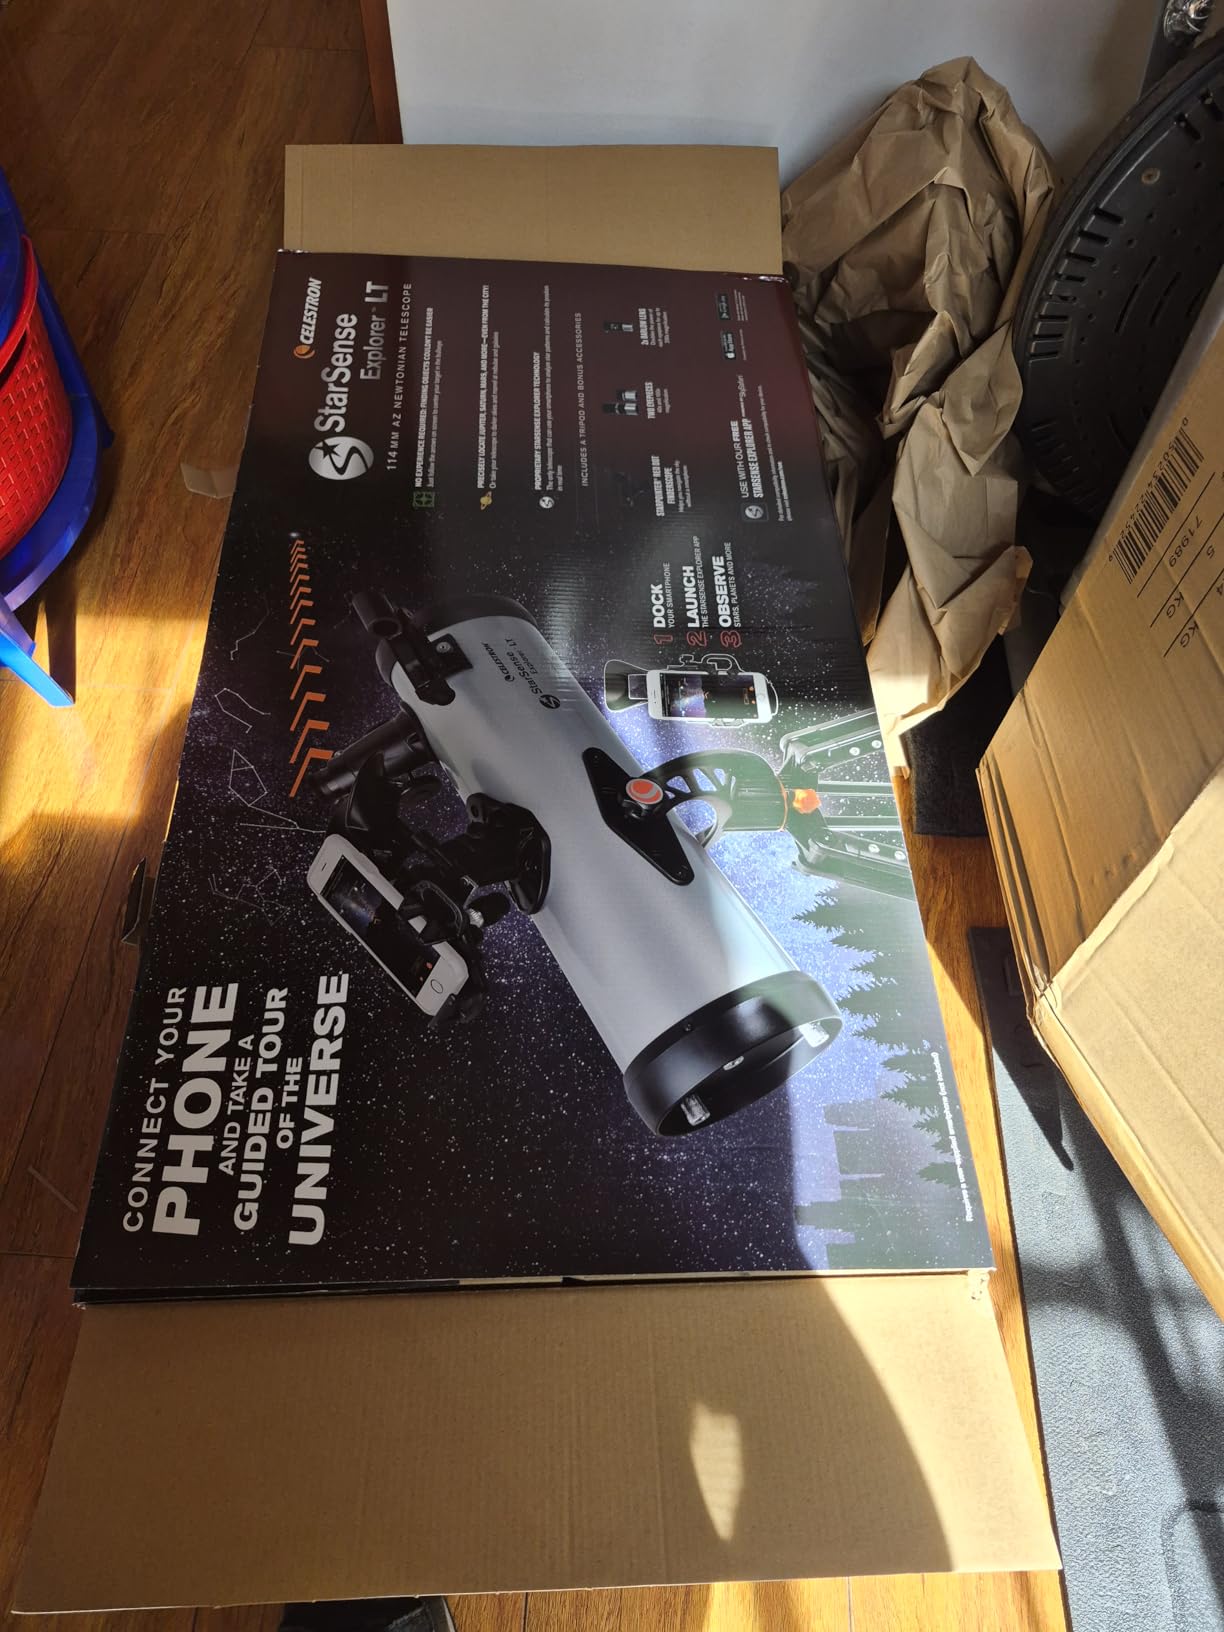
The 114mm aperture shows the moon in stunning detail, reveals Jupiter’s four Galilean moons, and displays Saturn’s rings clearly. Deep-sky objects appear from decent skies: the Orion Nebula, the Pleiades, the Andromeda Galaxy. From light-polluted suburbs, you’ll focus on solar system targets and the brightest deep-sky objects. This limitation is real, but the scope still delivers impressive views for the investment.
How the Phone Guidance Actually Works
The phone cradle holds your smartphone aligned with the telescope’s optical axis. The app uses your camera to see what the telescope is pointed at, then shows arrows indicating which direction to move. When you’re on target, a bullseye appears. It’s intuitive enough that children can use it independently after brief instruction. The system works best with phones that have good low-light cameras.
When to Skip It and Go Smart
If your goal is astrophotography rather than visual viewing, skip this and start with a smart telescope. The manual mount and phone-camera interface won’t produce the stacked, processed images you see online. This scope is for learning the sky, enjoying visual views, and deciding whether astronomy becomes a lasting hobby. If you already know you want to image, the DWARFLAB Dwarf Mini offers a smarter entry point for slightly more investment.
How to Choose the Best Smart Telescope
Finding the right smart telescope means matching features to your specific situation. Here’s what actually matters when making this decision.
Aperture and Light Gathering
Aperture determines how much light your telescope collects. Larger apertures show fainter objects and more detail, but they also mean larger, heavier, and more expensive units. For suburban use with moderate light pollution, 50-85mm apertures handle bright nebulae and star clusters well. Dark sky sites and faint galaxy hunters benefit from 100mm or more. The Celestron Origin’s 6-inch RASA design maximizes light gathering but requires permanent setup.
Sensor Size and Resolution
The image sensor captures what the optics deliver. Sony sensors like the IMX585 and IMX662 offer excellent low-light performance with low noise. Higher resolution (4K versus 1080p) gives you more detail, but also larger file sizes and potentially slower processing. For most users, 4K provides the best balance between quality and practicality. Check which sensor each model uses and understand that better sensors cost more.
Portability and Battery Life
How you’ll use the telescope matters as much as specifications. If you plan to travel, hike to dark sites, or store it in a small apartment, prioritize weight under 4 pounds like the DWARFLAB models. The Unistellar Odyssey Pro offers 5-hour battery life, which covers most nights. The Celestron Origin requires external power and weighs 64 pounds. Be honest about where you’ll actually use it.
Dealing With Light Pollution
Most users observe from suburbs rather than pristine dark sites. Light pollution filters, like the dual-band filters included with ZWO and DWARFLAB models, make a significant difference. These filters block specific wavelengths that streetlights emit while passing the wavelengths where nebulae glow. Test your local conditions before expecting perfect results, but know that smart telescopes handle light pollution better than traditional visual setups because of live stacking.
App Experience and Learning Curve
The app controls everything, so its quality matters enormously. ZWO’s app offers excellent sky atlas integration. DWARFLAB’s interface is intuitive for beginners. Unistellar connects to citizen science projects. Read user reviews about app stability and features. A buggy app ruins the experience regardless of optical quality. Most apps improve over time through updates, so check for recent improvements.
Smart Telescope vs Traditional Telescope
Smart telescopes excel at imaging, ease of use, and sharing views with groups. Traditional telescopes offer the direct visual experience, typically cost less for equivalent aperture, and give you more control over the optical path. If you want to look through an eyepiece, consider the NexStar 8SE or Odyssey Pro. If you want finished images without post-processing, smart telescopes win. Some astronomers own both for different purposes.
Long-Term Support and Firmware Updates
Smart telescopes depend on software, which means ongoing development matters. ZWO and DWARFLAB have track records of regular updates. Unistellar has maintained their app consistently. Check the update history and community reception before investing heavily. A discontinued product with an abandoned app becomes a expensive paperweight regardless of hardware quality.
Frequently Asked Questions
What is the best smart telescope to buy?
The ZWO Seestar S30 Pro is the best smart telescope overall in 2026, offering excellent 4K image quality, reliable GoTo tracking, and effective light pollution filters in a compact design. The DWARFLAB Dwarf 3 offers better value for most users, while the Celestron Origin provides premium performance for permanent installations.
Are smart telescopes worth it?
Smart telescopes are worth the investment if you want to capture astrophotography images without learning complex equipment and processing techniques. They eliminate the steep learning curve that drives most beginners away from traditional astrophotography. However, visual observers who want to look through an eyepiece may prefer traditional telescopes like the NexStar 8SE.
Can you see planets with a smart telescope?
Yes, you can image planets with a smart telescope, but the results differ from traditional visual viewing. Smart telescopes capture planetary images through stacking and processing, showing detail similar to what you’d see through a smaller traditional scope. For serious planetary observation, the NexStar 127SLT or 8SE provide better visual results through the eyepiece.
What is the best smart telescope for the money?
The DWARFLAB Dwarf 3 offers the best value in 2026, combining serious astrophotography capability with an ultra-portable 3-pound design and dual imaging system. For budget-conscious beginners, the DWARFLAB Dwarf Mini provides core smart telescope features at the entry level.
How do smart telescopes work?
Smart telescopes combine optics, a camera sensor, motorized tracking, and processing software into one integrated system. You control everything through a smartphone app that selects targets, commands the GoTo system to locate them, and processes images in real time using live stacking. The camera continuously takes exposures that the software aligns and combines, building up detail over seconds to minutes.
Final Verdict: Which Smart Telescope Should You Buy?
The best smart telescopes in 2026 serve different users with different needs. For most people entering smart astronomy, the ZWO Seestar S30 Pro offers the best overall experience with its 4K imaging, reliable tracking, and excellent light pollution handling. Value-focused buyers should choose the DWARFLAB Dwarf 3, which packs serious astrophotography capability into a portable 3-pound package. Beginners testing the waters will find the DWARFLAB Dwarf Mini an affordable entry point that doesn’t compromise on core features.
Consider how you’ll actually use the telescope before deciding. Portability matters if you’ll travel to dark sites. Battery life determines session length when power isn’t nearby. App quality affects every interaction you’ll have with the device. The right choice depends on your observing location, imaging goals, and budget. Any of these models will show you more of the night sky than you’ve ever seen before.